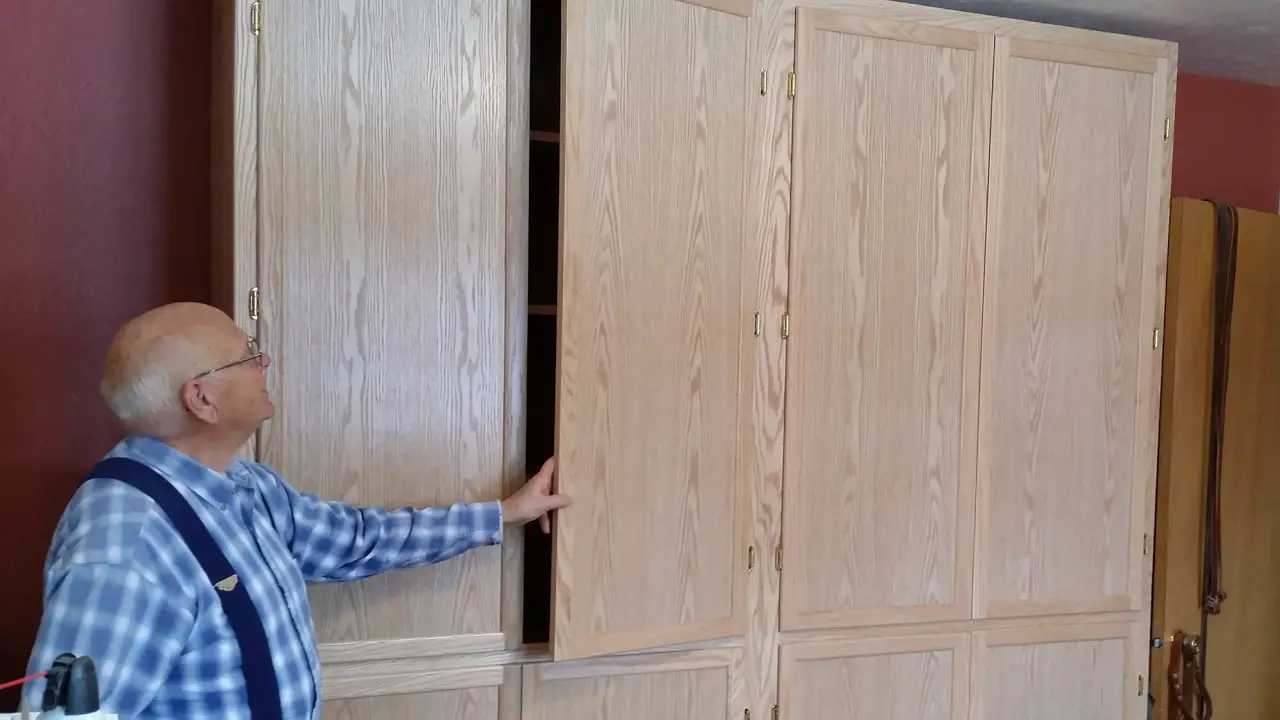
How to Build Floor to Ceiling Cabinets
Adding floor-to-ceiling cabinets can instantly make a kitchen look larger and more organized. Whether you’re starting from scratch or revamping existing cabinets, building your own custom cabinetry is an achievable DIY project that adds a unique touch to any home. It may seem intimidating at first, but with enough planning and the right tools, it’s possible to create beautiful custom cabinetry without breaking the bank.
Before beginning this project, there are a few key things to consider such as choosing materials that fit within your budget and selecting hardware that will fit properly in the space available. Additionally, if you don’t have experience working with wood or power tools it might be beneficial to enlist help from someone who has more expertise in this area. Once these decisions have been made, it’s time for construction!
- Step 1: Gather Your Supplies – Before you start building, make sure to have all the necessary supplies ready
- This includes tools like a saw, drill, screwdriver, level, and measuring tape as well as materials such as wood pieces for the cabinet frames and doors, screws or nails, and hinges
- Step 2: Measure the Room – Take measurements of each wall in your room so that you know how large the cabinets can be built
- Make sure to measure from floor to ceiling so that your cabinets will fit properly when they are finished
- Step 3: Cut Your Wood Pieces – Using your measurements from step two, cut out all of the wooden pieces needed for each cabinet frame and door with a saw
- Make sure that all edges are smooth and sand them if necessary
- Step 4: Assemble Cabinets – Use screws or nails to assemble each of your cabinet frames according to instructions given on their packaging (if using pre-made kits)
- Once you’ve put together all cabinetry pieces it’s time to attach them onto the walls starting at one corner and working towards another until complete
- Step 5: Attach Doors– Place door hinges onto each side of every door piece before attaching them onto corresponding cabinet openings with screws or nails according to instructions provided by the manufacturer (if using a pre-made kit)
- Step 6: Finishing Touches– Finally add any personal touches such as drawer pulls or handles before hanging shelves inside each unit if desired
Diy Floor to Ceiling Storage Cabinets With Doors
If you’re looking for a storage solution that takes up minimal space while providing ample storage, floor-to-ceiling cabinets with doors can be the perfect fit. Floor-to-ceiling cabinets are tall and thin, allowing them to fit snugly into any room without taking up too much space on the ground. Plus, they provide plenty of room to store items away from sight while keeping everything neatly organized.
Building your own floor-to-ceiling storage cabinet is an easy DIY project that anyone can do in just a few hours with basic materials and tools. Start by measuring the height of your ceiling and cutting two pieces of plywood or MDF board for the base and top shelves – make sure both pieces are exactly the same length so they meet flush when installed against each other vertically. Next, cut two identical side panels from plywood or MDF board as well; these will form the sides of your cabinet.
Finally, cut four more pieces for door frames – one piece should be slightly larger than the other three (this will become your bottom frame). Once all your boards are cut to size it’s time to assemble! Attach each side panel perpendicular to one another using wood glue and screws; then attach them together at right angles using wood glue and mending plates so that they form a box shape.
Attach each shelf piece directly above/below its corresponding side panel using wood glue and screws as well; this will give you extra stability once everything is mounted on the wall later on. Now it’s time for assembly! To mount your new storage cabinet securely onto any wall in need some detailed measurements: measure along both sides where you want to install it (make sure there aren’t any electrical wires behind), mark off those spots on either end with a pencil, then use L brackets placed at those points fixed directly into studs or drill anchors into drywall if needed – this ensures maximum support once filled up with heavy items like books or dishes!
Once secured firmly into place add two hinges per door frame – these should be level across from one another in order for them to open smoothly when needed – then attach doors accordingly over top of their respective frames making sure no gaps remain around edges before finishing off installation process by adding handles/knobs if desired When done properly not only does this create additional functional space but also adds character that looks fantastic within almost any home decor style!
How Deep are Floor to Ceiling Cabinets?
Floor-to-ceiling cabinets, also known as tall cabinets, are a great way to maximize your storage space and enhance the look of any room. But how deep are floor-to-ceiling cabinets? This can vary depending on the type of cabinet you choose.
If you’re looking for traditional kitchen cabinetry, standard floor-to-ceiling cupboards typically range from 12-24 inches in depth. Some manufacturers offer deeper options up to 42 inches if you need more storage space. The height is usually around 84 inches with some variations based on design and installation requirements.
When it comes to custom built-ins or other types of specialty cabinetry such as bookcases or entertainment centers, these can be made in a variety of depths for added flexibility. The most common sizes range from 12-36 inch depths with heights that reach up to 96 inches high or higher depending on your needs and preferences. You may also find that certain types of furniture come with adjustable shelving so you can customize the depth according to your specific needs and tastes.
No matter what type or size cabinet you choose, it’s important that they are properly installed so they don’t become top-heavy when filled with items or cause damage throughout time due to weight stress put onto walls and floors during regular use over time. Additionally, make sure there is enough clearance around doors and drawers so they open easily without obstruction when fully loaded down!
How Do You Fill the Gap between Upper Cabinets And Ceilings?
If you’re looking for an easy way to make your kitchen look more polished and put-together, filling the gap between upper cabinets and ceilings can be a great way to go. By covering up this unsightly space, you can instantly add visual appeal to any room in your home. The first step is measuring the distance from the top of your cabinets to the ceiling.
It’s important that you get measurements as accurate as possible so that whatever material you use will fit snugly into place without leaving any gaps or extra space. Once you have these measurements, it’s time to decide what type of material you want to fill in this gap with. One popular option is crown molding, which not only adds an elegant touch but also helps hide unevenness where walls meet ceilings or if there are cracks between them.
Crown molding comes in various sizes and styles so it should be relatively easy to find one that fits your aesthetic needs perfectly – although many homeowners opt for simple designs instead of ornate ones due to its cost-effectiveness. However, if budget isn’t an issue then feel free to explore all kinds of options available! Another option is panel molding – this type of trim has a flat face with square edges making it perfect for filling large spaces between cabinet tops and ceilings since they stay flush against both surfaces better than other types of materials would do (such as crown moldings).
Additionally, panel moldings come pre-primed so painting them won’t require too much effort on your part either! In addition, some people prefer using wallpaper borders or even fabric panels above their cabinets depending on how much coverage they need/want – they’re often easier/quicker solutions compared with installing wood trim pieces but may not provide as much protection from dust accumulation like other options might do. Ultimately though it depends entirely on personal preference when considering these two options here – just keep in mind that each one has its own unique benefits (and drawbacks).
Whichever option you choose though always make sure that everything gets installed properly according to the manufacturer guidelines – incorrect installation can lead to damages over time such as bad warping or cracking due to moisture build-up etc., which could end up costing a lot more money for repairs down the line rather than spending some upfront now doing things right from start…so don’t skimp out when investing into something like this!
Can You Make Cabinets Go to the Ceiling?
Yes, you can make cabinets go to the ceiling. In fact, this is a great way to maximize storage space in your kitchen or other areas of the home that may benefit from additional cabinet space. There are several benefits to having tall cabinets that extend all the way up to the ceiling including increased storage capacity and improved visual appeal.
The first step in making cabinets go to the ceiling is deciding what type of cabinetry you want. Many homeowners opt for stock or semi-custom styles that come pre-made in certain sizes and shapes. These can be easily hung on walls with enough height for them to reach the ceiling.
Alternatively, custom built-in units provide more flexibility in terms of size and design but require more work during installation since they will need to be accurately measured and cut into place before being secured against the wall studs. If you decide on custom built-ins, it’s important that they are made properly so as not to overwhelm your room with bulky cabinetry blocking natural light sources or cluttering up an otherwise streamlined look by taking away too much floor space when open doors swing outwardly towards passing traffic routes near kitchen islands or counter space areas closeby which could create safety hazards if not done right! The best approach here would be finding a professional carpenter who will ensure everything fits perfectly without compromising either style aesthetics or functional aspects within such tight quarters due to their expertise working around such tricky spatial limitations where accuracy matters most!
Once installed, these tall cabinets should have plenty of shelving options inside for storing various items like dishes, glasses, and cans while providing some display surface at eye level depending on how many shelves are added inside each one; this allows easy access as well as eliminating bending over constantly trying to find something hidden deep within lower ones which can become quite inconvenient after awhile both physically & mentally, especially if there’s no proper lighting implemented either!
How many gaps Should Be between the Ceiling And the Cabinets?
When it comes to the kitchen, cabinets, and ceilings can be an important part of the overall design. But how much space should there be between them? The answer depends on both form and function.
From a functional standpoint, having enough gap between your cabinets and ceiling is essential for accommodating any heating or air conditioning units that may need to fit in that area. This is especially true if you plan on installing a range hood (which needs some clearance). Generally speaking, a minimum of 12 inches of distance is recommended here.
Aesthetically speaking, the gap between your cabinets and ceiling will depend largely on personal preference as well as other factors such as ceiling height and cabinet size/style. If you want to create more visual interest in the room or highlight certain architectural details, then leaving a larger gap might be beneficial – anywhere from 15-18 inches would work well here depending on your preferences. On the other hand, if you prefer a cleaner look without drawing attention to this particular area then leaving just 6-8 inches will suffice.
In either case, make sure that whatever option you choose does not interfere with any necessary ventilation requirements in order to avoid potential problems down the line!
Super Fast Full Wall Cabinet Installation
Conclusion
Building floor-to-ceiling cabinets is a great way to add extra storage and an upgraded look to any room. This blog post outlines how to build your own, from selecting materials and tools to installation. First, you’ll need some basic carpentry supplies like wood screws, drill bits, saws, sandpaper, and clamps.
You’ll also need cabinet frames that fit the size of the space where they will be installed – these can be purchased or made with plywood and lumber. Next up is building the shelves: measure twice before cutting pieces for each shelf according to your measurements; use pocket holes on ends of boards for attaching shelves; attach back paneling using glue and nails; sand down edges as needed. Finally comes time to install the cabinets – secure them into place by anchoring them into wall studs or concrete walls with lag bolts or toggle anchors; adjust feet if necessary for levelness; screw in hinges for doors (if desired); silicone seal gaps between cabinetry and walls/ceiling as needed for airtightness!
All that’s left after all this work is adding handles/knobs of your choice – et voila! Your new floor-to-ceiling cabinets are ready for use!


