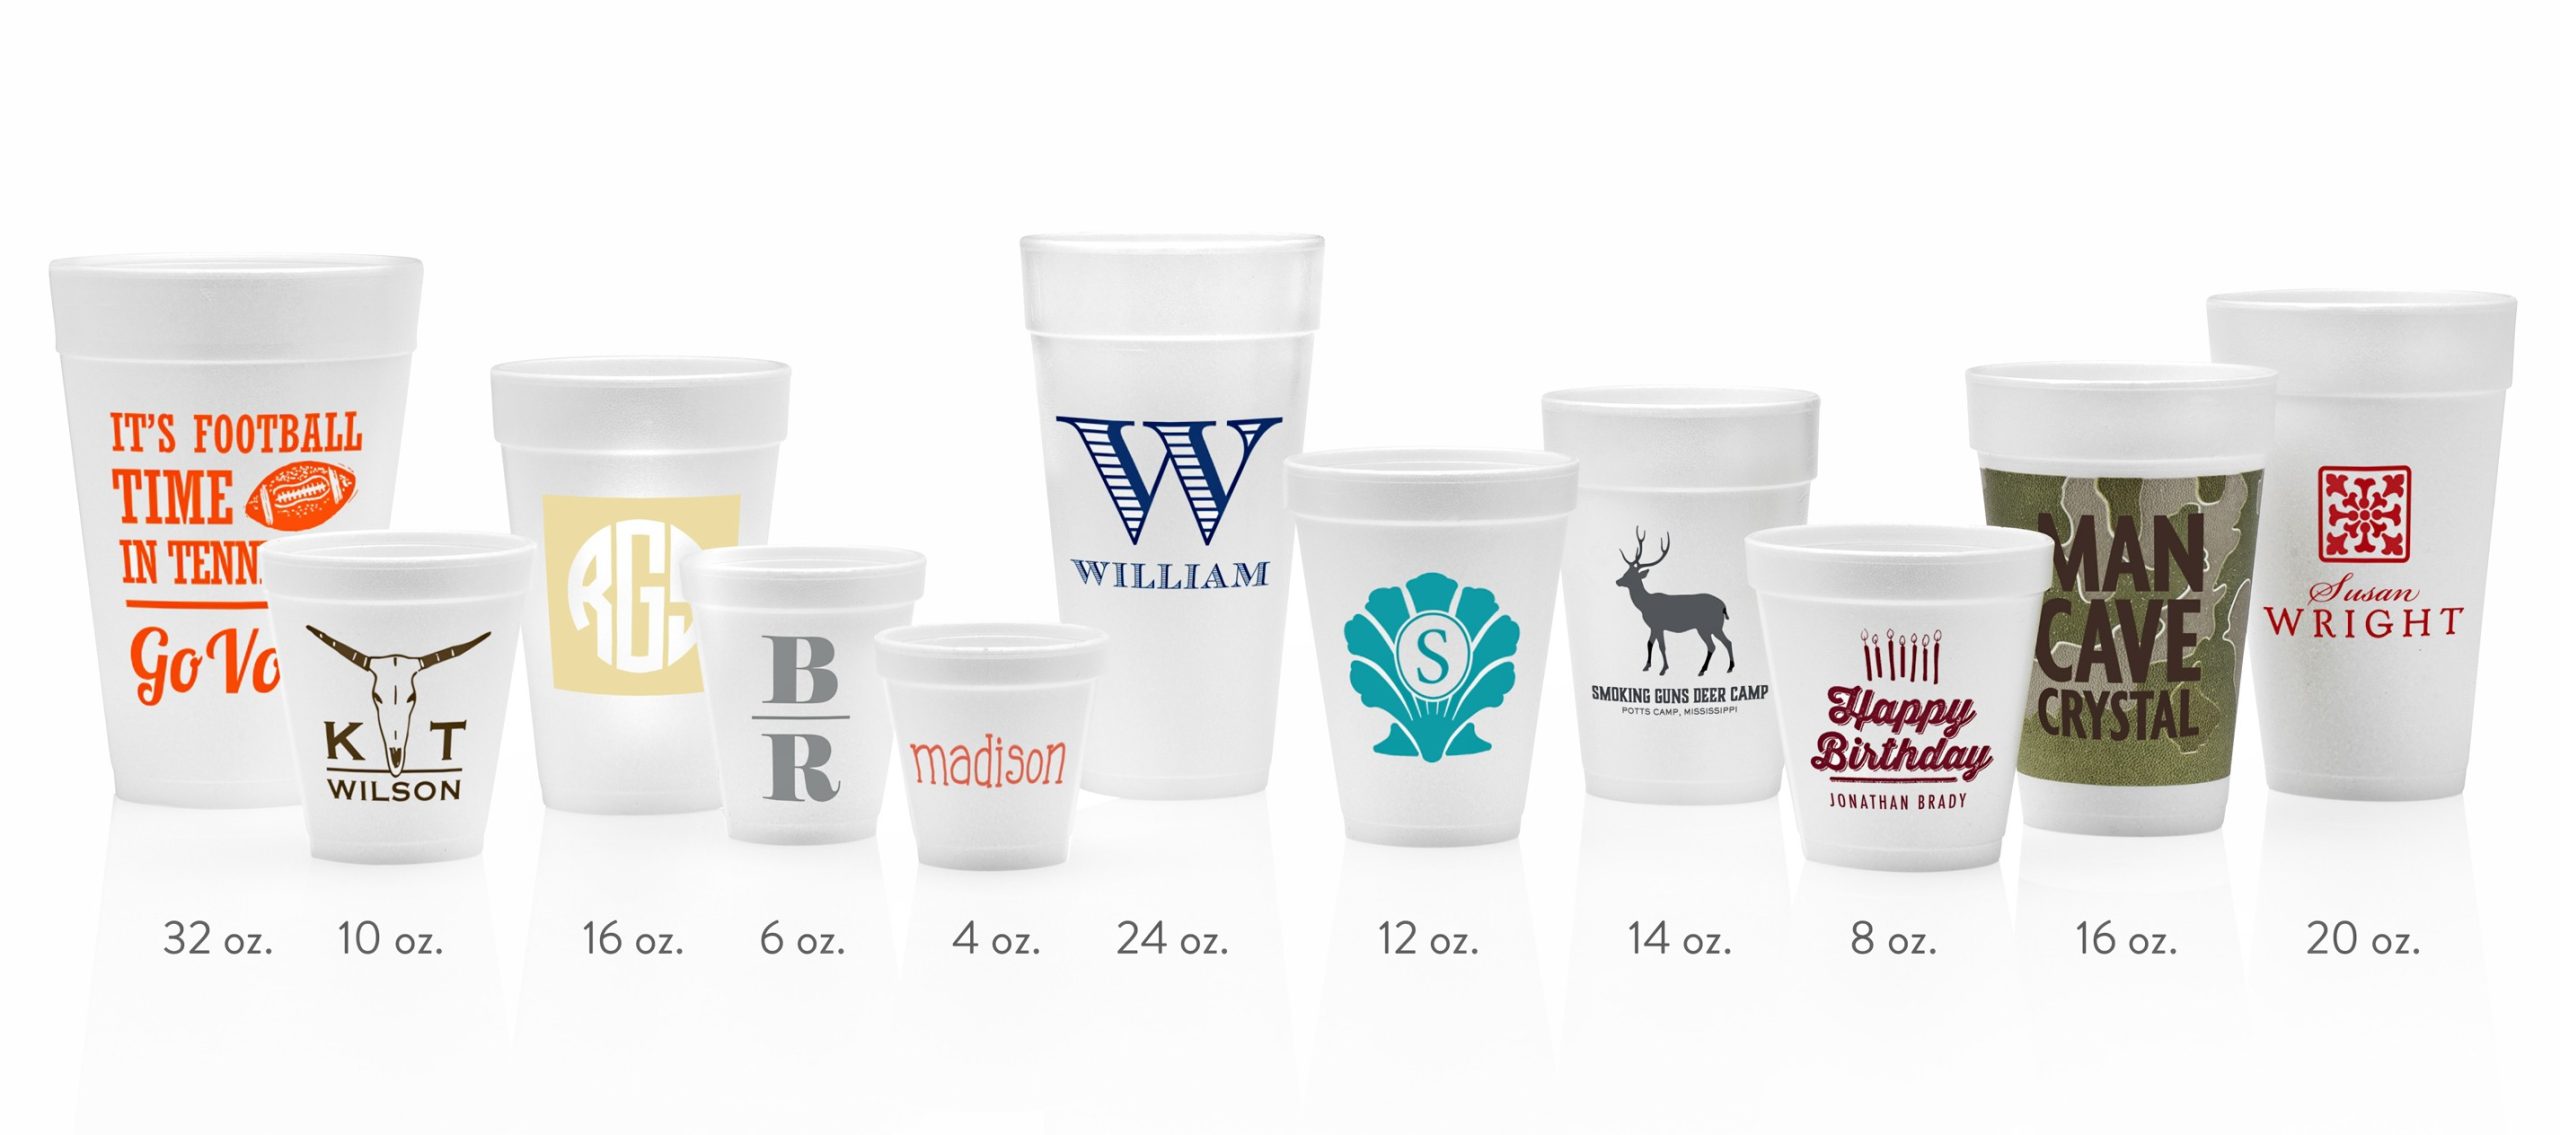
How to Print on Styrofoam Cups at Home
To print on a styrofoam cup at home, you will need to purchase some specialty paper and ink. You can find this type of paper and ink at most office supply stores. The paper is specially coated so that when you print on it, the ink will not seep through and ruin your cups.
Make sure to use a laser printer, as Inkjet printers will not work with this type of paper.
- Clean the surface of your styrofoam cup with rubbing alcohol and a cotton ball
- This will help the paint to adhere better to the cup
- Apply a layer of white acrylic paint to the cup
- You can use a brush or a sponge to apply the paint evenly
- Allow the first layer of paint to dry completely before adding additional colors
- Once you are happy with the design, allow the final layer of paint to dry completely before using your new styrofoam cup!
How to Make Personalized Styrofoam Cups
Styrofoam cups are a great way to show your personality and style. You can find them at any party store, but they can be expensive. Here’s how to make your own personalized styrofoam cups.
You’ll need: -Styrofoam cups -Sharpie markers
-Ruler or measuring tape -Scissors
- Measure and mark your design on the cup with the Sharpie markers. Use the ruler or measuring tape to make straight lines, if desired.
- Cut out your design with scissors. Be careful not to cut yourself!
- Decorate the outside of the cup with whatever design you like. Get creative!
- Fill the cup with your favorite beverage and enjoy!

Credit: www.whenitrainspaper.com
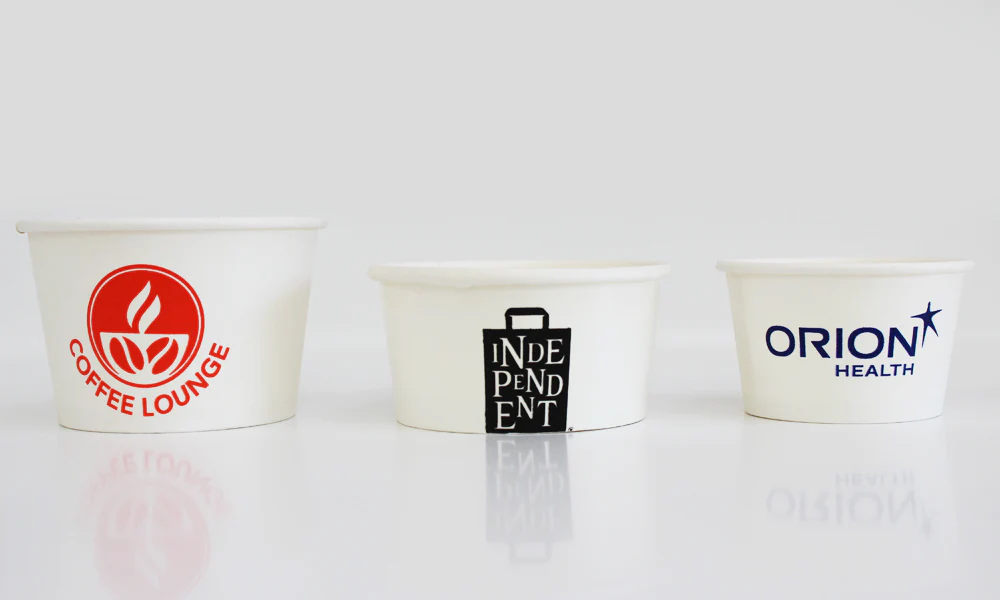
Can You Screen Print on Styrofoam Cups?
If you’re looking for a quick and easy way to add some personality to your next party or event, consider screen printing on styrofoam cups! It’s a great way to personalize disposable cups and make them more fun and festive. Plus, it’s surprisingly easy to do!
To get started, you’ll need some styrofoam cups, a screen printing kit, and some paint or ink. Once you have your supplies gathered, simply set up your screen printing frame according to the instructions that came with your kit. Then, using a stencil or template, print your design onto the cup.
Be sure to use paint or ink that is specifically designed for use on styrofoam – regular paint or ink will not adhere properly and will quickly peel off. Once your design is printed, allow the paint or ink to dry completely. Then carefully remove the stencil or template – being careful not to smudge the design.
And that’s it! Your custom-printed styrofoam cups are now ready to be used and enjoyed!
Credit: www.packgenie.co.uk
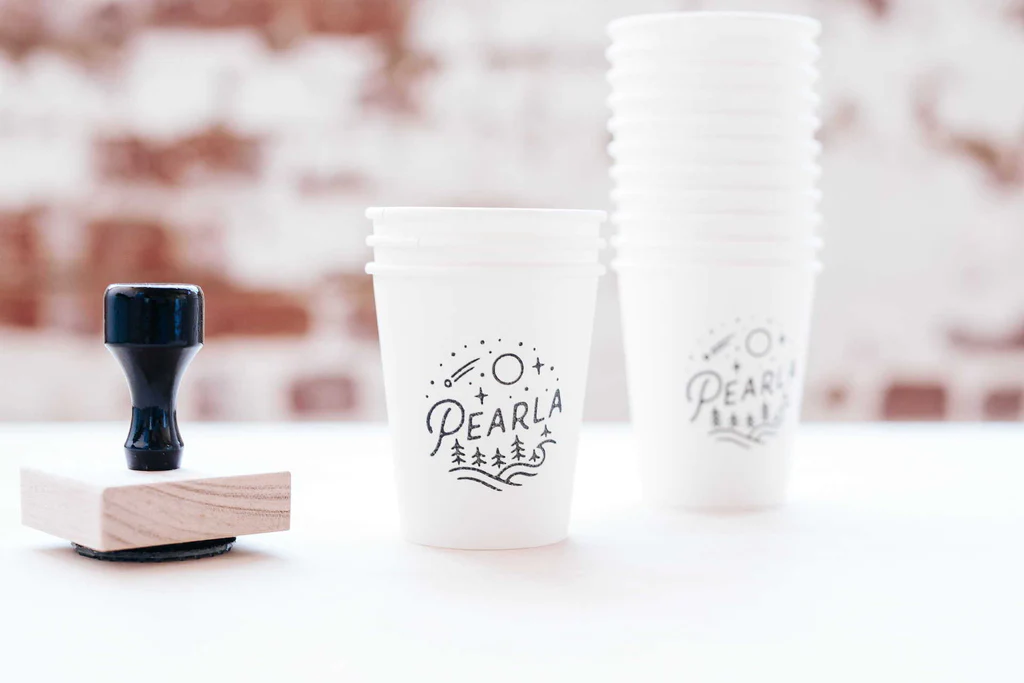
How Do You Stamp a Styrofoam Cup?
When it comes to stamping a Styrofoam cup, there are a few things that you will need to keep in mind. First, you will need to make sure that the cup is clean and dry. Any dirt or grease on the surface of the cup will prevent the ink from adhering properly.
Next, you will need to choose an ink that is specifically designed for use on non-porous surfaces like Styrofoam. These inks can be found at most craft stores. Finally, you will need to find a stamp that has a firm, flat bottom so that it can evenly press into the surface of the cup.
Once you have all of your supplies gathered, you are ready to start stamping! Begin by positioning your stamp on the cup where you want it to appear. Then, using even pressure, press the stamp into the surface of the cup.
Hold it in place for a few seconds before carefully lifting it away. If done correctly, your stamped image should be clear and crisp. If not, simply try again until you get the desired results.
Stamping cups are a great way to add personalization to any event or gift-giving occasion!
Credit: woodruffandco.com
Can You Put Vinyl on Styrofoam?
If you want to put vinyl on Styrofoam, there are a few things you need to know. First, you need to make sure that the Styrofoam is smooth and free of any dirt or debris. You can do this by sanding it down with fine-grit sandpaper.
Once the surface is smooth, wipe it down with a clean cloth to remove any dust particles. Next, you need to apply a primer to the Styrofoam before applying the vinyl. This will help the vinyl adhere better and prevent it from peeling off over time.
Once the primer is dry, cut your vinyl into desired shapes or sizes using a sharp knife or scissors. Now it’s time to apply the vinyl to the Styrofoam. Start by peeling off a corner of the backing paper and then sticking it onto the foam.
Slowly peel away the rest of the backing paper as you apply pressure to adhere the vinyl to the foam. Use a squeegee if needed for larger pieces of vinyl. Finally, trim away any excess vinyl using a sharp knife or scissors.
And that’s it! You’ve successfully applied vinyl onto Styrofoam!
How To Print Images On Styrofoam Cups? Our Method. *Non-Commercial*
Conclusion
If you’re looking for a way to add a personal touch to your next party or event, printing on Styrofoam cups is a great option. Here’s a step-by-step guide on how to do it at home:
- Start by choosing the design or message you want to print on your cups. Make sure it’s something that can be easily transferred onto the cup surface.
- Once you have your design ready, use a pencil or pen to lightly trace it onto the cup surface.
- Next, use a sharp knife or exacto blade to cut out your design. Be careful not to cut yourself!
- Now it’s time to print your design onto the cups. You can use any kind of printer for this, but make sure you use ink that is designed for styrofoam surfaces. Regular printer ink will just bead up and run off the cup surface.
- Once your design is printed, let the ink dry completely before handling the cups further. And that’s it!