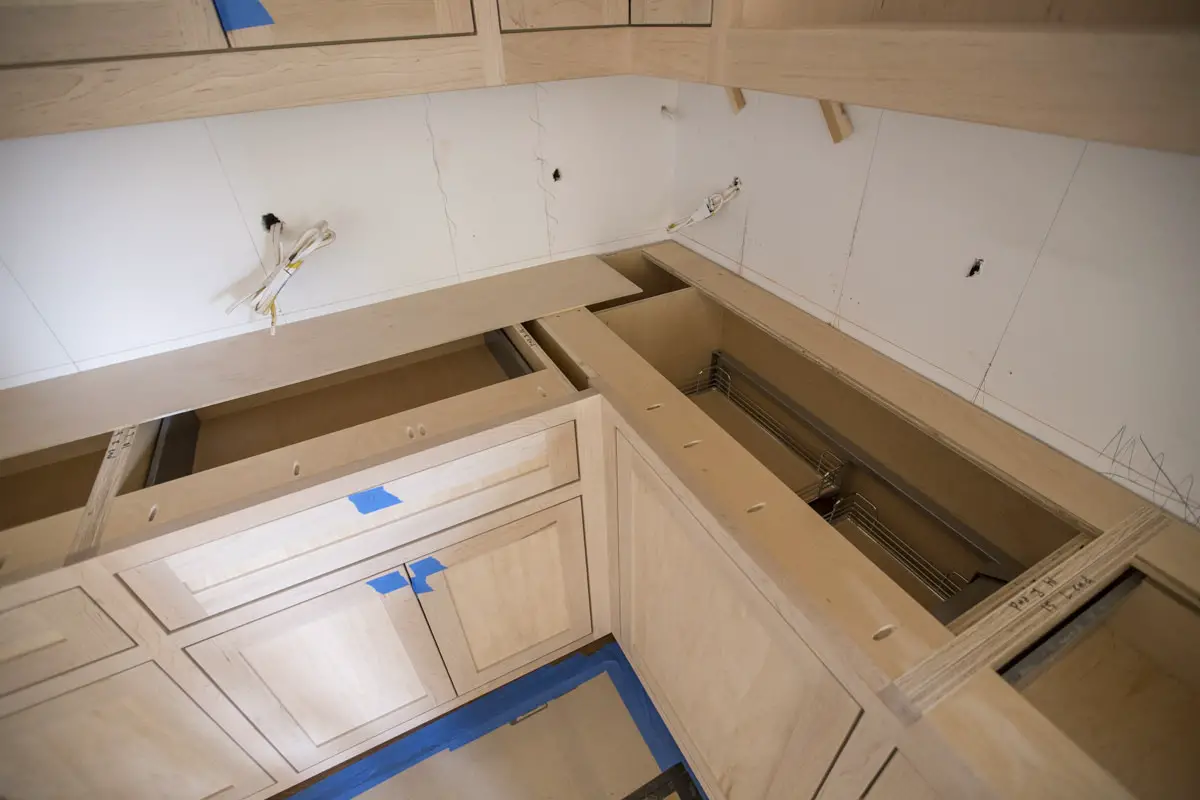
How Do You Fit Legs To Kitchen Units?
Fitting legs to kitchen units is an important part of installing a new kitchen. It is important to ensure the legs are fitted correctly so the units will be secure and level. This guide will provide an overview of the process involved in fitting the legs to the kitchen units. It will cover the tools required, how to position the legs, and how to attach them to the units. With the right tools and knowledge, fitting the legs into kitchen units can be a straightforward process.
Measuring the Leg Height
Kitchen cabinets are an essential component of any kitchen, providing valuable storage for dishes, cookware, and food. When installing kitchen cabinets, you need to make sure that the legs fit properly. If the legs are too short, the cabinet will be unstable and could potentially lead to injury. This guide will explain how to measure the leg height of kitchen cabinets for a secure installation.
First, measure the height of the counter from the floor to the underside of the counter. Then, measure the height of the cabinet from the floor to the underside of the top. Subtract the first measurement from the second one to determine the leg height.
Once you have the leg height, you’ll need to purchase legs that are slightly longer than the measurement. This will allow for a snug fit and will ensure that your cabinets are stable and secure. Additionally, you can use shims to make sure that the legs are level.
Finally, use a drill to attach the legs to the cabinet securely. Make sure that you drill through the center of the leg and into the cabinet. This will ensure that your cabinet is secure and stable for years to come.
In conclusion, measuring the leg height of kitchen cabinets is a crucial step in making sure that the cabinets are properly installed and secure. Follow the steps outlined above to ensure that your kitchen cabinets are safe and secure.
Selecting the Right Leg Type
When it comes to fitting legs to kitchen units, it is important to select the right leg type. Different types of legs have different characteristics and offer different benefits. For instance, adjustable legs are great for leveling cabinets and preventing sagging, while straight legs are the most basic and economical choice. Heavy-duty legs are ideal for supporting heavier cabinetry, while decorative legs can be used to add a statement to the overall look of the kitchen. It is also important to consider the material of the legs, as steel is the most durable and resistant to wear and tear, while plastic and wood may be more aesthetically pleasing. Additionally, one should also consider the size and shape of the legs, as well as the overall height of the legs, as this will affect the stability and usability of the cabinets.
Choosing the Appropriate Fixings
Fitting kitchen units is a process that requires precision and careful consideration. To ensure a successful installation, it is essential to use the correct fixings when attaching legs to kitchen units. With so many options available, it can be difficult to know which fixings are most suitable for the job.
For a secure and sturdy fit, bolts and screws are the most appropriate fixings for attaching legs to kitchen units. Bolts are a great option for heavier units as they are larger and provide a greater degree of strength and security. For lighter units, screws are a more suitable choice as they are smaller and less obtrusive. Alternatively, you can opt for a combination of both bolts and screws.
For additional stability, you may wish to use angled brackets to attach the legs to the kitchen unit. This will provide greater support and prevent the unit from becoming unsteady. You can also use smaller dowels, yet still provide a secure fit.
It’s also important to remember that the type of fixings used will depend on the material of the kitchen unit. For metal units, nuts and bolts are ideal, while for wooden units, screws are a better option.
Marking the Fixing Points
When it comes to fitting legs to kitchen units, the most important part of the job is making sure that the legs are firmly fixed in the right place. To ensure that the legs are correctly positioned, the first step is to mark the fixing points. This involves measuring the height of the leg, and then marking the corresponding points on the kitchen unit. It is important to get the measurements right, as this will determine the stability of the unit.
Once the fixing points are marked, the next step is to drill the holes for the screws. It is important to use a drill bit that is the right size for the screws, as this will ensure that the screws are secure and the legs are firmly attached. After the holes are drilled, the screws can then be inserted into the holes and tightened.
Finally, the last step is to ensure that the legs are level. This can be done by using a spirit level to check that the legs are aligned with each other. Once this is done, the legs are securely fitted and the kitchen unit is ready to use.
Setting the Fixing Points
Kitchen units are usually installed in a kitchen as part of a renovation or remodel. The installation of a kitchen unit usually involves attaching the legs to the kitchen unit. Setting the fixing points for the legs to attach correctly is a vital part of the process.
When attaching the legs to the kitchen unit, the first step is to determine the fixing points. This is done by measuring the height and width of the kitchen unit, including the height and width of the legs. The fixing points should be placed at the same distance from the top and bottom of the kitchen unit, to ensure that the legs are positioned correctly.
Once the fixing points have been established, the legs are then attached to the kitchen unit. This is done using screws or bolts, depending on the type of kitchen unit being installed. The screws or bolts should be positioned securely and tightened firmly to ensure that the legs are securely attached to the kitchen unit.
Once the legs have been attached to the kitchen unit, the fixing points should be checked to make sure that the legs are securely attached. This is done by making sure that the legs are firmly secured to the kitchen unit and that the fixing points are at the correct height.
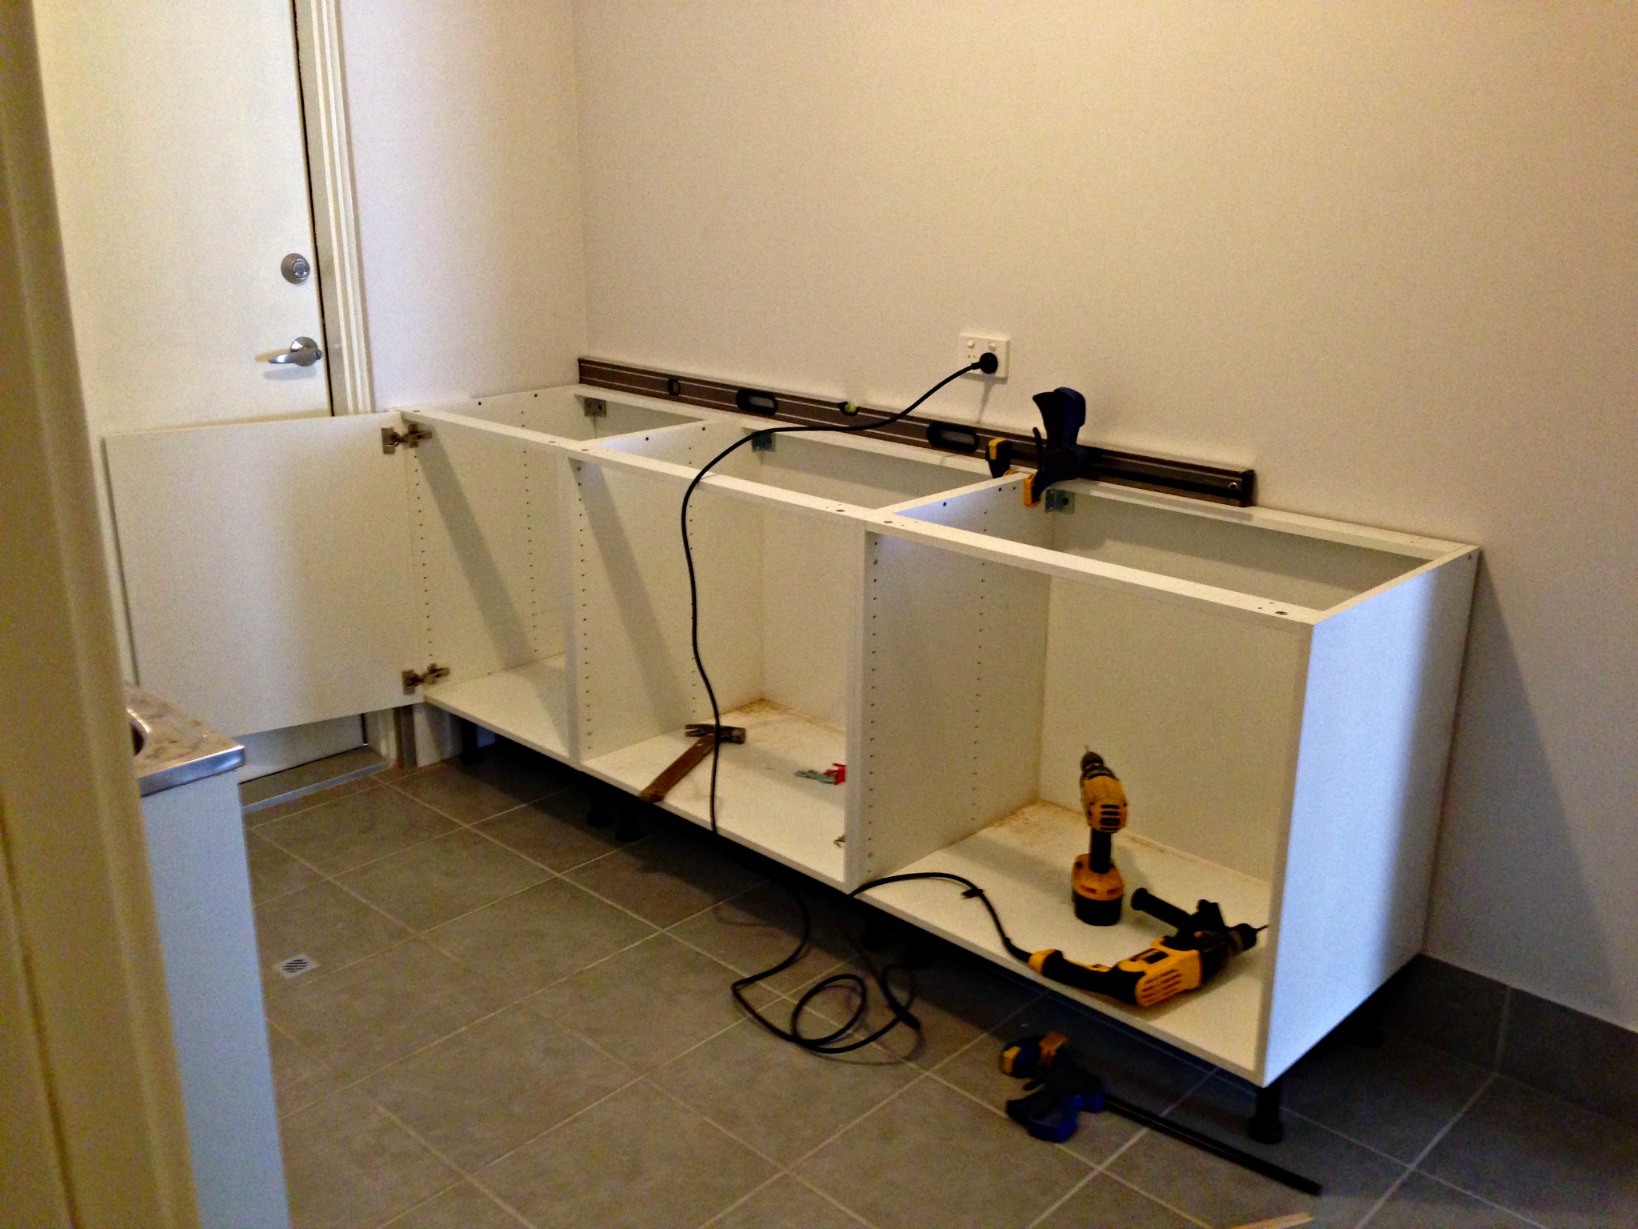
Attaching the Legs to a Kitchen Unit
Installing legs to a kitchen unit is an important part of any kitchen renovation project, and it can be a daunting task for the inexperienced DIYer. But with a few easy steps, anyone can install legs to a kitchen unit with confidence.
First, measure the height of the kitchen unit and decide how high you want the legs to be. You can also measure the existing base cabinet or leg frame to get an accurate measurement. Once you’ve decided on the desired height, cut the legs to the correct size.
Next, mark the mounting holes for the legs on the kitchen unit. Pre-drill the holes with the correct size drill bit for the screws you’re using. Then, use the appropriate screws to attach the legs to the kitchen unit. Make sure the screws are inserted securely and are not over-tightened.
Finally, use a level to make sure the legs are level with the kitchen unit, and adjust the screws if necessary. When you’re finished, you should have a secure and stable kitchen unit with legs that are firmly attached.
Attaching legs to a kitchen unit is a relatively simple process that can be done by anyone with basic DIY skills. With the right tools and a bit of patience, you can easily install legs to your kitchen unit and enjoy the improved look and feel of your kitchen.
Leveling the Unit
Kitchen units are a great way to make use of small spaces and maximize kitchen storage. But, when it comes to fitting the legs to the kitchen unit, the process can be tricky and time-consuming. To ensure a successful installation, it is important to level the unit before fitting the legs.
First, check the level of the floor by using a spirit level. If the floor is not level, use shims to create the desired height. Once the floor is level, mark the spot for the legs on the kitchen unit. Next, attach the legs to the unit using screws. Ensure that the legs are securely tightened and that the unit is level.
Finally, check whether the kitchen unit is level by using a spirit level. If needed, use shims to level the kitchen unit. This is an important step as it will ensure that the unit is properly aligned with the floor, which will prevent any future wobbling or instability.
By following these steps, you can successfully fit legs to kitchen units and create an optimal kitchen storage solution. With the right tools and knowledge, anyone can fit legs to kitchen units with ease.
Finishing the Job with Legs
Installing kitchen units is relatively straightforward; however, there is one crucial step that many overlook: adding legs. For a truly professional look, legs are essential. But how do you fit them?
The first step is to measure the height of the unit. It is important to make sure that the legs are no lower than the bottom of the unit, to provide the necessary support for the structure. Next, locate the pre-drilled holes at the bottom of the unit and mark the floor where the legs will be placed. Use a spirit level to ensure that the legs are perfectly level.
Once the markings are in place, screw the legs into the floor using the right screws for the flooring material. The legs should fit snugly around the markings and the screws should be fully tightened. Finally, check again with a spirit level to make sure that the unit is perfectly level.
Adding legs to kitchen units is a simple yet essential step in the process of installation. Not only do they complete the look but they also provide stability and support for the unit. With the right tools and a few simple steps, it is easy to fit legs into kitchen units for a professional finish.
FAQs About the How Do You Fit Legs To Kitchen Units?
1. How do I measure the legs to fit my kitchen units?
Answer: Measure the height of the unit from the floor to the underside of the unit and then subtract the height of the legs you intend to use. This will give you the length of the legs you need.
2. What type of material should I use for the legs?
Answer: The type of material you choose for the legs will depend on the design and weight of your kitchen units. Generally, metal and wood are the most common materials used for kitchen unit legs.
3. How do I attach the legs to the kitchen units?
Answer: Generally, you’ll need to drill into the kitchen unit and use either screws or bolts to attach the legs. You may also need to use glue or adhesive to secure them. Make sure to follow the instructions for the legs you’re using and to use the appropriate tools and materials for the job.
Conclusion
Fitting legs to kitchen units is a relatively simple process that requires a few basic tools. With the right measurements and a little patience, you can easily attach your legs and create a sturdy, well-supported kitchen unit. It is important to ensure that the legs are firmly attached and level with the floor before installing the kitchen units on top. With a few simple steps, you can easily fit legs into your kitchen unit and create a sleek and stylish look in your kitchen.