How Do You Paint a Ceiling Step by Step?
- Put on goggles, a dust mask, and gloves. Cover the floor with drop cloths to protect it from paint splatter.
- Wash down the ceiling with detergent and water to remove any dirt or grime; let dry completely before continuing.
- Sand any rough areas of the ceiling lightly with fine-grit sandpaper and wipe away all dust created by sanding using a damp sponge or rag; let dry completely before continuing.
- Fill in any holes, cracks, or other imperfections in the surface of your ceiling using a joint compound and allow it to fully dry according to the manufacturer’s instructions (usually 24 hours).
- Prime your ceiling using an oil-based primer that is appropriate for ceilings; use a roller if possible but a brush can be used if necessary as long as you use even strokes without leaving visible lines behind when finished painting one section at a time until the entire area is covered evenly.
- Once the primer has dried according to instructions (usually 1 hour), start applying latex paint for walls over top of it, once again going one section at a time until the entire area is covered evenly; Again rollers are best but brushes can still be used just make sure no visible lines appear after finish each section.
- Allow freshly painted sections to thoroughly dry between coats (at least 4 hours) then repeat steps 5 & 6 two more times so three coats have been applied in total allowing each coat plenty of time to dry properly before adding the next coat.
- Remove protective gear then stand back and admire the work you’ve done! Painting a ceiling can seem like an intimidating task, but it doesn’t have to be! With the right tools and tips, you’ll be able to easily tackle this project. Start by gathering supplies such as paint, painter’s tape, drop cloths, trays, and rollers.
Once everything is ready to go, begin by preparing the surface of the ceiling: remove any dust or debris with a vacuum cleaner or damp rag; fill in any cracks or holes with spackle; lightly sand until smooth; and wipe down one last time before painting. When you’re ready to start painting, use the painter’s tape to mask off areas near walls and trim. Then apply primer if needed – this will help your finished coat look better and last longer.
Finally, using roller brushes (or sprayer if spraying), evenly cover the entire area with paint in even strokes. Allow ample drying time between coats as recommended on your chosen product label – usually 1-2 days – then enjoy your newly painted ceiling!
How to Paint a Ceiling for Beginners
Painting a ceiling may seem like a daunting task, but it doesn’t have to be! With the right tools and some patience, anyone can easily paint a ceiling. Start by purchasing quality supplies such as an extension pole, roller tray, rollers with long handles, paintbrush, and painter’s tape.
Once you’ve gathered your materials, make sure to prepare the surface of the ceiling by removing any dust or debris. Next, apply painter’s tape around the edges of walls that meet up with the ceiling, and use a primer before painting. When you’re ready to start painting, begin in one corner and work your way outwards towards the opposite side of the room while using even strokes for the best coverage.
Allow time for drying between coats if needed before adding additional layers until the desired color is achieved.
:max_bytes(150000):strip_icc()/how-to-paint-ceiling-2000-6802d3922bf6450f80c060aa71fcede7.jpg)
Credit: www.realsimple.com
How Do You Paint a Ceiling for Beginners?
Painting a ceiling can be a daunting task for first-time painters, but it doesn’t have to be. To start, make sure the surface of your ceiling is clean and free from any dust or debris. Next, you’ll need to prime the surfaces with an appropriate primer and let them dry according to the manufacturer’s instructions.
Once dried, use painter’s tape around edges and fixtures such as lighting or vents that may not need to be painted. Then apply a coat of quality interior paint in either flat, eggshell, or semi-gloss sheen depending on preference. For best results use a roller instead of a brush when painting ceilings; this will help give the most even coverage possible with fewer streaks and lines.
Finally, allow proper drying time (usually 1-2 days) before adding additional coats if necessary for the desired look.
Credit: www.thespruce.com
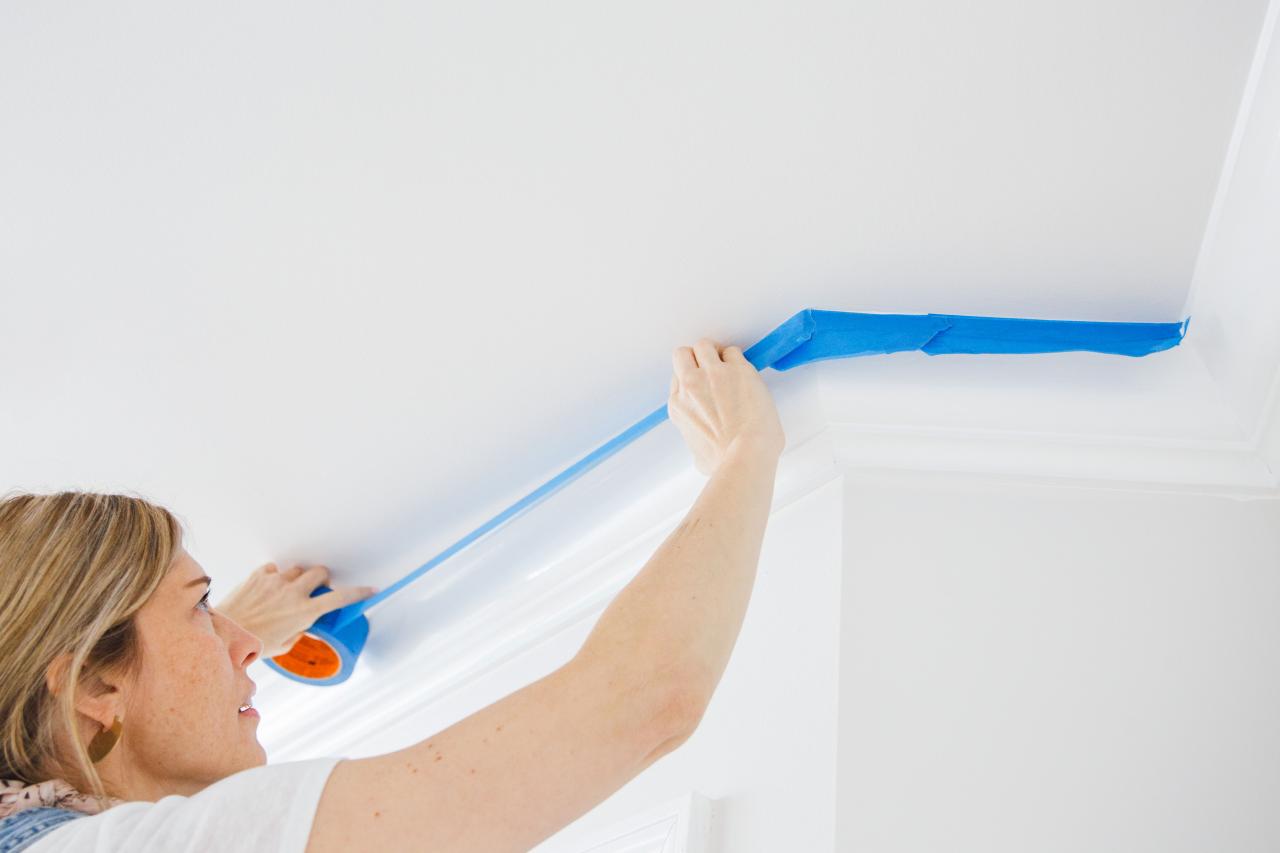
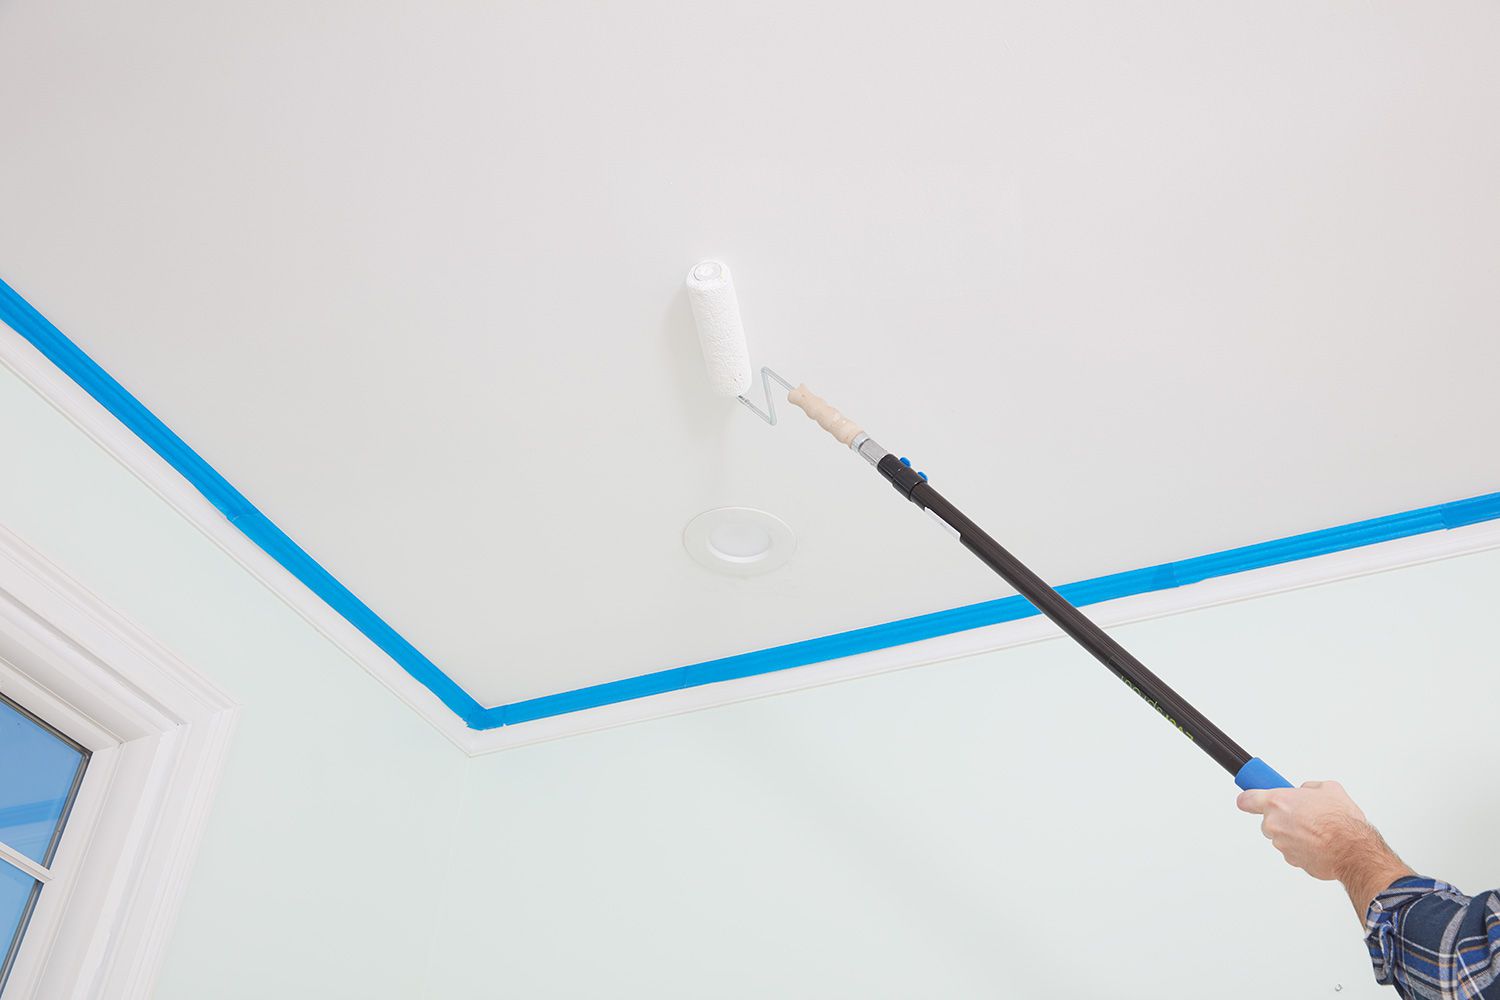
How Do I Get a Perfect Line between My Wall And Ceiling?
The best way to get a perfect line between your wall and ceiling is to use painter’s tape. Painter’s tape can be used to create a straight, clean line that will not only look professional but also keep paint from seeping under it. Start by measuring the area where you want the separation between the wall and ceiling and cutting a piece of painter’s tape slightly longer than this measurement.
Place the tape carefully along the edge of your chosen line, pressing down firmly with your hand so that it sticks securely in place. Once you have finished applying all of the necessary pieces of painter’s tape, use a brush or roller to apply paint onto both sides at once while keeping an eye on any seepage under the edges. Once dry, remove each piece of painter’s tape slowly and carefully for the best results!
How Do I Paint My Ceiling Like a Professional?
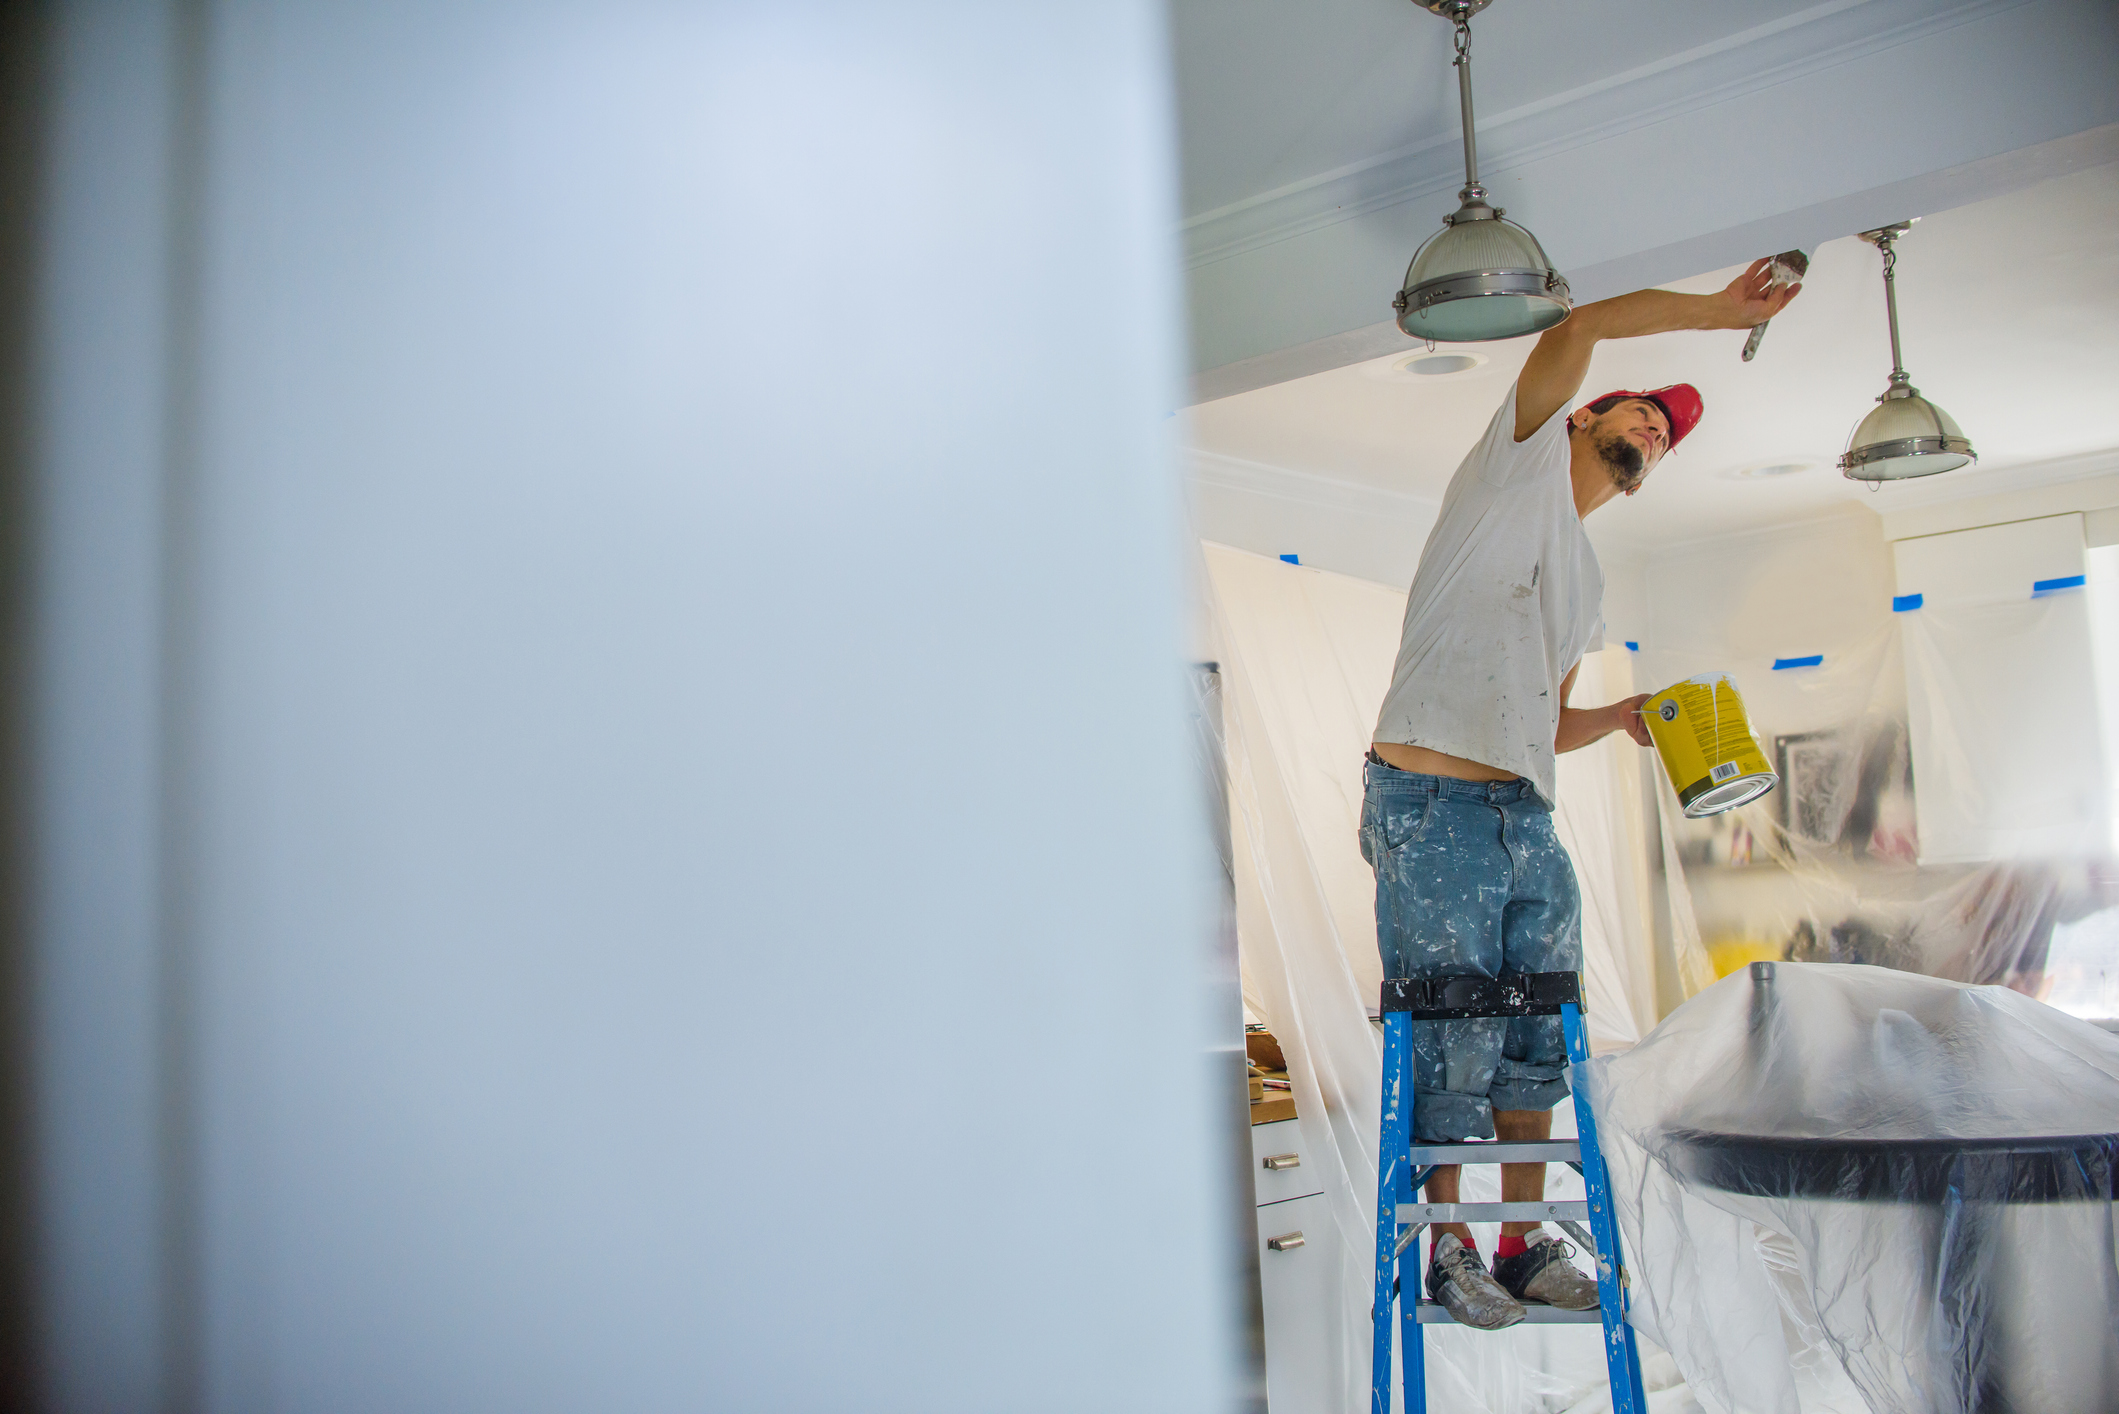
To paint your ceiling like a professional, start by using painter’s tape to mark off any areas you don’t want paint, such as light fixtures or trim. Use a ladder to reach the ceiling and an extension pole for your roller if necessary. Prepare the surface of the ceiling with spackling compound and sand it lightly before applying primer.
When painting with a brush or roller, use long strokes in one direction rather than short circles. Allow each coat to dry completely before adding additional coats until desired coverage is reached; two coats are usually sufficient. Finally, remove all painter’s tape carefully after the final coat has dried completely.
Credit: www.homebuilding.co.uk
Is It Best to Paint a Ceiling With a Roller Or a Brush?
When painting a ceiling, it is generally best to use a roller. A roller allows you to cover more area quickly and evenly, while also providing an even finish that looks professional. It is also easier on your arms and back as you don’t have to make the same motions over and over again when using a brush.
Additionally, since rollers can hold more paint than brushes do, they are often faster at covering large areas of wall or ceiling space in fewer coats of paint.
HOW TO PAINT A CEILING – Everything you need to know in 5 minutes!
Conclusion
Painting the ceiling may seem like a daunting task, but with the right tools and instructions it can be done quickly and easily. By following these steps, you will be able to paint your ceiling in no time at all. Taking the time to properly prepare for painting and using the best materials available will ensure that your newly painted ceiling looks great for years to come.
With a little bit of patience and effort, you can have beautiful results!