How Do You Prepare A Kitchen For Painting?
Painting your kitchen can be a great way to update the look of your home and give it a fresh, new feel. However, before you start painting, you need to make sure you properly prepare your kitchen. Preparing a kitchen for painting includes cleaning the walls, removing any hardware, and sanding any areas that need it. It is also important to cover your counters and floors with drop cloths to protect them from paint splatter. Finally, make sure your kitchen is well-ventilated to ensure that the paint dries properly. With the right preparation, you can give your kitchen a beautiful new look.
Necessary Supplies and Materials
At Necessary Supplies and Materials, we know that having the right supplies and materials can make all the difference in completing a project on time and on budget. Whether you’re a professional contractor, a hobbyist, or a DIY enthusiast, we have the tools and materials you need to get the job done. We carry a vast selection of products to fit every budget and application. From building materials and tools to automotive supplies and home improvement products, we have everything you need for your next project. Our knowledgeable staff is here to help you find the right supplies and materials for your needs. Stop by and see us today!
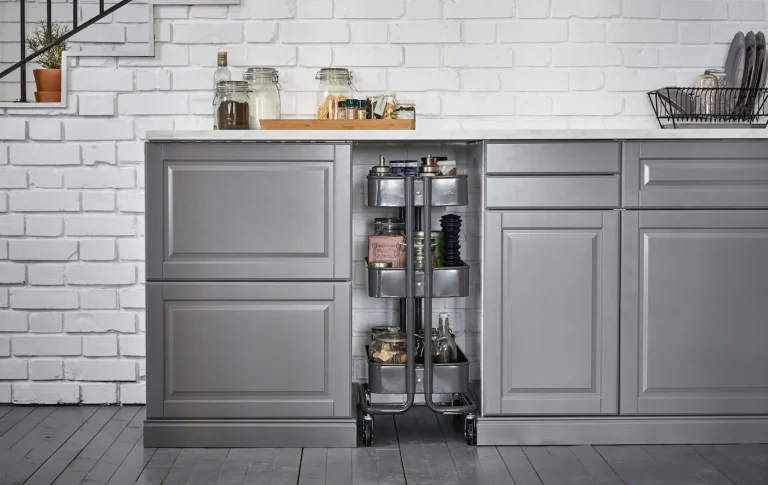
Preparing the Room
Preparing the Room is the blog that helps you create the perfect living space for your home. From interior design tips to advice on furniture selection, we have the knowledge to help you create a stylish and comfortable space. From color schemes to lighting, flooring, and wall art, we’ll help you choose the right elements to bring your room to life. We’ll also share our top picks for the best furniture, accessories, and decorations to create a unique look. If you’re looking for ways to make the most of your space, you’ve come to the right place. Our blog offers advice on how to organize furniture, find hidden storage solutions, and make the most of the space you have. We’ll also provide insights into the latest trends in home design, helping you stay up to date with the latest styles and ideas. With our blog, you’ll have the tools and guidance you need to create the perfect room.
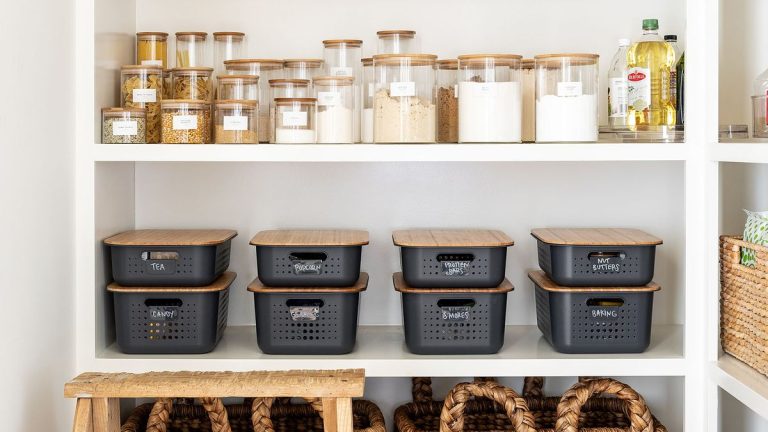
Protecting Items and Surfaces
The importance of protecting items and surfaces can’t be overstated. From protecting furniture and other items from dust and dirt to preventing scratches and scuffs, it’s essential to keep your belongings in the best condition for as long as possible. By using protective covers and guards, you can ensure that your items remain looking good and functioning properly for years to come. Protective covers can be used on furniture, electronics, and other items to protect them from harmful UV rays and dust. Protective guards can be used on walls, floors, and other surfaces to help prevent scratches and scuffs. Investing in protective covers and guards is a great way to keep your belonging looking their best.

Removing Wallpaper and Glue
Removing wallpaper and glue can be an intimidating task for any homeowner. With the right tools and a little know-how, however, it doesn’t have to be a daunting chore. Start by scoring the wallpaper with a paper tiger, which creates tiny perforations in the paper to make it easier to remove. Then, use a wallpaper steamer or a solution of warm water and fabric softener to soften the glue and begin to peel away the paper. With a bit of patience and elbow grease, you can easily remove wallpaper and glue.
Repairing Wall Damage
Repairing wall damage can be a tricky task, but with the right tools and tips, it can be done quickly and easily. Whether it’s a hole in the wall, a crack, or a scratch, you can repair it yourself with minimal effort and expense. First, assess the damage to determine the appropriate materials needed for the job. Next, prepare the area for repair by cleaning and removing any debris. Finally, use the appropriate adhesive to fill the damaged area and finish it off with a wall patch or texture. With a few simple steps, you can quickly repair any wall damage, making your space look new again.
Sanding and Cleaning the Walls
Sanding and cleaning walls is a necessary step in any home improvement project. This step helps to remove dirt, grime, and any other impurities that may be present on the walls. Sanding helps to smooth out the surface for a better finish and a more attractive appearance. Cleaning the walls also helps to remove any residue from the sanding process, ensuring that the walls are free from any dust or debris. This step is important for any painting or staining project, as it will provide a smooth surface for the new coat of paint or stain to adhere to. Sanding and cleaning walls can be done by hand or with a power sander, depending on the size and scope of the project.
Priming the Walls
Priming the Walls is a blog that seeks to help people make the most out of their living spaces. We understand how important it is to feel comfortable and inspired in your own home, and we want to help you get the most out of your space. We provide tips and tricks on everything from wall painting to furniture placement, so you can create the perfect atmosphere for you and your family. Whether you’re looking to make a statement with bold walls, or just add a subtle touch of style to your home, we have something for you. So come join us and get ready to transform your living space.
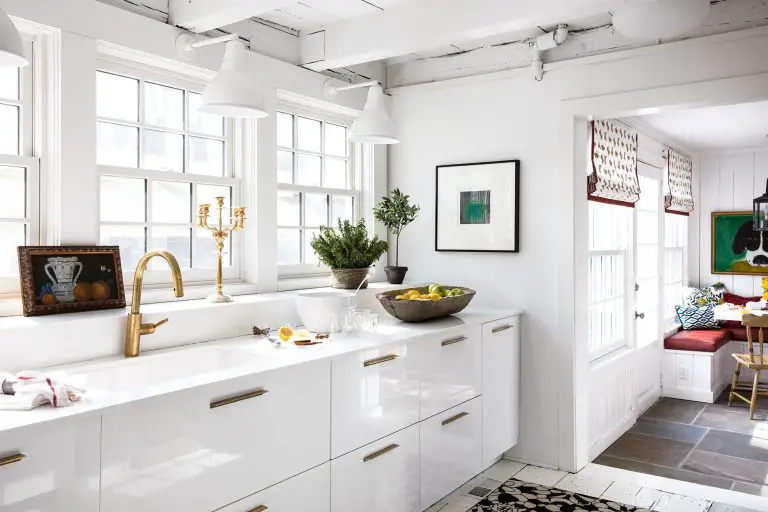
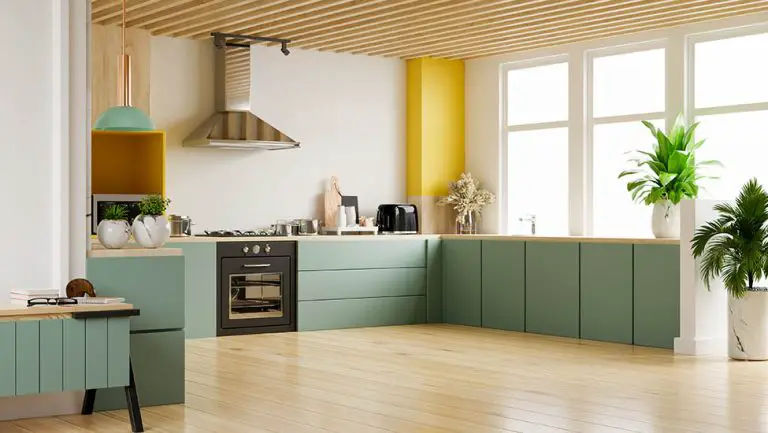
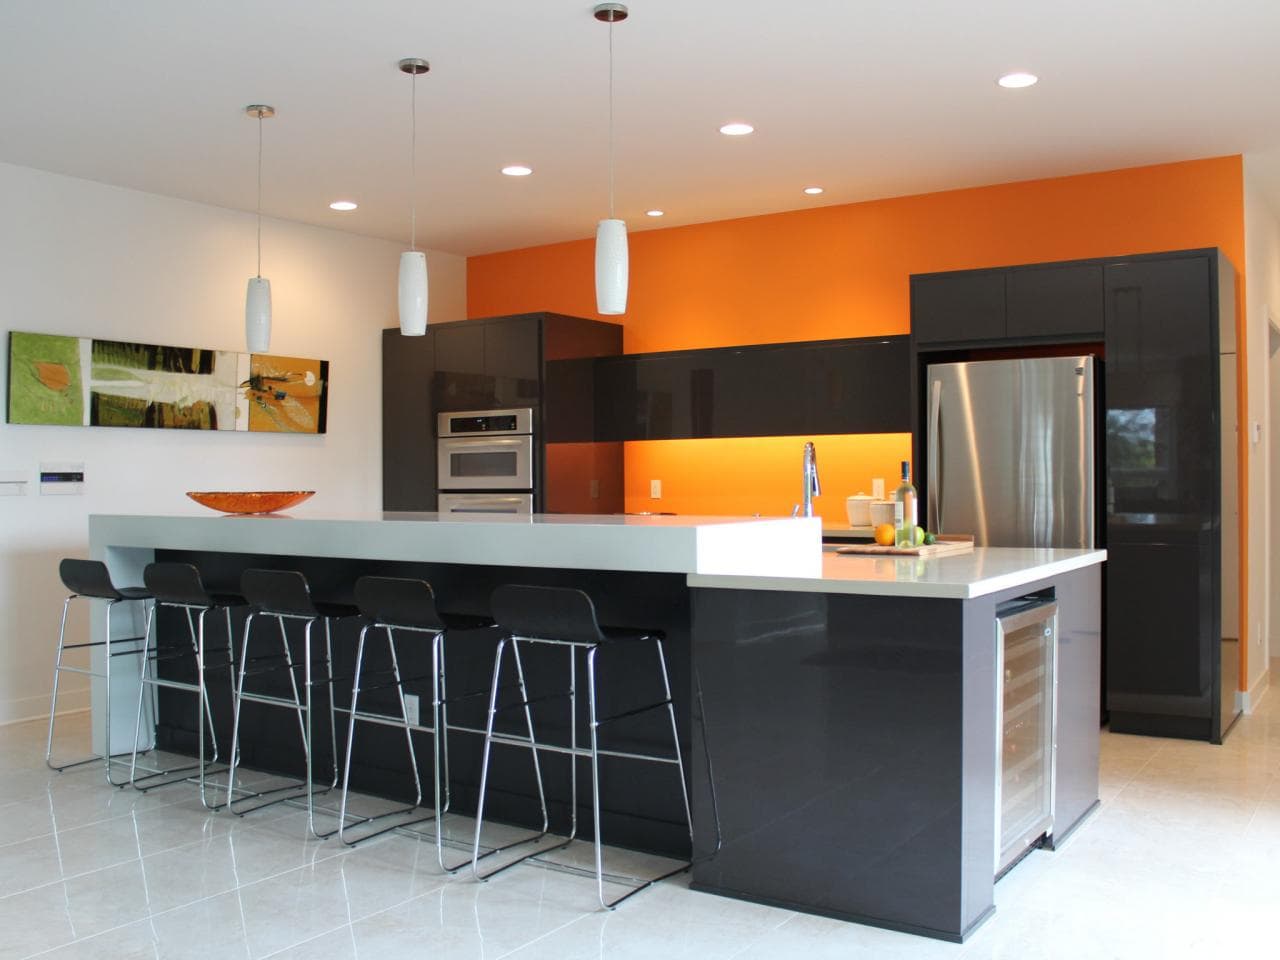
Choosing the Right Paint and Colors
Choosing the right paint and colors for your home or office can be overwhelming. With so many shades and hues to choose from, it can be difficult to decide what colors will best fit your space. Taking the time to plan out your color palette can help you create a beautiful and cohesive look that will make your space look and feel inviting. Consider the lighting in the room, how it will flow with the rest of your home, and the mood you want to create. With the help of a color wheel, you can pick complementary colors that will work together to create the perfect look. With the right paint and colors, you can transform any space into a place that looks and feels just right.
FAQs About the How Do You Prepare A Kitchen For Painting?
Q: What kind of surface preparation is necessary before painting a kitchen?
A: Before painting a kitchen, you should clean the walls and remove any grease or dirt. You should also use sandpaper to smooth out any rough spots or imperfections. Additionally, you may need to caulk any gaps or cracks before painting.
Q: What kind of paint should I use for the kitchen?
A: You should choose a paint specifically designed for kitchen walls. Generally, it is best to use paint with a semi-gloss finish, as this will resist staining and make it easier to clean.
Q: What painting supplies will I need?
A: You will need painter’s tape, drop cloths, brushes, rollers, and a paint tray. Additionally, you may need a ladder if your kitchen has high walls or ceilings.
Conclusion
Painting a kitchen is a great way to give it a fresh and modern look. To get the best possible results, it’s important to properly prepare the kitchen before painting. This includes cleaning and priming the surfaces, removing the doors and hardware, covering the floors and countertops, and taping off the trim and other areas. Following these steps will ensure that the painting process goes smoothly and that the end result looks great.