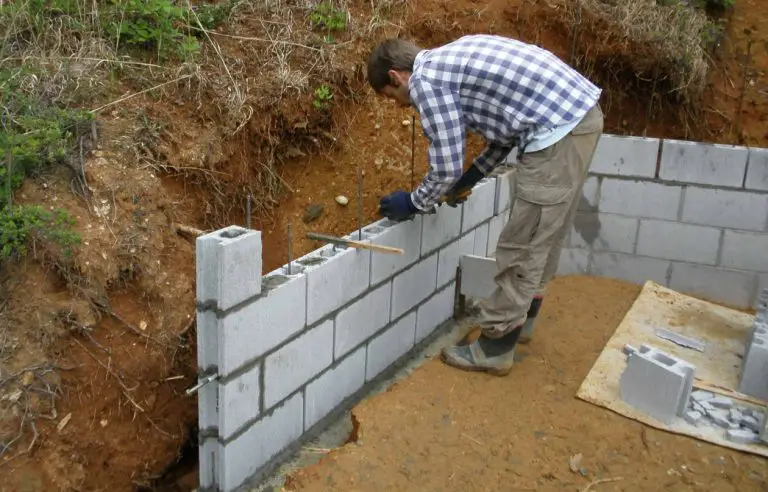
How to Batten on Uneven Stone Wall
This is a question I get a lot, so I thought I would address it in a blog post. Battening on an uneven stone wall can be tricky, but there are a few things you can do to make it easier. First, use a level to mark out where you want your battens to go.
This will give you a straight line to work with and make it easier to keep your battens level as you nail them into place. Second, use shorter nails or tacks so that they are less likely to bend when you hammer them into the uneven surface of the stone. Finally, take your time and be careful not to hit your fingers!
- Choose the location for your batten
- It should be level and flat, with enough space to comfortably work on it
- If possible, find a spot that is sheltered from the wind
- Gather your materials
- You will need a hammer, nails, a spirit level, and a tape measure
- Optionally, you may also want to use a chalk line to mark out your batten’s placement on the wall
- Cut your batten to size
- It should be slightly longer than the section of wall you’re working on, so that there is overlap on either side
- Hold the batten up against the wall in the chosen location and mark where the nails will go with a pencil or chalk
- Make sure that these marks are level with each other using a spirit level before proceeding to the next step
- Drill pilot holes into the marks you made in Step 4
- Doing this will make it easier to drive in the nails later without damaging the stone wall surface
- Affix the batten to the wall by driving nails into the pilot holes
- Use a hammer to tap them in until they are flush with the surface of bat ten
- 7 Check that level once again and make any necessary adjustments before moving on

Credit: www.funkyjunkinteriors.net
How Do You Fix an Uneven Wall Surface?
If you have an uneven wall surface, there are a few things you can do to fix it. First, you will need to determine what is causing the problem. If the problem is due to a settling foundation, you will need to have the foundation repaired.
If the problem is due to poor construction or an earthquake, you will need to have the wall rebuilt. Once you know what is causing the problem, you can start fixing it. If the problem is due to a settling foundation, you will need to jack up the affected area and shim it until it is level.
You may also need to add additional support if the original foundation was not adequate. If the problem is due to poor construction or an earthquake, you will need to rebuild the affected section of wall. This may require hiring a professional contractor who specializes in this type of work.
No matter what is causing your uneven wall surface, there are solutions available that can fix the problem and restore your walls to their original condition.
How Do You Fix Battens to the Wall?
There are a few ways to fix battens to the wall. The most common way is to use nails or screws. You can also use adhesive tape or Velcro strips.
If you’re using nails or screws, make sure they’re the right size and type for the material of your battens. For example, if you’re using plastic battens, use small panhead screws. If you’re using wooden battens, use larger flathead nails.
Position the first batten at the top corner of the wall and mark where you’ll be putting the nails or screws. Pre-drill pilot holes if necessary. Then drive in the nails or screw in the screws until they’re flush with the surface of the batten.
Repeat this process for each subsequent batten, making sure they’re evenly spaced apart. If you’re using adhesive tape or Velcro strips, apply them to both the wall and the back of the batten. Press firmly into place and repeat for each subsequent batten.
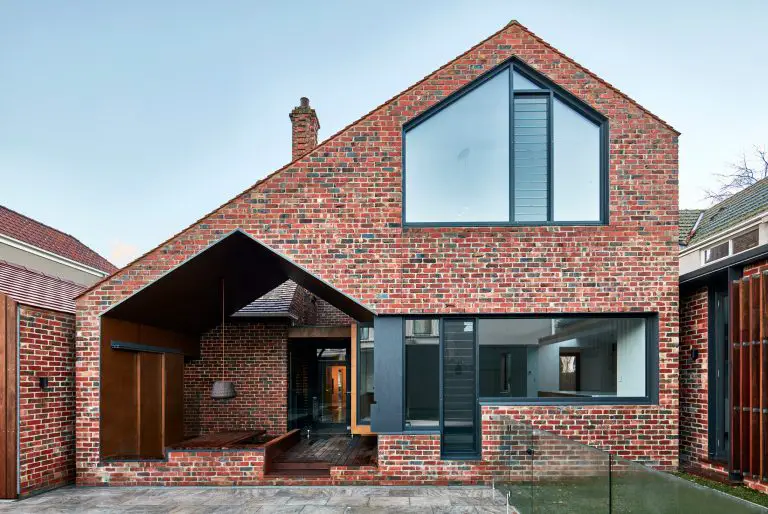
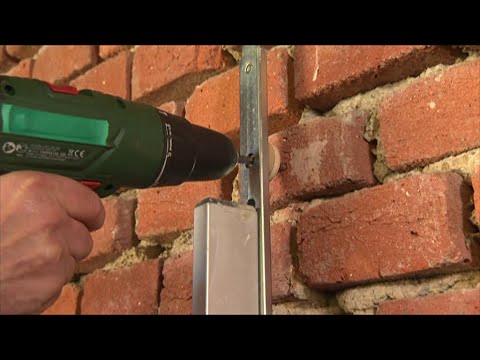
How Do You Attach a Batten Board to a Brick Wall?
There are a few different ways that you can attach a batten board to a brick wall. The most common method is to use masonry nails or screws. You will want to pre-drill the holes for the nails or screws so that they go into the mortar joints between the bricks.
Another option is to use brick clips, which grip onto the bricks without going through the mortar joints.
How Do You Mount a Batten?
In sailing, a batten is a thin strip of rigid material, typically made from fiberglass, carbon fibe,r or aluminum, used to support and shape the leading edge of a sail. Battens are inserted into pockets on either side of the sail and extend along the leech (back edge) of the sail. Battens increase the camber (curvature) of a mainsail and improve its aerodynamic performance by preventing the leech from flapping in the wind.
In addition, battens stiffen sails and enable them to hold their shape better when reefed (partially furled). Most racing yachts have at least two battens per side in their mainsails; some cruisers carry as many as six. There are two types of batten: full-length and short.
Full-length battens run from the luff (forward edge) of the sail to near the tack (corner where the boom attaches), while short battens stop somewhere in between. Short battens are often used in conjunction with fuller sails known as “battens” main sails; these lack horizontal fabric panels between adjacent battens for added strength and reduced weight aloft. The process for inserting a full-length batten into a pocket begins with attaching one end of the Batten to the mast via a hank or tapered end plug.
The opposite endofThebatten is then slid into Thepocket until it reaches Theluff. Finally, the leech line is threaded through ThegrommetatThisleech Endand pulled tight to secureThebattenin place.
Wall Batten Sizes
When it comes to wall battens, size definitely matters! The thickness of your battens will impact both the look and feel of your finished project, as well as the overall strength and stability of your walls. Here’s a quick guide to help you choose the right size batten for your next project:
Thin (3/8″ or less): Use thin battens for a delicate look, or when working with lightweight materials such as fabric or paper. Thin battens are also great for small projects where weight is a concern. Medium (1/2″ – 3/4″): Medium battens are versatile and can be used for a variety of applications.
They’re strong enough to support heavier materials like wood paneling, yet still provide a nice finish. Thick (1″ or more): Thick battens are ideal for creating a bold statement or providing extra support for large projects. When in doubt, go thicker!
It’s always better to err on the side of caution when it comes to load-bearing walls.
Conclusion
Batten on uneven stone walls can be a difficult and time-consuming task. However, with the proper tools and techniques, it can be done relatively easily. The first step is to identify the highest point on the wall.
This will be the starting point for your batten. Next, measure the width of the wall at this point and mark it on your batten. Now, using a level, draw a line from this mark to the opposite end of the batten.
This will be your reference line. Now that you have your reference line, you can start attaching your battens to the wall. Begin by finding two points on the wall that are level with each other and about 6 inches apart.
Drive a nail into each of these points. Next, take your first batten and align it with these nails, making sure that it is flush with the top of the wall. Secure this batten in place by driving nails through its top edge into the underlying stones.
Continue attaching additional battens in this manner until you reach either end of the wall or run out of space (whichever comes first). When attaching these later battens, make sure to overlap them slightly with those below so that water will not be able to penetrate behind them.