How to Change Roomba Home Base Location
If you need to move your Roomba home base to a new location, there are a few things you need to do. First, make sure that the new location is within range of your Roomba and that there is a clear path for it to get there. Then, unplug the home base and carefully carry it to the new location.
Once you have placed the home base in the new location, press and hold the “Clean” button for three seconds until the lights on the base flash. Finally, plug in the home base and press the “Clean” button again to start using it in its new location.
- Pick up your Roomba and carry it to the new location for your home base
- Place your Roomba down on the floor in the new location
- Press and hold the “clean” button on your Roomba for about 5 seconds, until you hear a beep
- This will cause your Roomba to start searching for its home base
- Once your Roomba has found its new home base, it will stop moving and the lights on the top of the unit will turn green, indicating that it is now ready to use in its new location
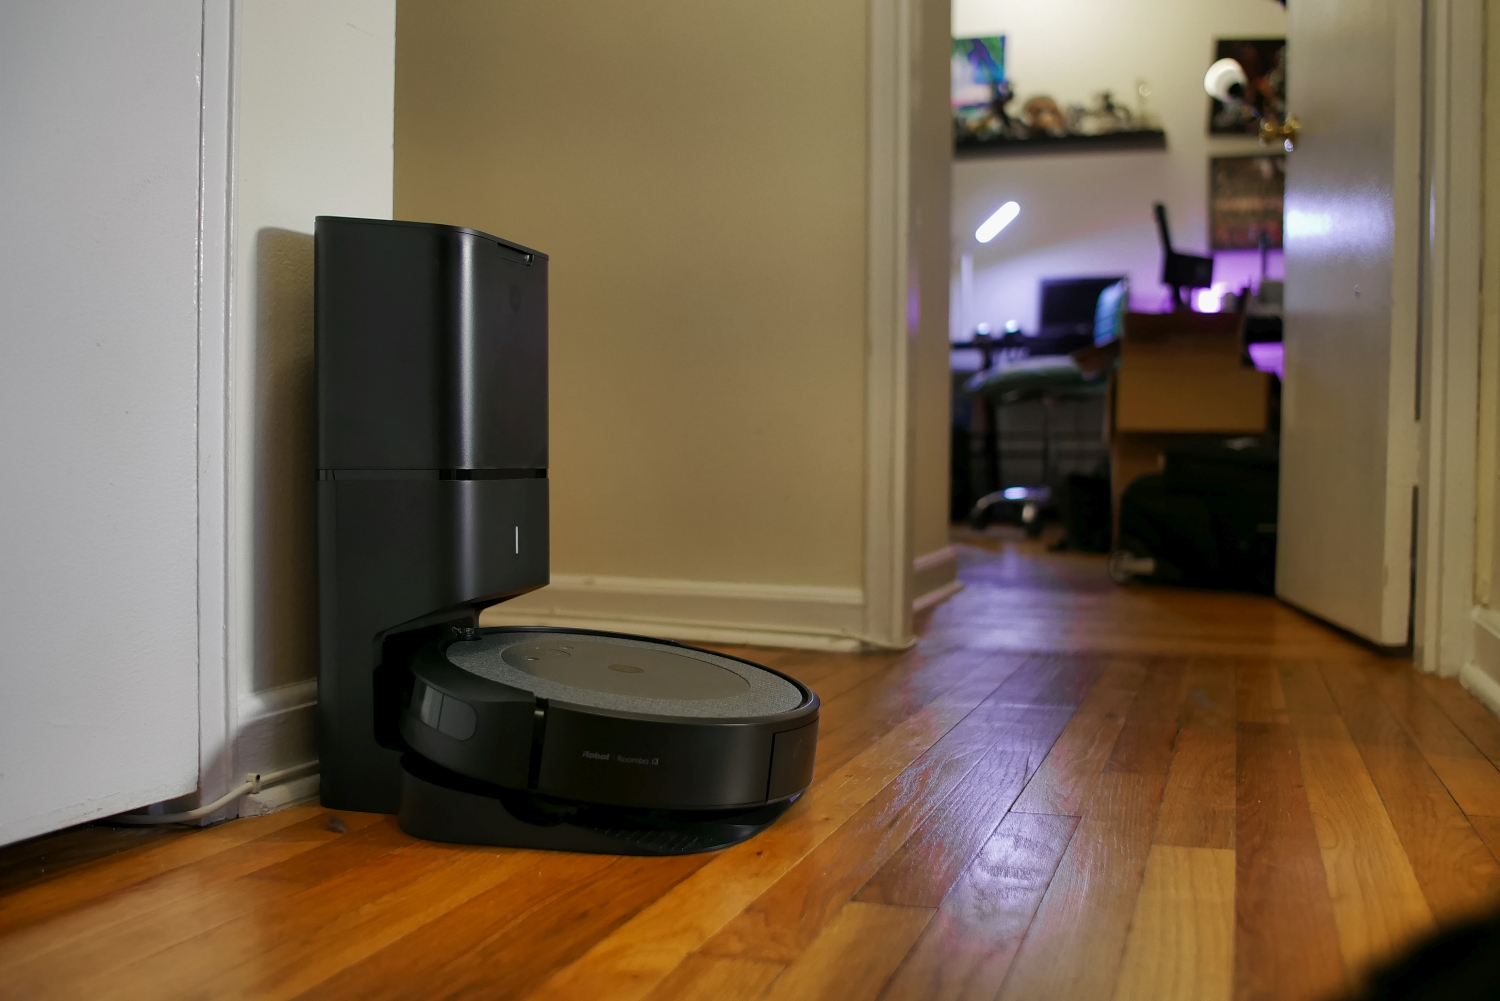
How to Move Roomba I7+ Home Base
If you have a Roomba I7+ and need to move the Home Base, there are a few things you need to do. First, find a level surface on which to place the Home Base. Then, using the included power cord, plug the Home Base into an outlet.
Once it’s plugged in, press and hold the Clean button for two seconds until the power light starts flashing. Next, use your hand to lift up on the front of the Home Base until it clicks into place. Finally, grab the carrying handle on top of the Home Base and gently carry it to its new location.
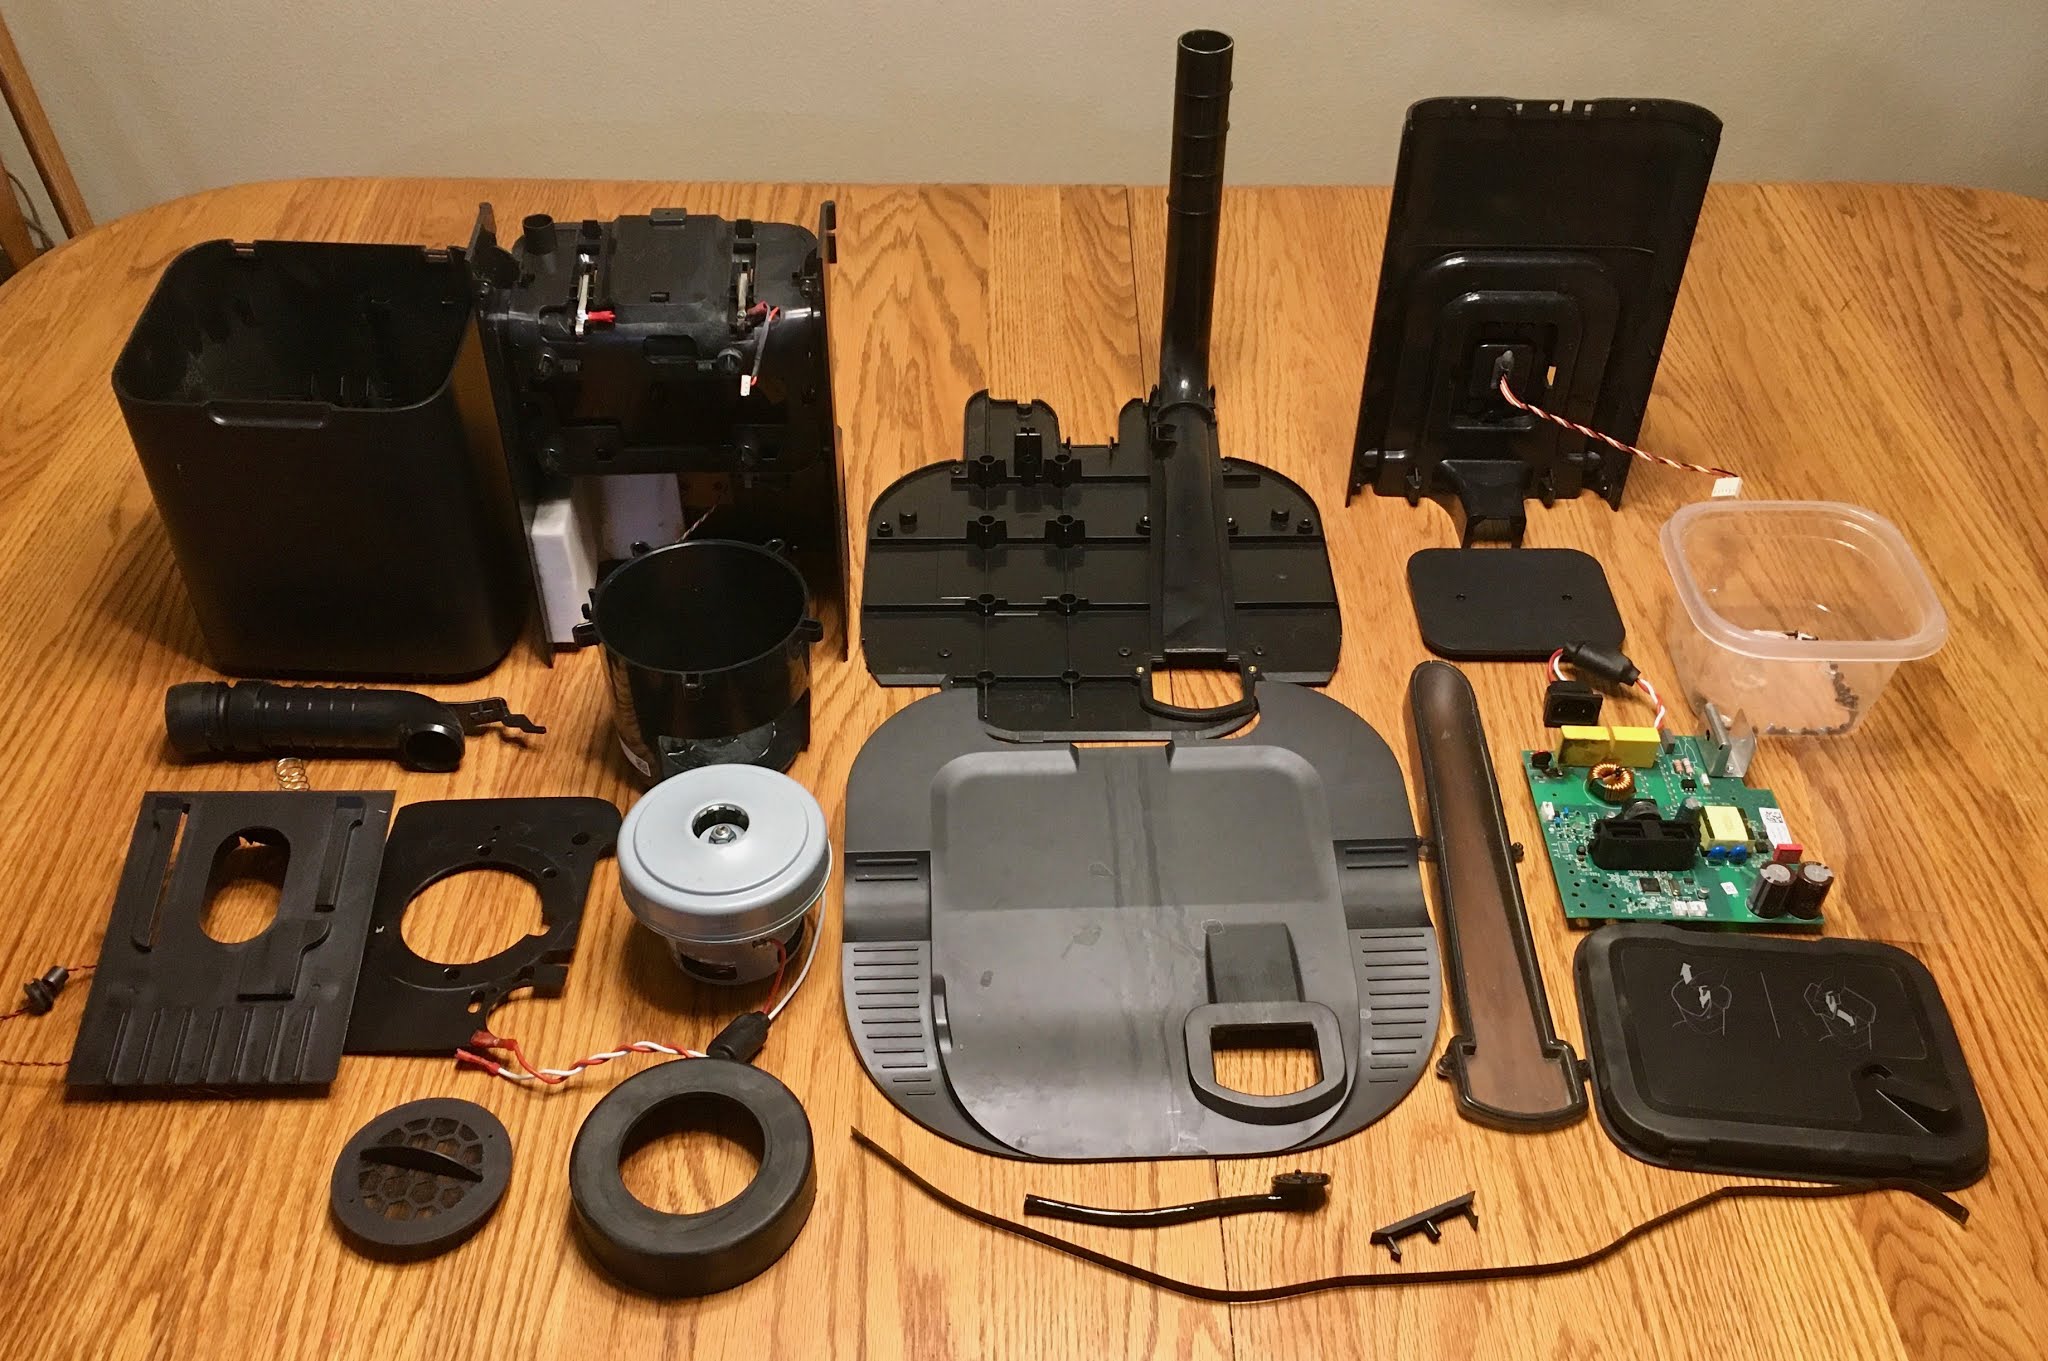
Credit: www.sevarg.net
Can I Relocate My Roomba Home Base?
Yes, you can relocate your Roomba home base. Here’s how:
- Pick up your Roomba and turn it over. Locate the “Home Base” sticker on the bottom of the unit.
- Carefully peel back the sticker to reveal the Home Base serial number (HBSN).
- Write down the HBSN or take a picture of it for reference.
- Unplug your current home base and plug in the new one in its place.
- On your Roomba, press “Clean” and then “Spot”. The Roomba will emit 3 tonnes signifying that it is ready to be registered with a new home base.
- Press and hold the “Home” button on top of the unit until you hear 1 tone signifying that registration mode has been entered (about 5 seconds).
- Enter your HBSN by pressing the corresponding buttons on top of Roomba for each digit in the sequence (eButton_1 corresponds to 1, eButton_2 corresponds to 2. etc). For example, if your HBSN is 1234 you would press eButton_1, eButton_2, eButton_3, and eButton_4 in sequence while still holding down the “Home” button from Step
- After entering all 4 digits of your HBSN, release the “Home” button -do not press any other buttons on the Roomba at this time the registration will cancer and you’ll have to start from step
- You should hear 2 tones signifying that registration was successful and your new home base is now connected to your Roomba!
How Do I Reset My Roomba Homebase?
If you need to reset your Roomba Homebase for any reason, the process is actually quite simple. To begin, unplug the Homebase from its power source and then press and hold the Clean button for 20 seconds. After that, release the button and then plug the Homebase back in.
Once it’s plugged in, press and hold the Clean button again for another 20 seconds. And that’s it – your Roomba Homebase will be reset!
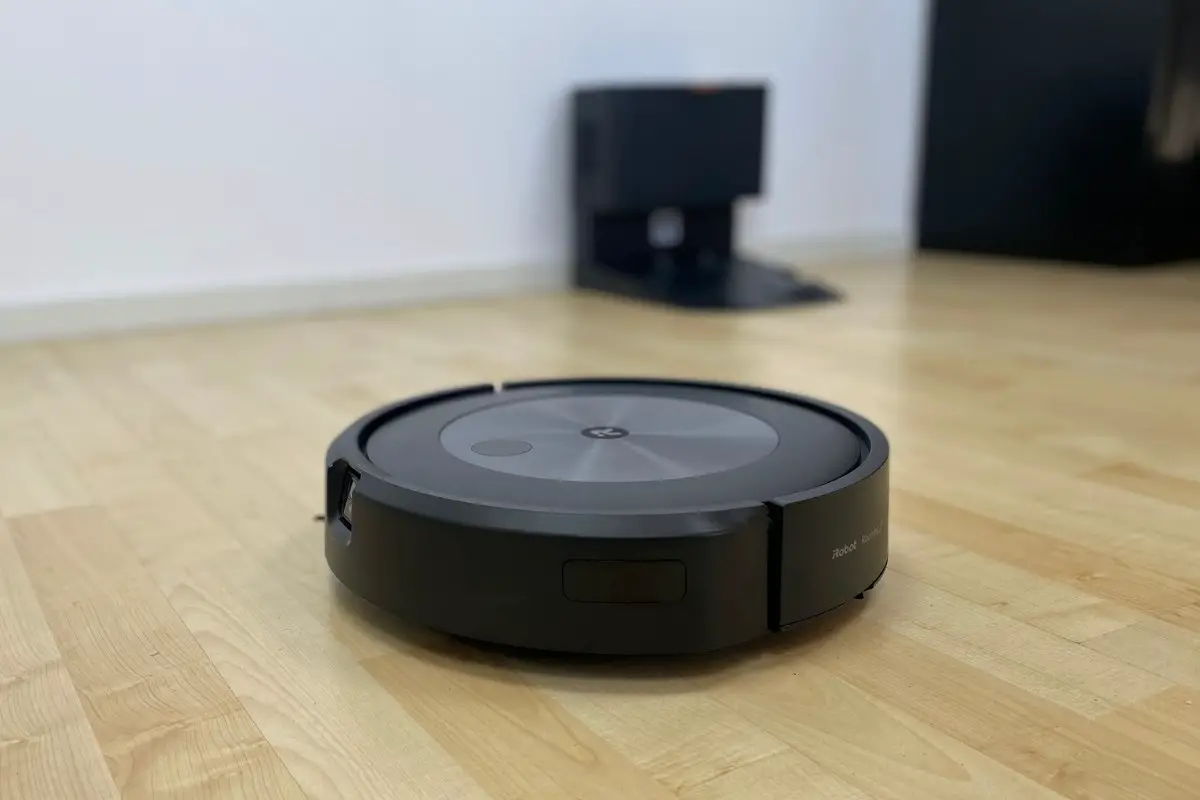
Credit: www.vacuumtester.com
How Do I Set My Roomba Home Location?
Assuming you would like tips on how to set your Roomba home location: There are a few things you can do to make sure your Roomba knows where your home is. The first step is finding a good spot for your robot vacuum.
You’ll want to choose an area that’s away from high-traffic areas and furniture, and make sure there’s enough space for the Roomba to turn around freely. Once you’ve found the perfect location, it’s time to start setting up your virtual wall. Virtual walls are key if you want your Roomba to stay in certain areas and out of others.
To create a virtual wall, simply place the included battery-operated boundary marker in the doorway or opening you want to block off. The virtual wall emits an infrared beam that tells the Roomba where it can and cannot go. You can also use virtual walls to keep your Roomba contained in one room while it cleans, which can be helpful if you have pets or small children who might get in its way.
Another important step in setting up your home base is making sure the charging dock is easily accessible. The last thing you want is for your Roomba to run out of juice in the middle of cleaning because it couldn’t find its way back to the dock. So, once you’ve found a good spot for the charging station, clear away any obstacles that might block its path (like cords or rugs).
And that’s it! With these simple steps, you can ensure that your Roomba always knows where home is.
How Does Roomba Know Where Home Base Is?
If you have a Roomba, you know that one of its most impressive features is its ability to find its way home. But how does it do this? Let’s take a look at how Roomba knows where the home base is.
Roomba has a built-in GPS system that allows it to keep track of its location. When it’s time to go home, Roomba will use this GPS system to navigate back to its starting point. In addition to GPS, Roomba also uses sensors to help it find its way around your home.
These sensors allow Roomba to detect obstacles and map out the layout of your rooms. By combining these two navigation systems, Roomba is able to find its way back home with ease.
How to Set Up the Home Base | Roomba® | iRobot®
Conclusion
If you want to move your Roomba’s home base to a new location, it’s actually pretty easy. First, find a level spot in the room where you want to put the home base. Then, press and hold the clean button for about 5 seconds until the Roomba beeps.
Finally, guide the Roomba back to the new location and press the clean button again. That’s it!