How to Install a Wall Thimble
If you are looking to install a wall thimble, there are a few things you will need to do. First, you need to find the studs in your wall so that you know where to place the thimble. You will also need to measure the opening in your wall so that you can cut the hole for the thimble.
Once you have these things prepared, installing the thimble is relatively easy.
- Start by finding the studs in the wall with a stud finder
- Mark the top and bottom of the hole on the wall with a pencil
- Use a drywall saw to cut out the rectangular hole between your marks
- Remove any sharp edges from inside the hole with a utility knife
- Insert the thimble into the hole, then secure it to the studs with screws
- Apply caulking around the outside of the thimble to seal up any gaps
Diy Wall Thimble
If you’re like most people, the wall thimble is probably one of those home improvement projects that you never really thought about until you need it. But what exactly is a wall thimble? And how can you DIY one if necessary?
A wall thimble is simply a device that allows you to run a pipe or duct through an exterior wall without having to make a hole in the wall itself. They’re usually made of metal or plastic, and they come in a variety of sizes to fit different-sized pipes. If you need to install a new furnace or air conditioner, for example, your contractor will likely use a wall thimble to get the job done.
Wall thimbles are generally pretty easy to install – just drill a hole in the outside of your house (big enough for the pipe or duct), then slip the thimble into place and seal it up with caulk or other appropriate materials. If you’re not comfortable drilling holes in your house, though, there are plenty of DIY tutorials online that can walk you through the process step by step. Just be sure to measure twice and drill once!
Do You Insulate Inside a Wall Thimble?
When it comes to insulating a wall thimble, there are two main schools of thought. Some believe that you should always insulate inside the thimble, while others believe that doing so is unnecessary and can actually decrease the overall efficiency of the thimble. So, which is the right approach?
The main argument for insulating inside the wall thimble is that it will help to prevent heat loss through the thimble itself. This is because insulation acts as a barrier to heat transfer, so by keeping the insulation on the inside of the thimble, you are effectively stopping heat from escaping through the metal. This can be particularly beneficial in colder climates, where every little bit helps when it comes to staying warm!
However, there are also some drawbacks to this approach. First of all, it can be tricky to get the insulation properly seated inside the thimble without leaving any gaps or air pockets. If even a small amount of heat escapes through these gaps, it can negate any energy savings that you would have gained by insulating in the first place.
Additionally, if your goal is to create an airtight seal around the chimney pipe, adding insulation on the inside can actually make it more difficult to achieve this. So, what’s our verdict? Ultimately, whether or not you choose to insulate your wall thimble is up to you – there are pros and cons to both approaches.
If you live in an area with very cold winters and want to do everything possible to reduce heat loss from your home, then Insulating inside the wall thimble may be worth considering. However, if ease of installation and creating an airtight seal are your top priorities, then you may want to skip this step altogether.
What Pipe Goes Through Wall Thimble?
If you’re looking to install a new gas line in your home, you may be wondering what type of pipe to use. One option is a wall thimble pipe, which is specifically designed for running gas lines through walls. Here’s a closer look at wall thimble pipes and how they can be used in your home:
What Is a Wall Thimble Pipe? A wall thimble pipe is a type of metal pipe that’s commonly used for running gas lines through walls. The pipe has an elbow joint on one end that’s used to connect it to an existing gas line.
On the other end, the pipe has a threaded opening that’s used to connect a new gas appliance. Wall thimble pipes are available in different diameters to accommodate different types of appliances. For example, most cooktops require a 1/2-inch diameter pipe, while most dryers require a 3/4-inch diameter pipe.
When choosing a wall thimble pipe, be sure to select one that’s the appropriate size for your appliance. How Is It Installed? Installing a wall thimble pipe is relatively simple and can be done by following these steps:
1. Cut an opening in the drywall where the appliance will be located using a drywall saw. The opening should be slightly larger than the circumference of the pipe.
2. Trace the outline of the elbow joint onto the back side of the drywall opening.
3. Cut out the traced elbow joint using a utility knife or jigsaw.
What Do You Seal a Wall Thimble With?
When you install a wall thimble, you must seal it to prevent air leakage. The most common way to do this is with caulk. You can also use weatherstripping or spray foam insulation.
When Should You Use a Wall Thimble?
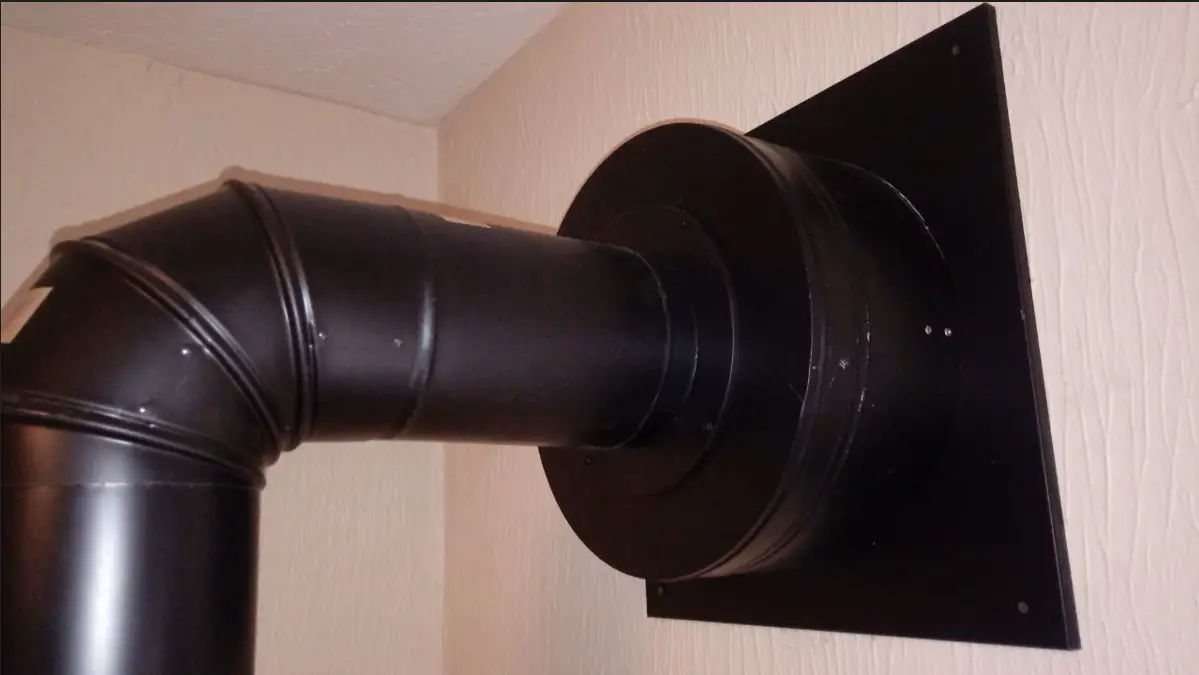
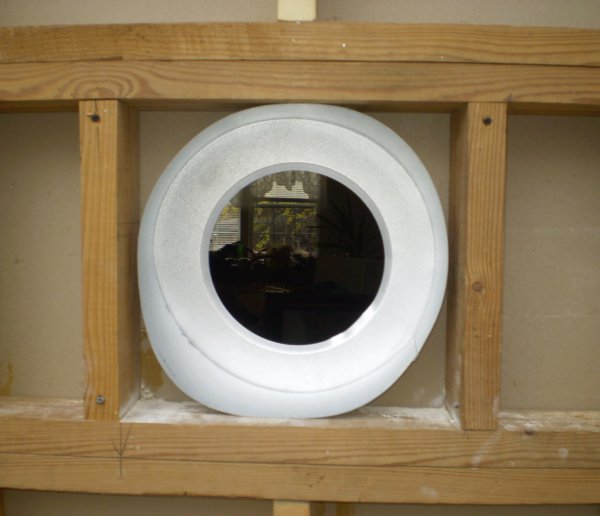
When should you use a wall thimble? A wall thimble is a type of pipe fitting that is used to create an opening in a wall for the installation of a chimney, stovepipe, or other type of venting system. It consists of a metal sleeve that is placed over the hole in the wall and then secured in place with screws.
The wall thimble provides support for the venting system and helps to prevent air leaks.
Wall Thimble Installation
Conclusion
A wall thimble is a great way to install a wood stove in your home. They are easy to install and can be done over a weekend. Here are the steps on how to install a wall thimble.
- Cut a hole in the exterior wall of your home using a saw. The hole should be big enough for the pipe that will go through it.
- Place the wall thimble into the hole and make sure that it is level. Secure the thimble with screws or nails.
- Install the stovepipe through the thimble and into the interior of your home. Make sure that the joint between the pipe and the thimble is sealed with silicone caulk or another type of sealant.