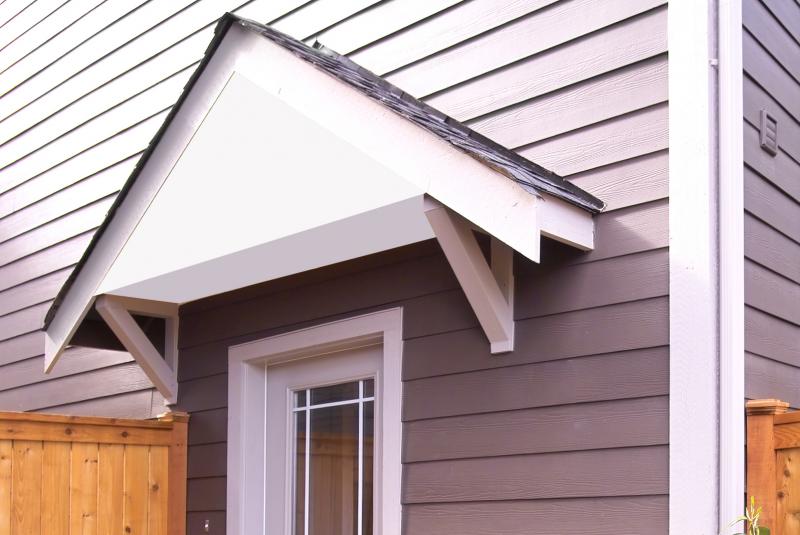
How to Install an Aluminum Awning on a House
If you’re looking for a way to add some extra shade and protection to your home, an aluminum awning is a great option. And, unlike other types of awnings, aluminum awnings can be installed by do-it-yourselfers with just a few tools and some basic knowledge. Here’s how to install an aluminum awning on your house:
First, you’ll need to gather the necessary materials. These include an aluminum awning frame, brackets (if needed), screws or bolts, sealant, and caulk. You’ll also need a drill, screwdriver, tape measure, level, and ladder.
Once you have all of your materials gathered, you’re ready to get started!
- Decide on the size and style of aluminum awning you would like to install on your house
- Purchase the awning and all necessary hardware from a home improvement store or online retailer
- If necessary, hire a professional contractor to help with the installation process
- Begin by attaching the brackets that will support the awning to the exterior wall of your house using screws or bolts
- Next, insert the aluminum beams of the awning into the brackets and secure them in place using more screws or bolts
- Finally, unfurl and extend the canvas fabric of the awning until it is fully extended over the desired area
How to Install an Awning on a House
Assuming you would like a blog post about installing an awning on a house: Installing an awning on your home can provide much-needed shade and protection from the harsh elements. Awnings can be purchased in a variety of sizes, colors, and styles to match any home décor.
Installation is relatively easy and can be done by most do-it-yourselfers. This article will provide step-by-step instructions on how to install an awning on your home. Tools and Materials Needed:
• Tape measure • Drill with screwdriver attachment • Level
• Ladder or stepladder (depending on the height of installation) • Socket wrench set or adjustable wrench (for tightening bolts) • Heavy-duty screws
Instructions:
- Measure the width of the window, door, or another area where you will be installing the awning. Add two feet to this measurement to allow for an overhang on each side. This is the total width that you will need to order your awning.
- Determine the height at which you would like to install the awning brackets. The ideal height is six inches above the top of the window, door, or other area being covered by the awning. Use a tape measure and level to mark where you will drill holes for attaching the brackets.
- Center one bracket over each mark and use the drill with screwdriver attachment to drive heavy-duty screws into place through pre-drilled holes in brackets (following manufacturer’s instructions). Be sure that screws are driven into solid wood framing members – not just drywall or siding material. If necessary, use wall anchors provided with the hardware kit if attaching to only drywall or siding without wood backing behind it.
- Hang the outer edge of the aluminum support bar in the front lip of the bracket so that bar is flush against the face of a building (see image below). Then tighten setscrews in the bracket firmly against the support bar using a socket wrench or adjustable wrench.
- Repeat steps 1 through 5 for the remaining bracket/support bar assemblies until all are installed.. 6 Unroll the canvas fabric of the new retractable awning fully out flat on the ground nearby.
- Raise support arms up so they are perpendicular to the ground then slip the fabric under the front lip of each support arm – making sure that the leading edge of the fabric is perfectly straight as you go along(see image below).
- The once entire leading edge of the fabric has been inserted under all support arms.
- Slowly lower arms down until they are once again parallel to the ground– taking care that fabric does not become wrinkled or bunched up as arms descend10 Closely observe the arm/fabric assembly as you raise it back up into position atop brackets– making sure that no part of fabric gets caught or pinched between moving parts.. 11 If everything looks good, 12 Using the same technique described in Step 7, 13 Continue lowering arms until they lock securely into place at bottom of the travel range– again checking to make sure no parts of the fabric are trapped or damaged during the process14 Now stand back and enjoy your new retractable patio awning!
Credit: interiordesign.lovetoknow.com
How Do You Anchor an Awning into a House?
Assuming you would like a blog post discussing how to anchor an awning into a house: An awning can provide much-needed shade on a hot day and can be a great addition to any home. But in order to keep your awning secure, it’s important to properly anchor it into the side of your house.
Here are some tips on how to do just that: First, choose the spot where you want to install your awning. It’s important to make sure the area is large enough to accommodate the size of your awning, and that there is no obstruction that could block its view or prevent it from opening fully.
Once you’ve found the perfect spot, use chalk or tape to mark the location of the four mounting holes that will need to be drilled into the side of your house. Next, drill pilot holes into the marked locations, being careful not to drill too deeply and damage any wiring or plumbing that may be behind the siding. Now it’s time to install the brackets that will hold up your awning.
Start by attaching one bracket at each of the top two corners, using lag bolts or screws (depending on what type of material your house is made of). Be sure to use washers under both the head and nut of each bolt for added strength. With all four brackets in place, carefully lower your awning onto them and secure it using nuts and bolts (again with washers under both heads and nuts).
Once everything is tightened down, give your new awning a test by opening and closing it several times. If everything seems sturdy and secure, you’re all set!
Credit: www.ecanopy.com
Can You Install the Awning on Your Own?
You can absolutely install an awning on your own- in fact, it’s not as difficult as you may think! However, there are a few things you’ll need to take into consideration before beginning the project. First, make sure you have all the necessary tools and materials.
You’ll need an awning, of course, along with brackets, screws, drill bits, and other hardware. It’s also important to choose a location for your awning that is level and free of obstacles. Once you have everything gathered, follow these simple steps:
- Begin by marking the location of the brackets on the wall or soffit where you’ll be installing the awning. Make sure to use a level when doing this!
- Next, using your drill bit (preferably one that is slightly larger than the screws you’ll be using), create pilot holes at each mark.
- Now it’s time to install the brackets. Start by holding each bracket in place and screwing it into the pilot hole until it is secure.
- The final step is to attach your awning!
Simply slide it onto the brackets and tighten any bolts or screws until it feels snug. That’s it- enjoy your new awning!
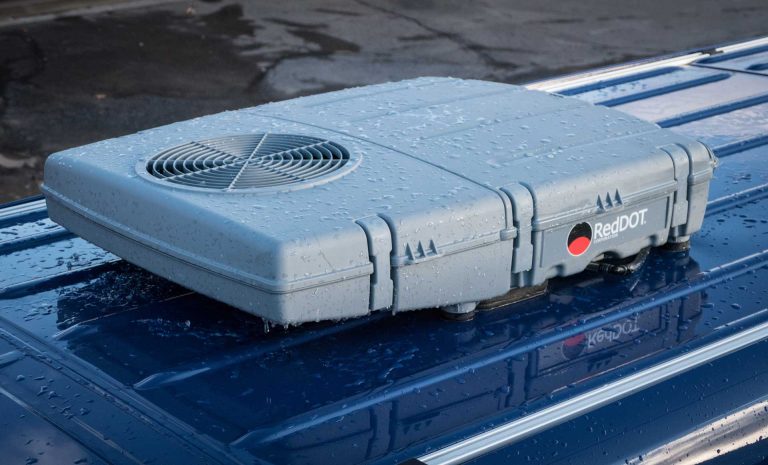
How Do You Install a Power Awning in a House?
Assuming you would like a blog post discussing how to install an awning: A power awning is a great way to add some shade to your deck or patio. They’re easy to install and can be found at most home improvement stores.
Here’s what you need to do to install one in your home:
- First, measure the area where you want the awning to go. You’ll need to know the width and height of the space so you can purchase an awning that fits correctly.
- Once you have the correct measurements, head to your local home improvement store or look online for an awning that will fit in your space. Be sure to get one that’s made specifically for power awnings – these will have electrical outlets built into them so you can plug in the motor.
- To install the awning, first secure it to the side of your house using brackets (these will come with your awning). Make sure it’s level before moving on.
- The next step is to attach the arms of the awning (these also come with the unit). These should be positioned so they’re perpendicular to the wall of your house and then screwed into place using large washers (provided in the installation kit).
- With the arms attached, it’s time to put up the fabric portion of the awning. Start by threading it through the roller tube at each end of the arms, then pull it tight and snap it into place on each side using the provided snaps or Velcro strips.
- Lastly, all that’s left to do is install the motor unit according to manufacturer instructions and enjoy your new power awning!
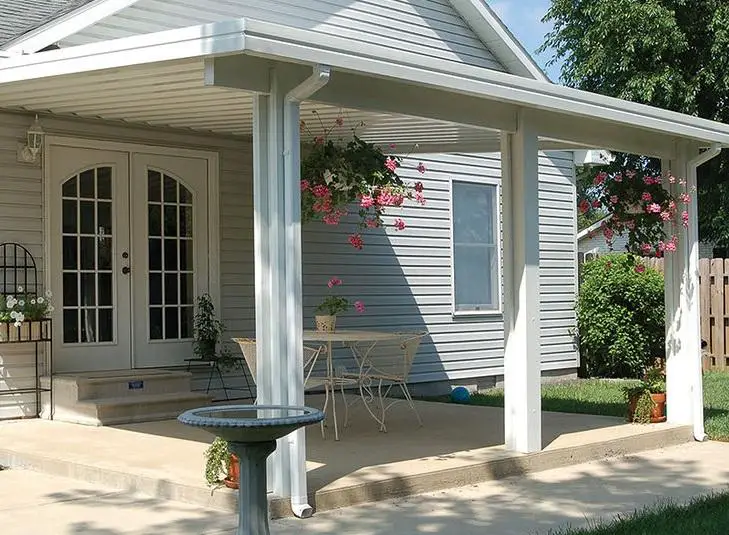
Can You Mount an Awning to the Siding?
Yes! You can absolutely mount an awning to the siding. There are a few different ways to do this, so you’ll want to consult with your awning installer or manufacturer to figure out the best method for your particular setup.
In general, though, you can either use special brackets that attach directly to the siding, or you can install ledger boards onto the siding and then mount the awning brackets to those. Whichever method you choose, it’s important to make sure that the awning is properly secured so that it doesn’t blow away in high winds. If you live in an area with severe weather conditions, it’s also a good idea to have your awning professionally installed so that it can withstand whatever Mother Nature throws it’s way!
Bahama Fixed Metal Awning Installation
Conclusion
To install an aluminum awning on a house, first, measure the width and length of the area where the awning will be installed. Then, cut two pieces of 2×4 lumber to these dimensions and screw them together with 3” screws. Next, attach J-channel to the bottom edge of the 2×4 frame using 1” screws.
After that, lay the awning fabric over the frame and staple it in place along the top edge. Finally, install S-hooks into the J-channel and hang your new awning from them.