How to Make a Beer Wall
A beer wall is a great addition to any man cave. It’s a simple and easy way to store and display your favorite brews. Plus, it looks pretty cool too!
Here’s how to make your own beer wall.
- Gather your supplies
- You will need a few sheets of plywood, a drill, screws, sandpaper, paint or stain, and some hooks
- Cut the plywood into rectangles that will fit snugly on your wall
- These can be any size you want
- Drill holes in the top corners of each rectangle
- These will be for screwing the rectangles to the wall
- Sand down the edges of each rectangle so they are smooth
- Paint or stain the rectangles in whatever color you like
- Let them dry completely before moving on to the next step
- Screw the rectangles to the wall using the holes you drilled earlier
- Hang your beer bottles from the hooks and enjoy!
How to Make a Beer Wall 1
Hang a corkboard or piece of plywood on a wall.
-Cut out circles from foam core or cardboard slightly larger than the base of your glasses. Make as many as you want, depending on how big your wall is and how many glasses you want to hang.
-Spray paint the circles in any color or design you want. We used metallic gold spray paint for a touch of glam!
-Adhere the painted circles to the corkboard or plywood using hot glue or double-sided tape.
Arrange them in any pattern you like – we made ours random for a more organic look. 5. Hang your glasses from the circles using a fishing line or clear monofilament thread, making sure to knot each one securely so it doesn’t come crashing down!
How Do I Make a Beer Wall
Assuming you would like to know how to create a wall out of beer cans: Building a wall out of beer cans is not as difficult as one might think. The most important thing is to have the correct tools and materials.
Here is a list of what you will need: -A table or work surface -A level
-A tape measure -Beer cans (empty) -A sharpie or other marker
-Construction adhesive Instructions:
- Begin by finding a level spot on your table or work surface to build your wall. If needed, use the level to make sure your spot is truly level. Then, use the tape measure to find the center of your workspace. This will be where you start building your wall so that it is symmetrical.
- Once you have found the center, begin attaching your beer cans to the surface with construction adhesive. It is important that you attach them fairly close together so that there are no gaps in between each can. Use the Sharpie or other marker to make small dots on the back of each can so that you know where to put the adhesive. Also, be sure that each can be facing outward with the label visible – this will be the “front” side of your wall.
- Continue attaching cans until you have reached either end of your workspace – again, make sure that they are all level and evenly spaced out. Once complete, step back and admire your handiwork!
What Supplies Do I Need to Make a Beer Wall
A beer wall is a great way to add some decoration to your home while also being functional. You will need a few supplies in order to make your own beer wall. First, you will need a large piece of wood.
This can be anything from a pallet to a piece of plywood. Make sure that the wood is sanded down and smooth so that your bottles will not get stuck on them. You will also need some strong adhesive or screws to attach the wood to the wall.
Next, you will need to gather up your bottles of beer. If you are using screw-top bottles, you will need bottle caps as well. For each row of beer, start by attaching the bottle caps to the bottom of the bottles using hot glue or another type of strong adhesive.
Once all of the caps are attached, begin attaching the bottles to the wood one by one until you have completed your desired design!

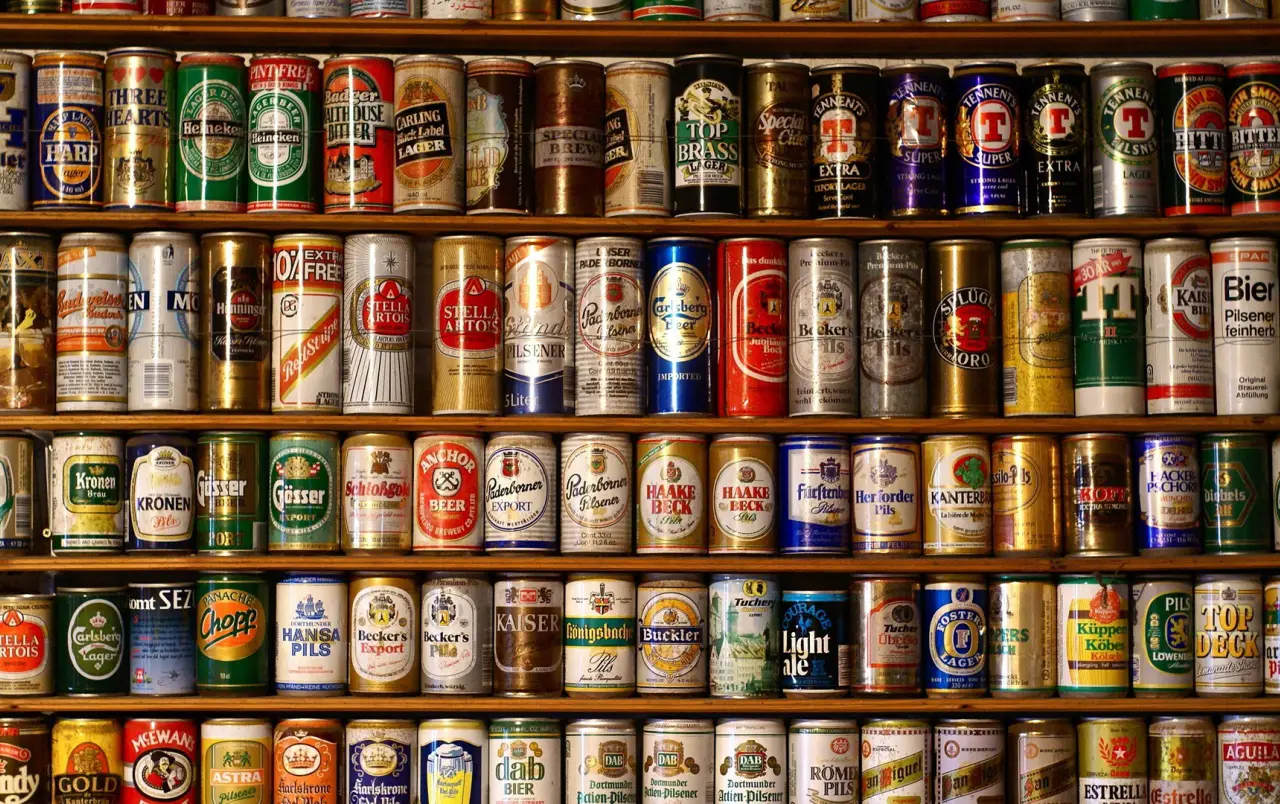
Credit: www.gsdraft.com
What is the Best Way to Store My Beer Once I Have Made a Beer Wall
Assuming you have already made your beer wall, the best way to store your beer is in a cool, dark place. sunlight and heat can cause your beer to go bad quickly, so it’s important to find a storage spot that won’t make your beer go bad. Many people like to store their beer in a basement or other cool area of their home.
If you don’t have a basement or other cool area, you can always put your beer in the fridge. Just be sure to take it out of the fridge a few hours before you plan on drinking it so that it has time to warm up slightly.
How Long Will My Beers Last on the Wall
Your beer’s life on the wall largely depends on the type of beer, as well as how you store it. For example, a can of Budweiser will last much longer than an open bottle of Guinness because the former is pasteurized and the latter is not. If you’re storing your beers in a cool, dark place, they’ll last longer than if you keep them in a hot garage.
Generally speaking, most beers will be fine for a few months on the wall. After that, they may start to lose some of their flavor and aroma. So if you want to enjoy your beers at their peak, it’s best to drink them within a few months of buying them.
Can I Use Any Type of Beer Bottle Or Can for My Wall
There are a few factors to consider when thinking about using beer bottles or cans for your wall. The first is the type of alcohol in the beverage. If you’re using beer, then the answer is most likely yes- almost any type of beer bottle or can work.
However, if you’re using a harder liquor like vodka, then you’ll want to make sure that the bottle is made of thick glass so it doesn’t break easily. Additionally, think about the size and shape of the bottle. You’ll want to make sure that it will fit snugly into the space you have available on your wall.
Finally, consider the aesthetic of the bottle or can- is it an interesting shape or color that will add to the overall look of your wall? If so, then go for it!
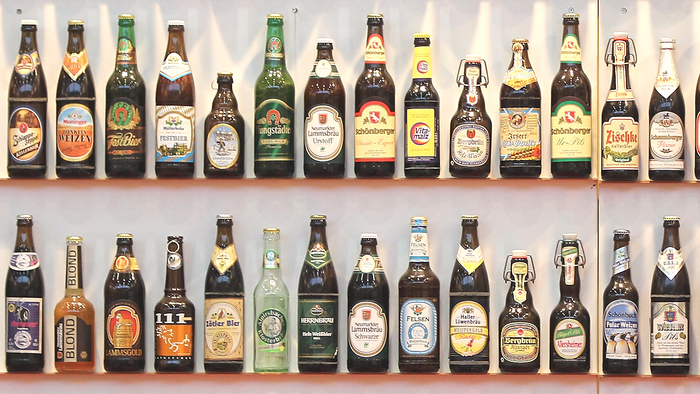
Credit: www.businessinsider.com
How to Make a Beer Wallpaper
Making beer wallpaper is easy and can add a unique touch to any room. Here’s how to do it:
- Choose your favorite beer label or image. If you don’t have a particular label or image in mind, try doing a search for “beer labels” or “beer images” online.
- Print out the chosen image on regular printer paper. Make sure that the printout is the same size as the wall space you have available.
- Cut out the printed image along its outer edges.
- Apply a layer of clear adhesive to the back of the cut-out image, then affix it to the wall in your desired location. Use a level to make sure that it’s straight before moving on to the step.
- Once the adhesive has dried, apply another layer of clear adhesive over the top of the entire image (this will help protect it from moisture and fingerprints). Allow this final layer to dry completely before using or enjoying your new beer wallpaper!
Conclusion
Looking to add some flair to your home? A beer wall is a great way to show off your collection and impress your guests. Here’s how to make your own beer wall:
- Choose a location. An empty wall in your living room or kitchen is a perfect spot for your beer wall.
- Gather supplies. You’ll need shelves, brackets, screws, and drill bits. Depending on the size of your collection, you may also want to get some additional storage containers.
- Measure and mark the placement of the shelves. Use a level to make sure they’re even!
- Drill pilot holes and screw in the brackets. Be careful not to overtighten the screws – you don’t want them popping out later on.
- Attach the shelves and fill them up with all of your favorite brews!