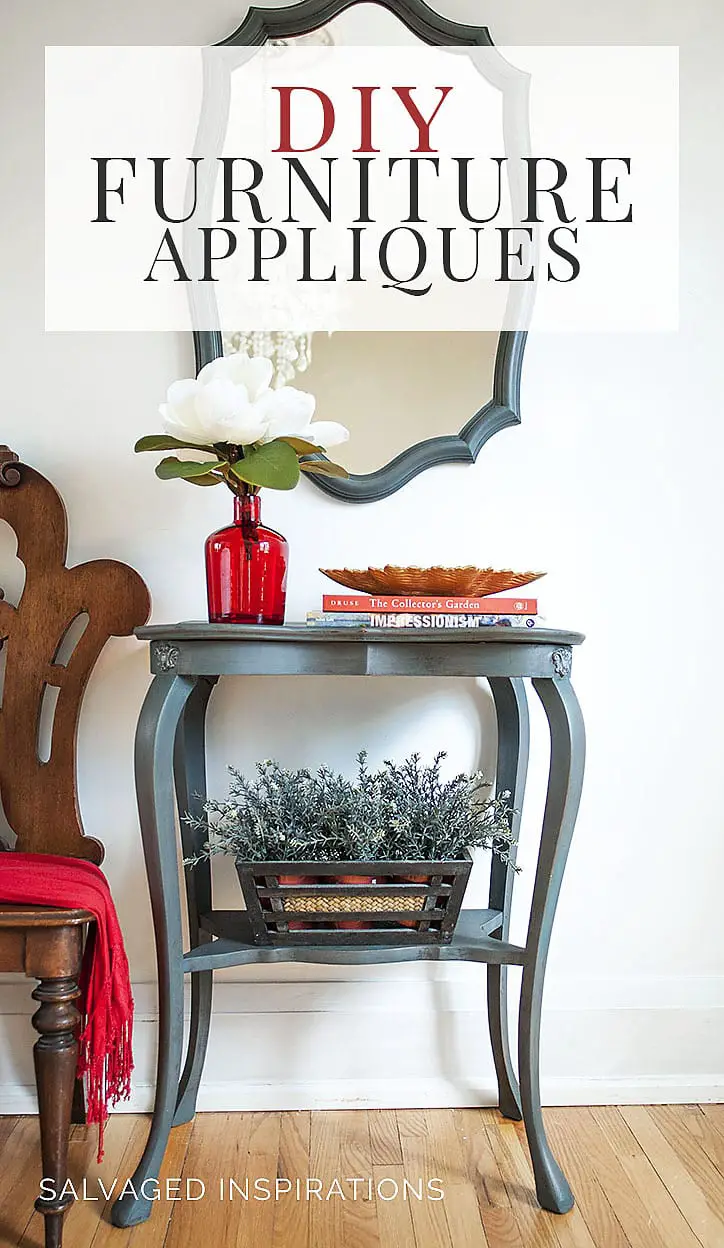
How to Make Furniture Applique Molds
Making your own furniture applique molds is a great way to add a personal touch to your furniture. There are a few things you need to know before you get started, but once you have the hang of it, it’s easy! Here’s what you need to do:
First, find a piece of furniture to that you want to add an applique to. It can be anything from a dresser to a headboard. Once you’ve found the piece, trace the outline of the applique onto paper.
Then, use a jigsaw or bandsaw to cut out the applique shape from the paper. Now that you have your Applique mold, it’s time to make your furniture look fabulous! First, apply a layer of primer to the back of your Applique.
This will help the paint adhere better and also prevent any bleed-through. Next, paint your Applique with any color or design that you desire. Be creative!
Finally, apply adhesive glue around the perimeter of your Applique and press it firmly onto your piece of furniture. Let it dry overnight so that it will be strong and durable.
- Choose the furniture you want to add applique molding to
- Decide on the shape and size of your applique molding
- Cut out your applique molding from a piece of wood using a saw
- Smooth the edges of your applique molding with sandpaper
- Attach your applique molding to the furniture using glue or nails/screws
What Do You Use for Furniture Molds?
There are many different types of materials that can be used for furniture molds, including plaster, fiberglass, and silicone. Plaster is a popular choice for mold making because it is inexpensive and easy to work with. Fiberglass molds are more durable and provide a smoother surface finish, while silicone molds offer the best flexibility and detail reproduction.
What are Furniture Appliques Made Of?
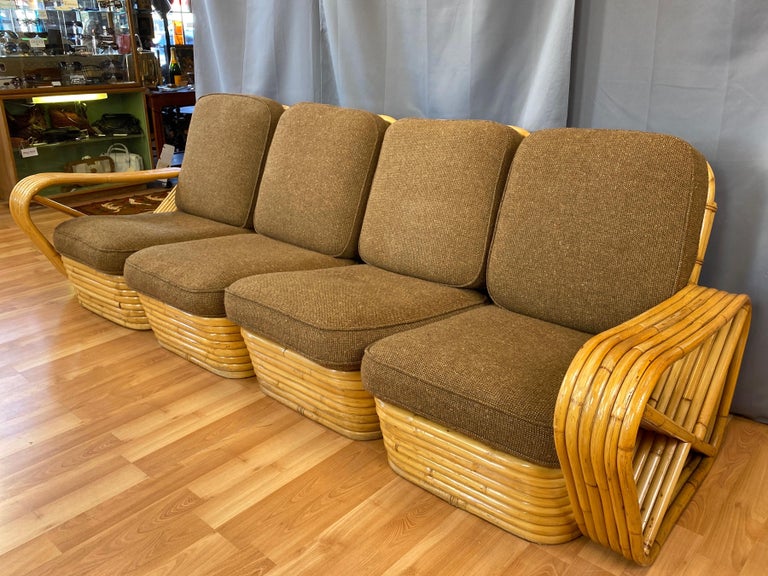
When it comes to furniture appliques, there are a few different materials that they can be made out of. The most common material is wood, but you can also find them made out of metal, plastic, or even fabric. Furniture appliques are usually attached to furniture with glue or nails, and they come in a variety of shapes and sizes.
Some common shapes for furniture appliques include flowers, leaves, hearts, and stars. While furniture appliques are most commonly seen on chairs and tables, you can actually put them on any type of furniture. They’re a great way to add a bit of personality to your furnishings and make them stand out from the rest.
If you’re looking for something unique, consider adding some furniture appliques to your home décor!
How Do I Make My Own Moulds?
Are you looking to make your own molds? Whether you’re wanting to create a unique project or save money by making your own molds, there are a few things you need to know. In this blog post, we’ll walk you through the process of making molds step-by-step so that you can get started on your next big project.
To start, you’ll need to gather some supplies. For the mold itself, you’ll need something that can be shaped into the desired shape and that is firm enough to hold its shape when filled with liquid plaster or concrete. Some common materials used for homemade molds include wood, cardboard, and Styrofoam.
You’ll also need something to line the inside of the mold so that the plaster or concrete doesn’t stick to it; fabric or parchment paper works well for this purpose. Finally, you’ll need plaster or concrete mix and water – follow the instructions on your chosen product for mixing ratios. Once you have all of your supplies gathered, it’s time to start creating your mold.
If using wood or cardboard, cut out your desired shape from one piece; if using Styrofoam, carve out your shape or use multiple pieces glued together to create a solid block in the desired shape. Once you have your basic shape cut out, begin lining the inside with your fabric or parchment paper liner. Make sure that all surfaces are evenly covered – any areas where there is no liner will result in sticky spots on your finished product.
Now it’s time for the fun part – filling your mold! Mix up some plaster or concrete following the instructions on your chosen product – if using plaster, make sure it is nice and thick so that it doesn’t runny and misshape as it pours into the mold; if using a concrete mix, add water slowly until it reaches a pourable consistency but isn’t too runny. Once everything is mixed together well, begin pouring it into your prepared mold until it is completely full – try not to overfill as this can cause problems when removing the finished product later on.
Now comes the waiting game – depending on what material you is using for your mold and what type of plaster or concrete mix you chose, it will take time for it to set up and harden completely. Follow the instructions on your selected product for more details on timings . Once everything has hardened, you can begin moving it from the mold.
Start by gently prying around the edges with a too like the back of a paint bru shunt you have enough space to turn them could over and dump out the contents. If there are any stubborn pieces left behind, simply use the too to gently loosen and remove them . You may need to file ord sand down any rough edges before using or your finished product but ot her wise, you’re all set!
How Do You Make Resin Appliques?
If you love crafting with resin, then you’ll adore making resin appliques! Resin appliques are a great way to add a little extra flair to your projects, and they couldn’t be easier to make. Just follow these simple steps and you’ll be creating beautiful resin appliques in no time!
To start, gather your supplies. You’ll need some resin (of course!), molds or silicone mold putty, gloves, stir sticks, and any embellishments you want to add to your appliques. Once you have everything assembled, it’s time to get started.
Mix your resin according to the instructions on the package. Once it’s mixed, pour it into your molds or onto your silicone mold putty. If using molds, tap them gently on the countertop to remove any air bubbles.
Then add your embellishments – glitter, beads, confetti – whatever strikes your fancy! Again, tap the molds gently on the countertop to remove any air bubbles that might have formed. Allow the resin to cure for the amount of time specified by the manufacturer.
Once cured, pop out your appliques from the molds or silicone mold putty and enjoy!
Can I Make My Own Molds?
You can absolutely make your own molds! The process is pretty simple and only requires a few materials. To start, you’ll need some sort of moldable material.
This could be clay, wax, or even just plain old Play-Doh. Once you have your molding material, you’ll need something to use as a negative space to create your mold. This could be a plastic container, an existing piece of jewelry, or really anything else that has the shape you want to replicate.
Once you have your moldable material and negative space ready, it’s time to get started! Begin by packing the moldable material into the negative space. Make sure to pack it in tightly so that there are no air bubbles or gaps.
Once the entire negative space is filled, carefully remove it from the moldable material. You may need to use a sharp knife or another tool to help release it. Now that you have your basic mold created, it’s time to think about what kind of finish you want on your final product.
If you’re planning on using the mold for casting metal or resin, you’ll probably want to invest in some silicone rubber so that your finished piece has a smooth surface. However, if you’re just looking for a quick and easy way to make duplicates of an existing object, any type of plaster will do the trick!
How to Make Furniture Moldings Using Moulds
Silicone Molds for Furniture Appliques
Are you looking for a way to add some extra flair to your furniture? If so, then you might want to consider using silicone molds for furniture appliques. This is a great way to add some extra detail and interest to your pieces, and it’s also relatively easy to do.
To get started, you’ll need to purchase some silicone molds that are designed for furniture appliques. You can find these online or at most craft stores. Once you have your molds, you’ll need to choose the type of material that you want to use for your appliques.
This can be anything from air-dry clay to polymer clay. Just make sure that whatever material you choose is compatible with the molding process. Once you have your materials chosen, it’s time to start creating!
Simply press your clay or other material into the mold and then carefully remove it. You can then attach your appliques to your furniture using glue or another adhesive. And that’s all there is to it!
This is a great project for anyone who wants to add some personalization and customization to their furniture. So why not give it a try?
Conclusion
Making your own furniture applique molds is a great way to add a personal touch to your furniture. With a little time and effort, you can create unique molds that will give your furniture an impressive look. Here are some tips on how to make furniture applique molds:
- Start by sketching out the design that you want for your mold. This will help you determine the size and shape of the mold.
- Next, find a piece of wood that is the same thickness as the wood you will be using for your applique. Cut the wood into pieces that are slightly larger than the mold you sketched out.
- Glue the pieces of wood together, making sure that the seams are flush. Once the glue has dried, sand down the edges until they are smooth.
- Use a router to carve out the shape of your mold into the wood pieces. Make sure that all of the details are carved correctly so that your mold will turn out perfect when it is finished.
- Once you have carved out your mold, use a paintbrush to apply a thin layer of primer onto it. Allow the primer to dry completely before painting or staining your Applique Mold.