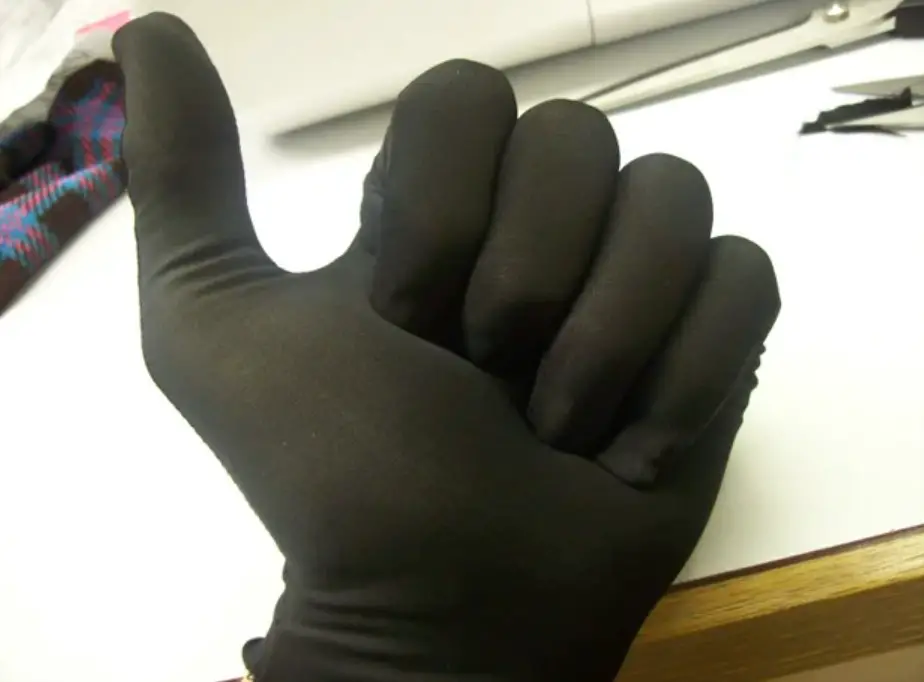
How to Make Gloves at Home Without Sewing
If you’re looking for a fun and easy project to make your own gloves at home, all you need is some fabric and a little bit of time. You don’t even need to know how to sew! Just follow these simple steps and you’ll have a pair of comfy, homemade gloves in no time.
- Find an old sweater or piece of fabric that is large enough to fit over your hand
- Cut the fabric into a rectangular shape that will wrap around your hand
- Fold the fabric in half lengthwise and sew the two long sides together with a needle and thread or a sewing machine
- Try the glove on to make sure it fits snugly around your hand
- If it is too loose, you can sew another seam closer to the edge of the fabric
- Trim any excess fabric from the edges of the glove and turn it right side out so that the seam is inside

Credit: www.wikihow.com
How Do You Make Easy Gloves?
Assuming you would like a tutorial on how to make easy gloves: What You’ll Need: – 1/4 yard of fabric (stretchy knit fabric works best)
– scissors – pins – needle and thread or sewing machine
– elastic (optional)
- Cut Out Your Fabric Pieces Cut two identical pieces of fabric in the shape of a mitten. If you’re using a print, be sure to cut them so the pattern is going in the same direction. Also, cut a small strip of fabric for the thumb.
- Sew the Sides Seam Together Fold each glove piece wrong sides together and sew along the side seam with a 3/8” seam allowance, starting at the wrist and ending at the base of the fingers. Remember to leave an opening at the base of the thumb so you can turn your glove right side out later.
- Sew Thumb Insert Pin one end of your thumb and insert a strip to the side seam opening at the base of your thumb, making sure that the raw edges are all aligned. Wrap it around until it meets back up with itself and pins in place. Sew along this edge with a 3/8” seam allowance to secure it in place, then trim away any excess fabric close to your stitching line.
- (Optional): Add Elastic for Wrists If you want some extra security to keep these gloves from falling off, add some elastic around each wrist before moving on to
- To do this, simply measure around each wrist, cut two lengths of elastic equal to that measurement, and pin them in place inside each glove just below where you sewed your side seams shut earlier. Make sure they aren’t twisted as you pin them! Then sew over each one with a wide zigzag stitch or serger stitches to secure them in place before continuing on to step
- Finish Raw Edges & Turn Right Side Out Trim away any loose threads or frayings from your raw edges, then use a point turner or chopstick wrapped in fabric to help push out those corners nicely and sharply. Reach through that hole you left open at the base of each thumb and grab hold of all four raw edges sticking out there—pull everything right side out through that hole until your entire glove is turned right side out once again! Press flat if needed (be careful not to stretch knit fabrics too much as you press), then move on down to step
- Close That Opening & You’re Done! Finally, reach back into each glove through that little hole at the base fo [of]the thumb again and grab hold o[f]all four raw edges poking out there—pin them closed if desired then sew shut using either ladder stitch by hand or by machine with a tiny straight stitch set as close as possible t[o]the edge all around.[1] And that’s it—enjoy those new gloves!

Credit: cosplayadvice.com
How Do You Make Gloves Out of Socks With Fingers?
Assuming you would like a tutorial on how to make gloves out of socks: The materials needed: -1 pair of socks (preferably thick and warm socks)
-Scissors -Thread and needle OR sewing machine Instructions:
- Start by cutting the toes off the socks. You will now have two tube-like shapes.
- Cut a small hole near the cuff of each sock for your thumb to go through later. Make sure the hole is big enough for your thumb to fit through comfortably, but not too big that it will be difficult to sew shut later. It may help to try the sock on at this point to gauge the size of the hole you need to cut.
- Sew the holes closed using a needle and thread or a sewing machine. Make sure your stitches are tight so that the hole doesn’t rip open later.
- Now take one of the sock tubes and make a small cut vertically down the center, from top to bottom. This will be where you insert your hand later, so make sure the cut is large enough for your hand to fit through comfortably.
- Sew this opening shut using a needle and thread or a sewing machine, making sure your stitches are tight so that it doesn’t rip open later
- You should now have one long tube with a thumb hole and one shorter tube with an opening at one end
- To finish up, put both tubes on like they would be gloves, matching up the seams you just sewed
- Sew both tubes together around all sides except for the openings at each end
- Trim any loose threads and you’re done!
How Do You Make Cloth Gloves?
Assuming you would like a tutorial on how to make cloth gloves: What You’ll Need: -1/2 yard cotton fabric
-Thread -Scissors -Pins
-Needle -Chalk or pen for tracing -Ruler or measuring tape
Instructions:
- Start by cutting out your pattern pieces. You will need four identical rectangles of fabric measuring 6 inches wide by 9 inches long.
- Pin two of the rectangles together with the right sides of the fabric facing each other. Sew along the three unconnected sides using a 1/4 inch seam allowance, leaving a small opening at the bottom edge of the glove so that you can turn it right side out later. Repeat this step with the remaining two rectangles of fabric so that you have two sewn glove shapes.
- Trim any excess threads and then use a chopstick or other sharp object to gently push out the corners so that they are nice and sharp. Turn one glove right side out and repeat with the other glove. Press both gloves flat, taking care to press open that small opening at the bottom edge of each glove.
- Fold down each cuff about 1/2 an inch and press well. Then fold down again about 1/2 an inch and press well once more so that you have a clean, finished edge on each cuff (this will also help to enclose any raw edges). Sew along both folded edges using a straight stitch to secure everything in place (again, be sure to leave an opening at one side so that you can slip your hand inside later). Repeat this step for both gloves until all four cuffs are sewn in place – two on each glove! And there you have it – your very own pair of cloth gloves!
How Do You Cut Socks to Make Gloves?
Assuming you would like a tutorial on how to turn socks into gloves: You will need: -a pair of socks
-scissors -needle and thread (optional) Instructions:
- Cut the toes off of the socks. You can cut straight across, or angle the cuts so that the gloves will taper at the fingertips like traditional gloves.
- Turn the socks inside out. Sew or glue the raw edges of the toe cuts closed if desired.
- Put each sock on your hand like a glove. If they are too big or too small, adjust accordingly by trimming off more material or adding in some stuffing to make them fit better.
Once they fit well, sew or glue the sides shut so that they stay put on your hands. And that’s it! You now have a new pair of warm gloves made from old socks!
Easy re-usable cloth Gloves || No Sewing Machine Required || How to make gloves at home
How to Make Gloves Out of Tights
Assuming you would like a blog post discussing how to make gloves out of tights: “How to Make Gloves Out of Tights” Do you have a pair of tights that you love, but they have a hole in them?
Don’t throw them away just yet! With a little bit of creativity, you can turn those tights into gloves. Here’s how:
- Cut the foot off of the tight. You will only need the part of the tight that covers your hand.
- Turn the tight inside out. This will make it easier to sew the glove together.
- Sew the bottom of the glove closed. You can do this by hand or with a sewing machine. If you’re using a sewing machine, be sure to use a zigzag stitch so that the fabric doesn’t tear when you put your hand in it later on.
- Try on the glove to make sure it fits snugly on your hand. If it’s too loose, sew it up tighter; if it’s too tight, cut it open and start over again (or find someone with smaller hands who might want these gloves!).
- Once you’re happy with the fit, turn the glove right side out again and sew up the remaining opening at the wrist (again, using either a sewing machine or needle and thread). And that’s it! Now you have a brand new pair of gloves made from an old pair of tights – no waste involved!
Conclusion
Assuming you would like a summary of the blog post and not the instructions: It is possible to make gloves at home without sewing by using an old t-shirt or other stretchy fabric. First, cut off the sleeves of the shirt and then cut two long strips from each sleeve. Next, tie each strip around your wrist to create a cuff. Once both cuffs are secure, put your hand through one of the sleeve openings and grab the other end of the fabric strip. Do the same with your other hand until both hands are covered.
If necessary, trim off any excess fabric, and voila – you have made no-sew gloves!