How To Make Shaggy Rug
Making a shaggy rug is a great way to bring texture and warmth to any room in your home. This DIY project is relatively easy and requires minimal supplies and tools. With the right instructions, you can make a stylish and durable shag rug that will last you for years. This guide will provide you with all the steps you need to make your own shag rug. So, grab your supplies and get ready to make your own cozy and stylish shag rug!

Materials Needed
Creating a shaggy rug is a fun project that can instantly spruce up any room. It’s a great way to add a plush, cozy feel to your home while also being a relatively simple DIY craft. Aside from the obvious choice of yarn, there are a few other materials you’ll need to complete the project.
The first is a large crochet hook, as this will be used to make the rug’s loops. Depending on the yarn you choose, you may need a size N or Q hook. You’ll also need a pair of scissors, and some fabric glue if you plan on securing the loops in place.
Finally, you’ll need a hard surface to work on, such as a flat table or the floor. This is important to ensure the rug’s loops keep their shape. You’ll also need something to measure the loops, such as a ruler or tape measure.
Once you have all the materials ready, you’ll be able to create a shaggy rug that will add a touch of cozy charm to your home.
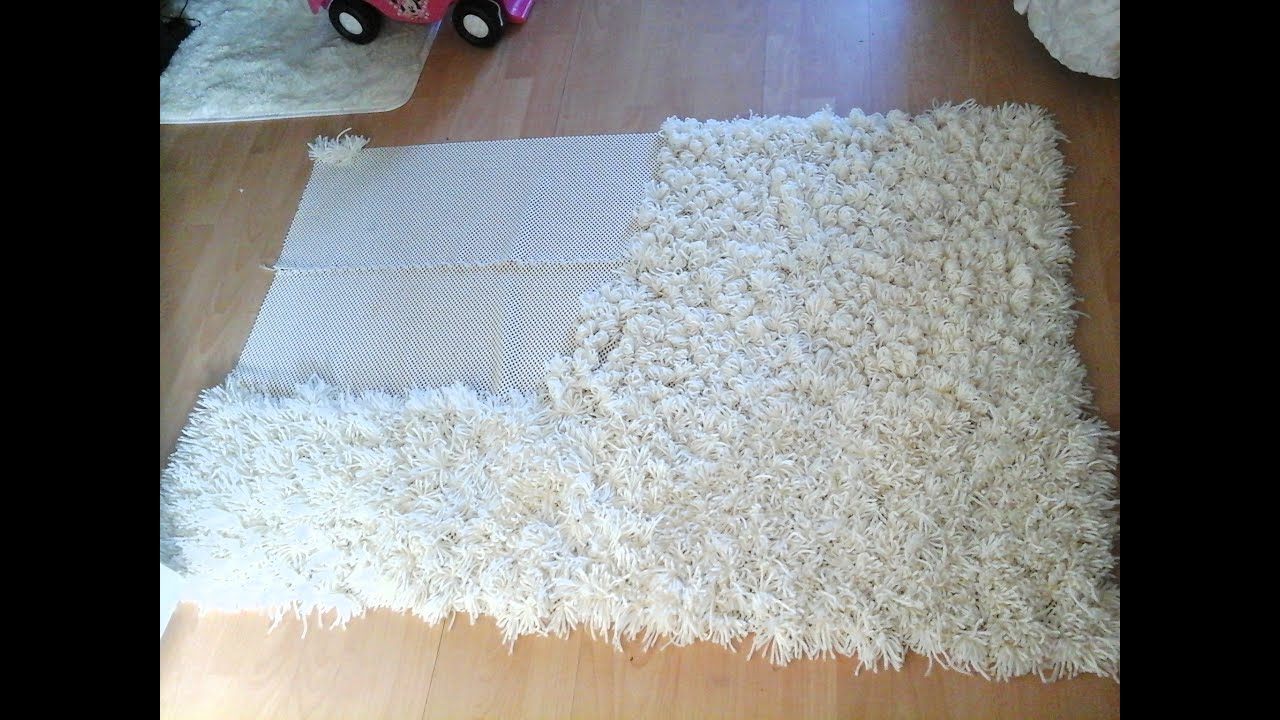
Preparation of the Rug
When it comes to creating a shaggy rug, preparation is key. This means getting all the necessary supplies and materials ready before you start. You will need a rug base, a piece of shaggy fabric, a pair of scissors, and a needle and thread. To ensure that your rug has a professional finish, it is important to make sure that the rug base and the fabric are the same size. Once you have all the materials, it is time to start creating your rug. Start by cutting the fabric into strips. The size of the strips will determine the thickness of the rug, so it is best to experiment with different sizes to find the one that best fits your needs. Once you have the strips cut, stitch them onto the rug base. Make sure to keep the stitches even and consistent to ensure a professional-looking finish. Once the fabric is stitched onto the rug base, you can trim off the excess fabric and enjoy your homemade shaggy rug.
Cutting and Shaping the Rug
Creating a shaggy rug doesn’t need to be complicated or daunting. With the right tools and materials, you can easily cut and shape your rug to create a unique, one-of-a-kind shaggy look. To begin, decide how large or small you want your rug to be and mark the measurements on your rug material. Next, use a sharp pair of scissors to carefully cut along the lines you’ve drawn. After that, you can use a pair of shears or a rotary cutter to add texture and shape to your rug. If you’re looking for a more intricate design, use a stencil to trace a pattern onto the rug and then cut along the lines. Finally, use a vacuum to fluff up the rug and make it look even more stylish. With these tips, you can make a beautiful shaggy rug in no time!
Sewing the Rug
Sewing your shaggy rug can be a daunting task for those who are not familiar with needlework. However, armed with the right tools and a little bit of patience, anyone can learn to create their own unique and stylish rug. For starters, it is important to choose the right type of fabric. A thicker material is ideal for shaggy rugs, as it will give you a fuller look. You will also need a sewing machine to stitch the fabric together. Before starting, measure the size of the rug you want to make and cut the fabric accordingly. Once you have the fabric cut, begin sewing the pieces together. It is important to use a zigzag stitch for this project, as it will help keep the fabric from fraying. After that, you can add fringe to the edges or embellish the rug with beads. With a bit of practice, you will be able to make beautiful shaggy rugs that are sure to add a unique touch to any room.
Trimming the Rug
Shaggy rugs can be quite intimidating to make, but with a few simple steps, you can make a beautiful, one-of-a-kind piece of décor for your home. Trimming the rug is an important part of the process and can be done in a few easy steps. To begin, measure the area you want the rug to cover and use scissors or a rotary cutter to trim the edges of the fabric to the desired length. Once you have trimmed the rug, you should use a steam iron to press the edges and ensure that the fabric is completely flat. Once the rug is dry, you can roll the edges over and secure them with upholstery tacks or fabric glue. Finally, you can fluff your rug by running a vacuum cleaner over it and trim any additional excess fabric. With these steps, you can easily make a shaggy rug that will look great in any room.
Adding Embellishments
If you’re looking to make your shaggy rug even more eye-catching, consider adding embellishments. Embellishments are anything you add to a rug to make it stand out. You can add beads, shells, ribbons, buttons, or any other decorative items. To make sure the embellishments stay in place, attach them with fabric glue before you start weaving. It is important to make sure the embellishments are securely attached and won’t come loose after the rug is finished. That way, your shaggy rug will look amazing for years to come. Embellishments can be a great way to make a unique and personalized rug. Have fun experimenting with different colors and textures to create your own signature look.
Finishing the Rug
It’s time to finish your shaggy rug! With the right materials, a bit of patience, and a few helpful tips, you can make a beautiful and unique one-of-a-kind rug. To finish the rug, you’ll need some binding tape, fabric glue, and a pair of scissors. Start by cutting the binding tape into four equal lengths and then begin attaching it to the edges of the rug. Make sure the tape is secure and lay it flat against the edges. Next, take the fabric glue and apply it to the edges of the rug. This will help to keep the tape in place. Finally, use the scissors to trim off any excess binding tape and glue. You’re now ready to put your new shaggy rug in your living room and show it off to your friends and family!
FAQs About the How To Make Shaggy Rug
1. What type of yarn should I use to make a shaggy rug?
A: Wool or acrylic yarn is best for making a shaggy rug.
2. How many strands do I need to make a shaggy rug?
A: It depends on the size of your rug and the thickness of your yarn. Generally, you will need 3-4 strands of yarn for a small rug, and 5-6 strands of yarn for a large rug.
3. What stitches should I use to make a shaggy rug?
A: Single crochet stitches are the best for making shaggy rugs as they create a thick and even texture.
4. How long will it take to make a shaggy rug?
A: It depends on the size of your rug and the thickness of your yarn. Generally, it will take about 3-4 hours for a small rug and 8-10 hours for a large rug.
5. Can I make a shaggy rug with a crochet hook?
A: Yes, you can make a shaggy rug with a crochet hook, but it may be easier to work with a knitting needle as it will be easier to hold multiple strands of yarn.
Conclusion
Making a shaggy rug can be a fun and creative way to add texture and color to any room in your home. It is relatively simple to create and doesn’t require any special tools or materials. All that is needed is some fabric, a needle and thread, and some patience. With a few basic steps, you can make a beautiful and unique shaggy rug that will be sure to add a cozy and comfortable feel to any room.