How to Paint a Wave on a Wall
If you’re looking for a unique and eye-catching addition to your home décor, consider painting a wave on your wall. This project is relatively simple and can be completed in a few hours. Here’s what you need to do to paint a beautiful wave on your wall:
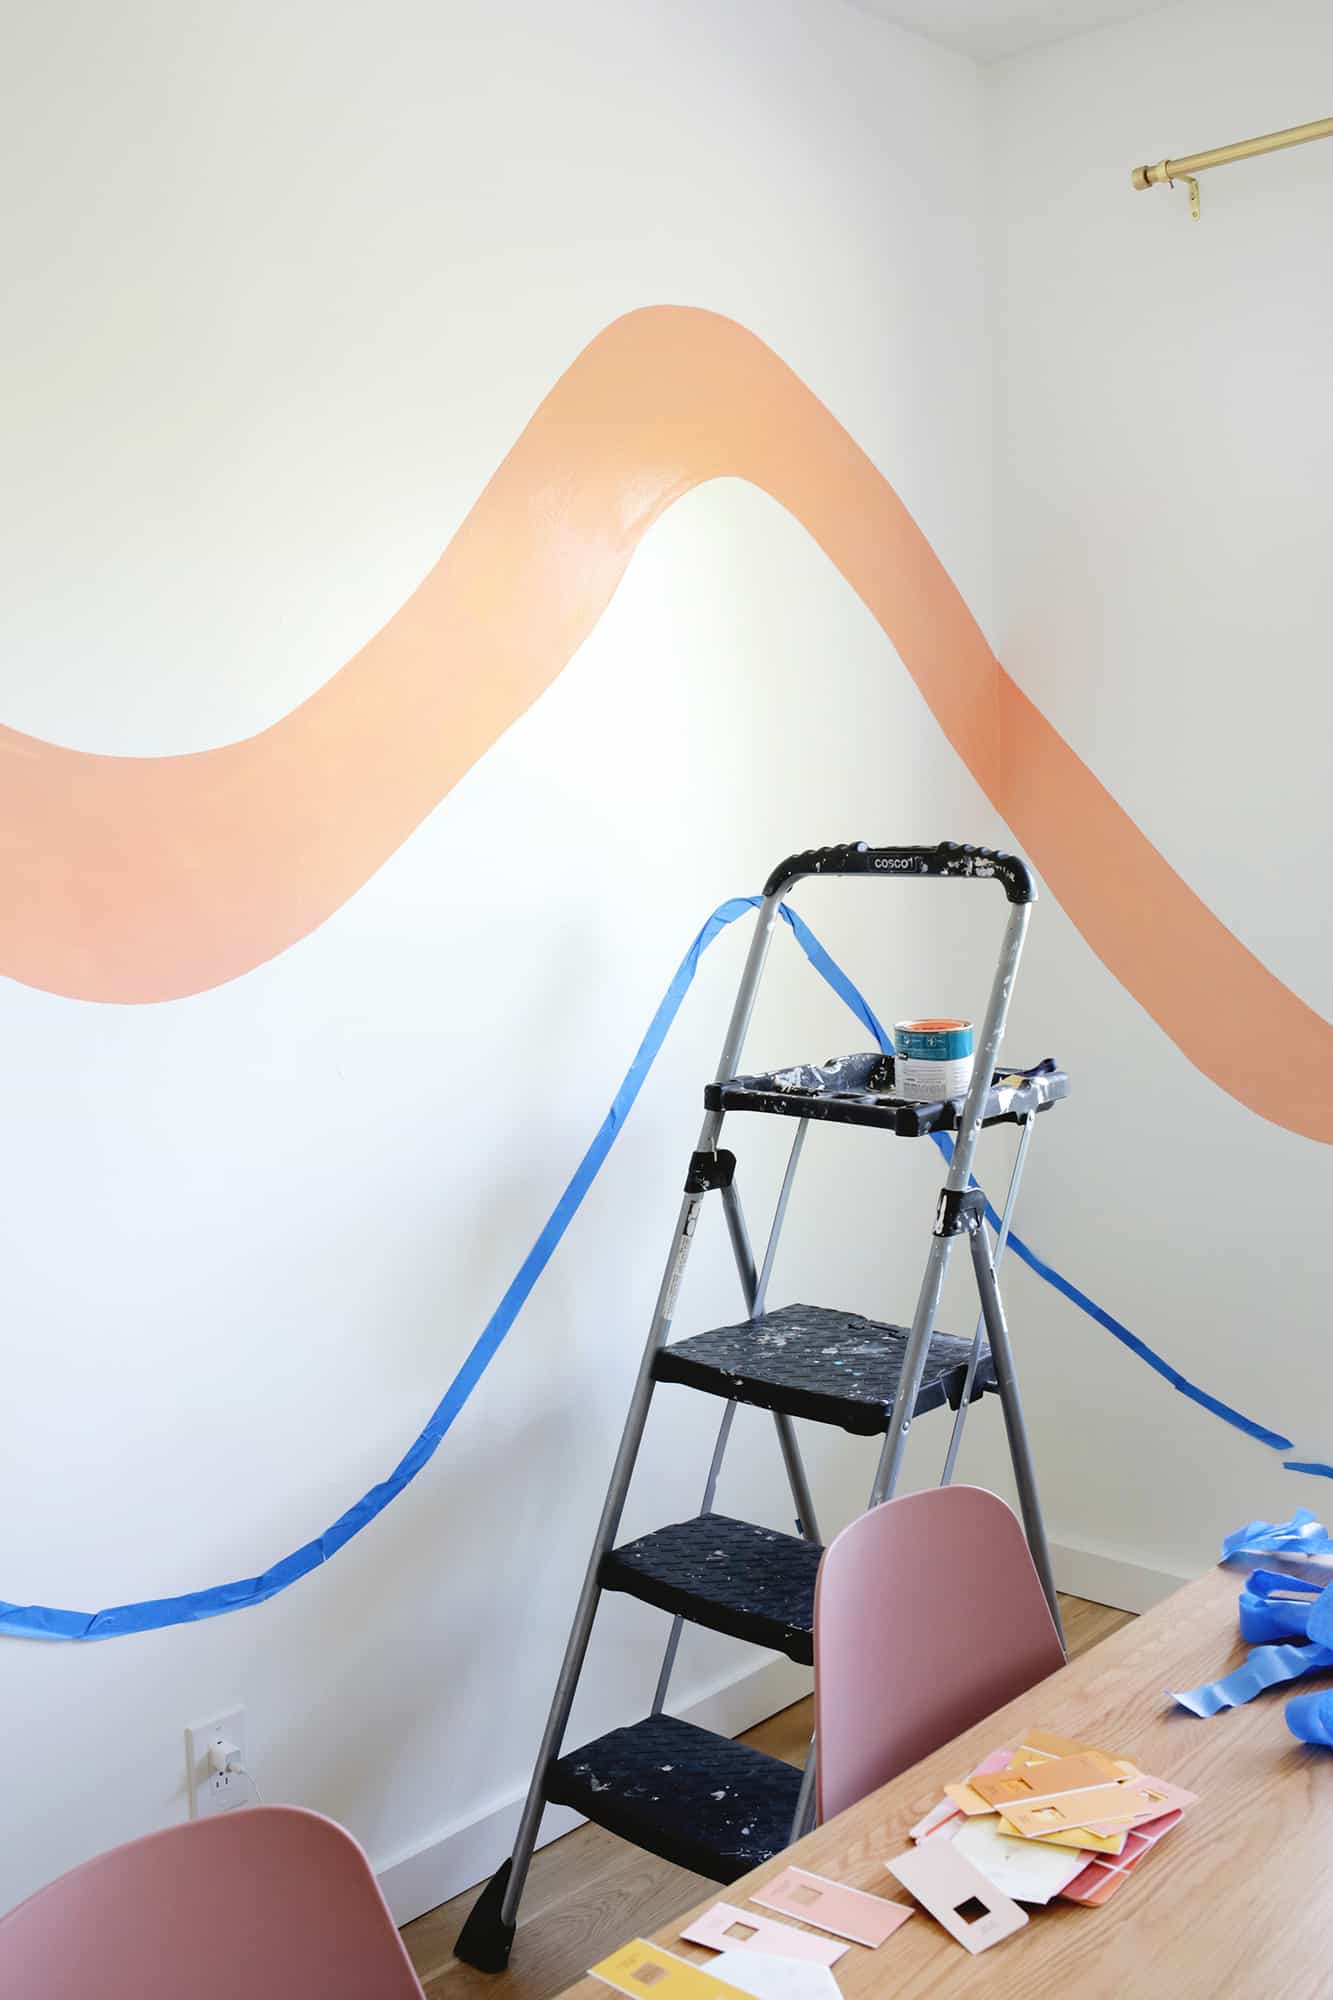
Start by sketching out your design on paper. Once you have an idea of what you want, transfer the sketch onto the wall using chalk or a pencil. Next, use painter’s tape to create clean lines for your waves.
Start with the biggest waves and work your way down to the smaller ones. Now it’s time to start painting! Use blue or green paint to create realistic-looking waves.
For added dimension, use two shades of each color and blend them together as you paint. Finally, remove the painter’s tape and enjoy your new wall art!
- Begin by sketching out the basic shape of the wave on the wall with a pencil
- Next, use a thin brush to paint the wave in blue paint
- Start at the top of the wave and work your way down
- Once the blue paint is dry, add white paint to create highlights on the wave
- Use a small brush or toothpick for this step
- Finally, add some green paint to create shadows on the wave
- Again, use a small brush or toothpick for the best results
How Do You Paint a Wave on the Wall?
In order to paint a wave on the wall, you will need to first sketch out the design of the wave with a pencil. Once you have the basic outline of the wave, you can begin painting it in with a brush. Start by painting the bottom of the wave in a light color, and then gradually build up the color intensity as you work your way up to the top of the wave.
To create a realistic effect, be sure to use multiple shades of blue and green paint to give the wave some depth. Finally, add some white foam at the crest of the wave for added realism.
How Do You Paint Waves for Beginners?
When painting waves, there are a few things to keep in mind. The first is that waves are constantly moving and changing, so it’s important to work quickly. The second is that the colors of the waves will vary depending on the time of day and the weather conditions.
And finally, it’s important to have a good understanding of how light reflects off of water before getting started. With those things in mind, let’s take a look at how to paint waves for beginners. The first step is to sketch out your scene.
This doesn’t have to be anything fancy – just a basic outline of the shoreline and the waves. Once you have your sketch, it’s time to start adding color. For the sky, use a light blue or white color.
For the sea, start with a light blue color and then add darker shades as you progress down toward the horizon line. When it comes to painting the actual waves, there are two schools of thought. Some artists prefer to paint each wave individually while others prefer to paint them all at once in one continuous motion.
Whichever method you choose, make sure you work quickly so that your paint doesn’t have time to dry before you’re finished with it. Once you’ve added all of the colors you want, take a step back and assess your work. If there are any areas that need more attention, go back in and add more paint until you’re happy with the results.
And that’s all there is to painting beautiful waves!
How Do You Do the Wave Effect in Paint?
If you want to create a wave effect in paint, there are a few things you’ll need to do. First, you’ll need to sketch out the basic shape of the wave. Next, you’ll need to add some shading and highlights to give the wave its 3D look.
Finally, you’ll need to add some ripples or waves in the water for added realism. Here’s a step-by-step guide on how to do all three of those things:
- Sketch out the basic shape of the wave. Start by drawing a curved line that goes up and down. This will be the main outline of your wave.
- Add some shading and highlights. To give your wave its 3D look, start by adding some shading around the edges with a dark color. Then, use a lighter color to add highlights along the top of the wave.
- Add some ripples or waves in the water. For added realism, add some small ripples or waves in the water around your main wave.
How Do You Paint Ripple Waves?
There are a few different ways that you can paint ripple waves. One way is to start with a light blue color and then add white paint to create the appearance of waves. You can also use a sponge to create the rippled effect.
First, you will need to dampen the sponge and then dip it into the blue paint. Once you have done this, you will need to dab the sponge onto your paper to create the wave effect.
How To Paint Waves – Lesson 1 – Shape
Conclusion
This blog post provides a step-by-step guide on how to paint a wave on a wall. The author begins by outlining the supplies needed for the project, which include blue and white paint, painter’s tape, and a foam roller. Next, the author provides detailed instructions on how to create the wave design using painter’s tape and blue paint.
Once the waves are painted, the author recommends adding white paint to create a foamy effect. Finally, the author offers tips on how to maintain the paint job and prevent peeling or chipping.