How To Remove Bathroom Sink Drain
Removing a bathroom sink drain can seem like an intimidating task, but with a few simple steps, it can be done quickly and easily. In this guide, we’ll walk you through the process of how to remove a bathroom sink drain, and what tools and materials you’ll need to get the job done. With the right tools and materials in hand, you’ll have your bathroom sink drain removed and replaced in no time.
Tools and Supplies Needed
Removing a bathroom sink drain can be a tricky task, but is quite doable with the right tools and supplies. Knowing what tools and supplies you will need ahead of time can save you time and money, as well as make the job more efficient. To properly remove a bathroom sink drain, you will need a basin wrench, a pair of pliers, and a few other basic supplies.
A basin wrench is an L-shaped tool that is used to access hard-to-reach places. It has a long handle to give you more leverage and an adjustable head to fit different sizes of nuts. Pliers are also necessary for removing stubborn nuts, as well as to help unclog the drain. Additionally, you will need a drain stopper, a putty knife, and a putty scraper to clean the surface around the drain. You may also want to have a bucket handy to catch any water that may leak.
Removing the Drain from a Bathroom Sink
Bathroom sinks can become clogged over time due to hair, dirt, and other debris that can accumulate in the drain. Sometimes, the clog can be so severe that it requires the removal of the sink drain. While this can be a daunting task, it’s possible to do it yourself with a few simple tools.
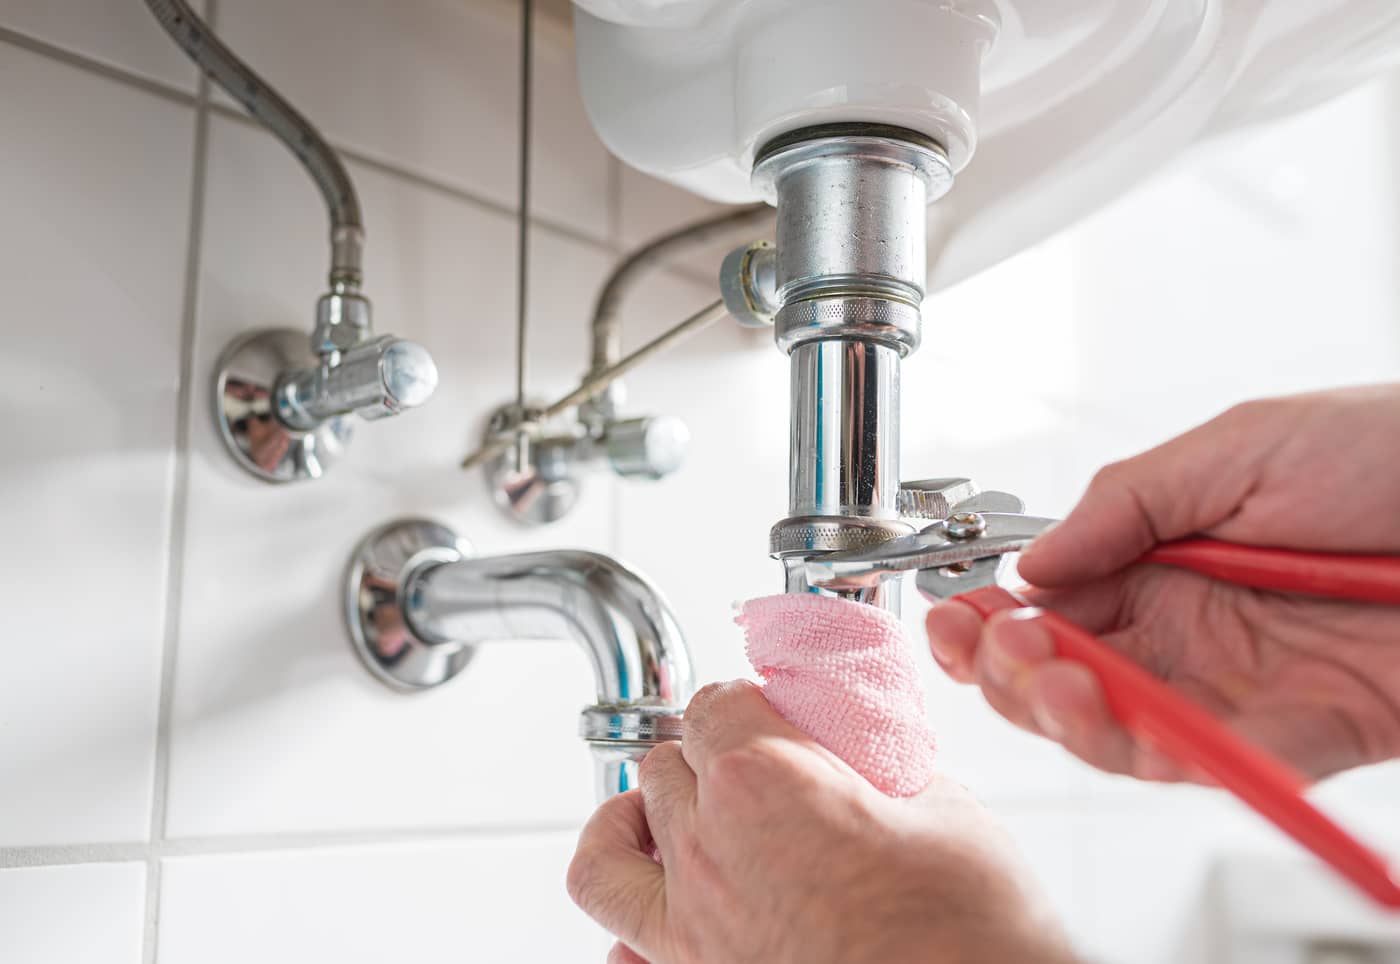
Removing the drain from a bathroom sink requires first turning off the water supply to the sink. Then, detach the drain trap and unscrew the drain flange from the sink. Be sure to have a bucket on hand since water will likely leak out. Next, unscrew the lock nut from the drainpipe and then use a wrench to loosen the slip nuts on each side of the drainpipe. Finally, remove the drainpipe and the drain assembly.
If you’re unable to loosen the lock nut or slip nuts, you may need to use a hacksaw to cut the pipe. If the clog is severe, you may need to use an auger or plumber’s snake to remove the obstruction. Once the drain has been removed, it’s important to clean and inspect the drain assembly for any damage. If everything looks okay, you can reinstall the drain assembly by following the steps in reverse.
Credit: www.homedepot.com
Cleaning the Sink Drain
Removing a bathroom sink drain can be a tricky task, but it’s necessary to keep your sink in good working order. The good news is that it’s not too difficult if you have the right tools and the right technique. To start, you’ll need to remove any items that are blocking access to the drain. Once that’s done, you’ll be able to access the sink drain and begin the process of removing it.
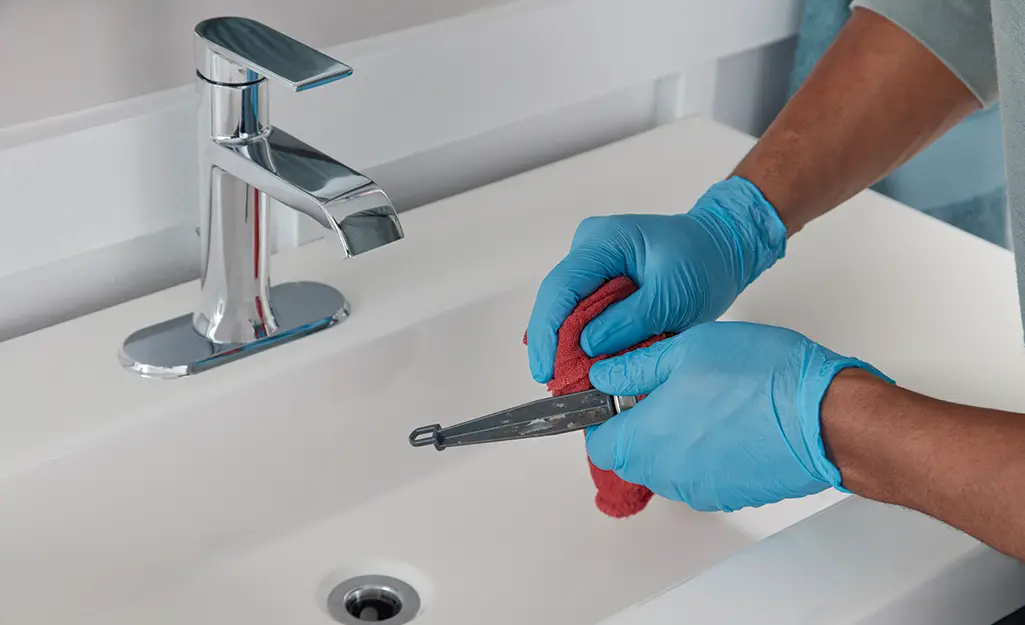
Before you start, it is important to ensure you have the right tools at hand. You will need pliers, a wrench, and a screwdriver. Make sure you have an adjustable wrench and a screwdriver that fits the drain screws. Additionally, you should have a bucket and a rag handy to catch any water that may spill out when you are removing the drain.
Replacing the Drain in Your Bathroom Sink
Having a faulty bathroom sink drain can cause a lot of inconveniences, from slow-draining water to standing water in the sink. If your sink is draining slowly or not at all, it may be time to replace the drain. Although replacing a sink drain can be a daunting task, the process is quite simple. In this article, we’ll go over the steps for removing and replacing the drain in your bathroom sink.
To get started, you’ll need to locate the drain nut that connects the drain trap to the sink. You’ll need to find the right-sized wrench or pliers to remove the nut. Once you find the right-sized tool, unscrew the nut to remove the drain trap.
Next, you’ll need to unscrew the nuts that connect the drainpipe to the sink. To do this, you’ll need to use a basin wrench or a socket wrench to get the right size. Once you’ve unscrewed the nuts, you can remove the drainpipe.
Now you can replace the drain. To do this, you’ll need to measure the size of the existing drain flange and purchase a replacement drain that is the same size. Install the new drain by placing the flange in the hole and tightening the nuts that secure it to the sink.
Installing the New Drain
Removing a bathroom sink drain can be a daunting task. It’s important to have the right tools and materials to ensure the job is done correctly and safely. The first step is to identify the type of sink drain you are dealing with and to purchase the necessary replacement parts. Once the drain is removed, the next step is to install the new drain.
To install the new drain, you will need to secure the drain flange to the sink. This is done by using a screwdriver or other tool to tighten the mounting screws. After the flange is secured, slide the new drain tailpiece into the drain opening, and then attach it to the flange with a coupling nut. Once the drain tailpiece is secured, use the plumber’s putty or caulk to create a seal between the drain and the sink. Finally, attach the stopper and test the drain to make sure it is functioning properly.
With the right tools and materials, removing and installing a bathroom sink drain is a fairly simple and rewarding DIY project. If you find yourself in need of assistance, consider hiring a professional plumber who can ensure the job is done correctly and safely.
Caulking and Sealing the Drain
When it comes to removing a bathroom sink drain, caulk and sealant are often necessary to ensure the process is done properly. Caulk helps to seal the drain from water and debris, and the sealant helps to prevent corrosion. Installing these materials correctly can help to make sure your bathroom sink drain is secure and watertight.
First, you’ll need to clean and dry the area around the sink drain. Make sure to remove any old caulk or sealant before applying any new materials. Once the area is prepped, you’ll need to apply the caulk around the edge of the sink drain. Apply the caulk in a continuous motion, making sure to fill in any gaps or cracks. Once the caulk is dry, use sealant to secure the edges. Apply the sealant in a single, continuous line, making sure to completely cover the edge of the drain. Allow the sealant to dry before using the sink.
FAQs About the How To Remove Bathroom Sink Drain
1. How do I unclog a bathroom sink drain?
Answer: To unclog a bathroom sink drain, you can try using a plunger or a chemical drain cleaner. If these methods do not work, you may need to use a drain snake to remove the clog.
2. How do I replace a bathroom sink drain?
Answer: To replace a bathroom sink drain, you will first need to disconnect the existing drain from the sink. Then, you will need to take measurements and purchase a new sink drain. Finally, you will need to attach the new drain to the sink and replace the drain stopper.
3. How do I clean a bathroom sink drain?
Answer: To clean a bathroom sink drain, you can use a combination of baking soda and vinegar. Pour a half cup of baking soda and a cup of vinegar down the drain and let it sit for 10 minutes. Then, flush the drain with hot water. If the drain is still clogged, you can use a chemical drain cleaner.
Conclusion
Removing a bathroom sink drain is a relatively easy task that can be completed in a relatively short amount of time. With the right tools and knowledge, it can be done quickly and efficiently. Start by disconnecting the P-trap and loosening the slip nut on the drain pipe. Then, use a basin wrench to remove the drain flange and use a screwdriver to remove the strainer. Finally, you can remove the drain assembly and replace it with a new one. With these steps, you can have a new and improved drain in no time.