How to Sand Grooves in Furniture
Sanding grooves in furniture can be a difficult and time-consuming task. However, with the right tools and techniques, it is possible to achieve a smooth finish. The following guide provides tips on how to sand grooves in furniture, including what type of sandpaper to use and how to avoid damaging the surrounding surfaces.
- Begin by sanding the furniture with medium-grit sandpaper to remove any existing finishes or paint
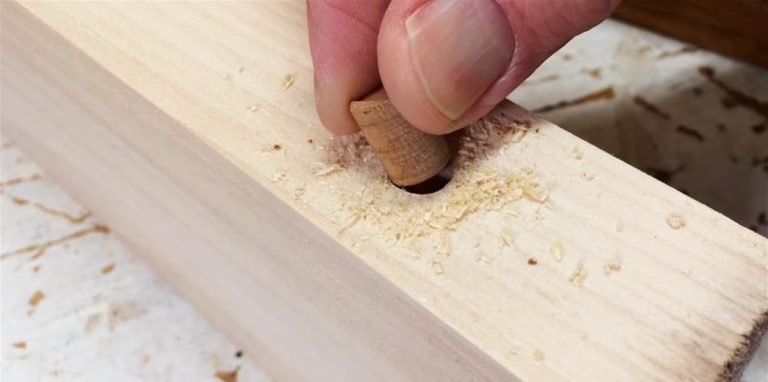
- Next, use a small hand sander or piece of sandpaper to Sand the grooves in the furniture
- Start with coarse grit and work your way up to finer grit for a smooth finish
- Once the grooves are sanded, vacuum up any dust and apply a new finish if desired
What Do You Use to Sand Crevices?
There are many tools that can be used to sand crevices, depending on the size and depth of the crevice. For small or shallow crevices, a hand sander or piece of sandpaper may be all that is needed. For deeper crevices, an electric drill with a rotary tool and sanding attachment may be necessary.
The type of material being sanded will also dictate the type of sandpaper or other abrasive material that should be used.
How Do You Sand Tight Crevices?
If you’re trying to sand a tight crevice, the best way to do it is with a rotary tool and a small-diameter sanding drum. First, attach the sanding drum to your rotary tool. Then, hold the rotary tool against the surface of the object you’re trying to sand, and slowly move it back and forth over the area you need to sand.
Be sure to keep the tip of the sanding drum in constant contact with the surface; if it starts to “jump” or “skip,” you won’t be able to get a smooth finish.
What Can I Use to Sand Small Grooves?
You can use a variety of different tools to sand small grooves, depending on the size and depth of the groove. For shallow grooves, you can use a hand sander or an orbital sander. For deeper grooves, you may need to use a belt sander or a router.
When using any type of sander, it’s important to start with coarse grit paper and gradually move to finer grits until the groove is smooth. If you start with too fine of grit, you may end up taking off too much material and creating more work for yourself.
What is the Best Way to Sand Spindles?
The best way to sand spindles is by using a handheld sander. First, you will need to attach a piece of sandpaper to the sander. Then, you will need to hold the sander in one hand and use the other hand to guide it up and down the spindle.
Start with coarse grit sandpaper and then move to finer grit sandpaper once you have removed all of the roughness from the surface of the spindle.
How to Sand Grooves in Doors
If you’re like most people, your home has a few doors that show their age. Maybe the paint is chipped or the wood is starting to warp. Whatever the case may be, it’s easy to give these doors new life with a little elbow grease and some sandpaper.
Here’s how to sand grooves indoors:
- Start by removing any hardware from the door. This includes doorknobs, hinges, and screws. If there are any nails holding the trim in place, use a hammer to gently remove them.
- Once the hardware is removed, take a look at the door and decide which way you want to sand it. You can either go with the grain of the wood or across it. If you’re not sure which way to go, ask a professional or consult a how-to guide before proceeding.
- Once you’ve decided which way to sand, begin by attaching coarse-grit sandpaper to your sander of choice. The 40-grit paper will do for most doors; however, if yours is particularly damaged, you may need to start with something even coarser such as 20-grit paper. After attaching the paper, turn on your sander and begin moving it across the door in long strokes following your chosen grain pattern. As you work, be sure to keep an eye on your progress and replace the sandpaper when it starts to wear down. When one side of the door is finished. move on to the other side and repeat until both sides are evenly sanded.
- Once both sides are complete, move on to the trim around the door using similar strokes. When all of the visible wood surfaces have been evenly sanded, wipe away any excess dust with a damp cloth then allow the door to dry completely before applying a new coat of the paint or Stain. And that’s all there is to it! With just a little bit off effort.
Conclusion
Sanding grooves in furniture is a process that requires patience, attention to detail, and the right tools. The first step is to assess the depth and width of the groove and determine which sandpaper grit will be most effective. Using a sanding block or a power sander with a narrow belt, carefully sand the groove in the direction of the grain, taking care not to sand too deeply or widen the groove. After the initial sanding, switch to finer grit sandpaper and repeat the process until the groove is smooth and even. With practice and the right techniques, sanding grooves can effectively restore and enhance furniture.