How To Use A Paint Edger
A paint edger is a great tool to use when painting a room. It is a tool that helps you to create clean, straight lines along the edges of the wall. This tool is easy to use and can save you time and effort when painting. In this guide, we will be discussing how to use a paint edger correctly and efficiently to get the best results. We’ll cover the preparation, the steps for using the tool, and the clean-up afterward. With the help of this guide, you’ll be able to make your paint job look professional and clean.
Overview of the Tool
Paint edgers are an essential tool for any painter looking to achieve precise and professional results. These easy-to-use tools allow you to get into tight corners, around door and window frames, and other obstacles, eliminating the need for taping and making the job of painting much easier and faster. Whether you’re a professional painter or a do-it-yourselfer, learning how to use a paint edger will save you time and energy.
Using a paint edger is relatively straightforward and requires no special skills or knowledge. The tool is designed to be used with both water-based and oil-based paints. It is also safe to use with a variety of surfaces, including wood, drywall, and metal. A paint edger consists of a long handle with a rounded blade at the end that is coated in paint. To use it, simply press the blade to the surface and drag it along, creating a precise line. The blade should be kept slightly angled to ensure the paint is evenly applied.
Paint edgers are a great way to reduce the time and effort required when painting. With a few simple steps, you can easily achieve a professional finish without spending a lot of time or money. So, next time you’re ready to paint, make sure to pick up a paint edger and get the job done quickly and easily.
Preparing the Room for Painting
Painting a room can be an intimidating task, especially if you’re not an experienced painter. But with the right tools and techniques, you can achieve professional-looking results. One of the most important tools you need is a paint edger. This tool makes it easy to get crisp, clean lines around trim, corners, and other hard-to-reach areas. But before you start painting, it’s important to do some preparation to ensure the best results.
First, remove all furniture from the room and lay down a drop cloth to protect your floors. Next, fill any holes or cracks with spackling and sand the area smooth. You want to have a smooth surface that is free of blemishes before you begin painting. Once the surface is ready, use painter’s tape to cover trim, door frames, windows, and other areas that you don’t want to paint. This will help you achieve sharp edges when you use your paint edger.
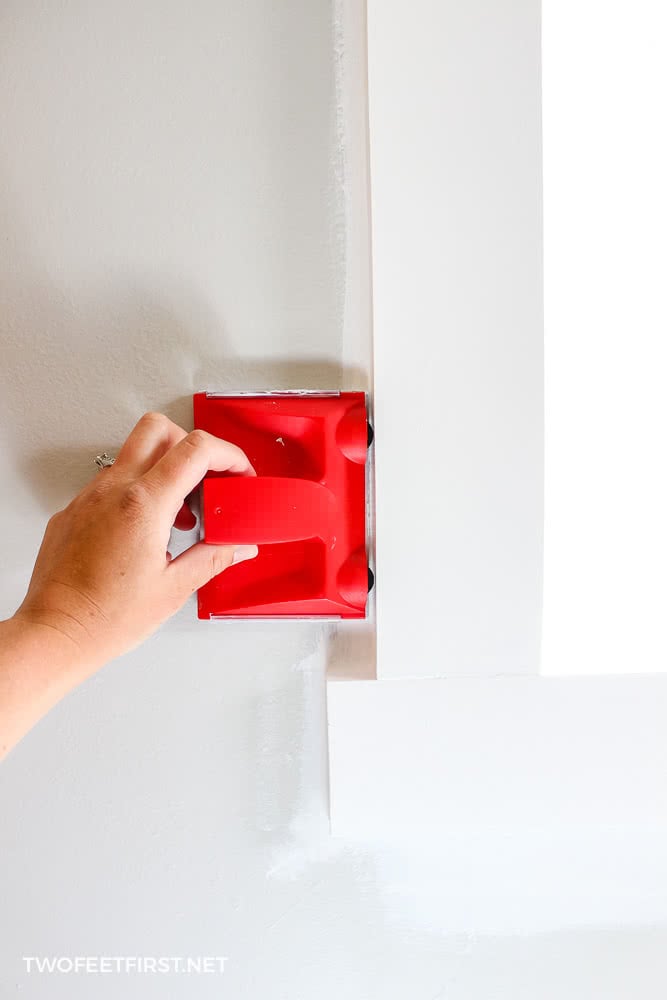
Now your room is ready for painting. When you use a paint edger, start in the corners and work your way out. This will help you get the best results. Apply even pressure and make sure the blade is flush against the surface so you don’t leave behind any excess paint. When you’re done, you can remove the painter’s tape and enjoy your freshly painted room.
Loading the Paint Edger
After you’ve purchased a paint edger, it’s time to load it up with the right amount of paint and get started. The first step is to determine the amount of paint you need for the project. This will depend on the size of the area you’re painting, as well as the type of paint you’re using. Once you have the amount, pour it into the paint edger’s reservoir. Make sure to leave enough room for the paint to move around freely.
Once the reservoir is full, attach the edger’s roller cover to the handle. Put the cover on the roller and press firmly until it is securely in place. Then, twist the handle clockwise until it clicks into place. This will ensure that the roller cover is firmly attached to the handle and ready for use.
Finally, prime the edger by turning it on and pressing the trigger. This will move the paint around the reservoir and get the roller cover wet. Once the roller cover is wet, you can start edging the walls. With a paint edger, you’ll be able to get clean lines and even coverage quickly and easily.
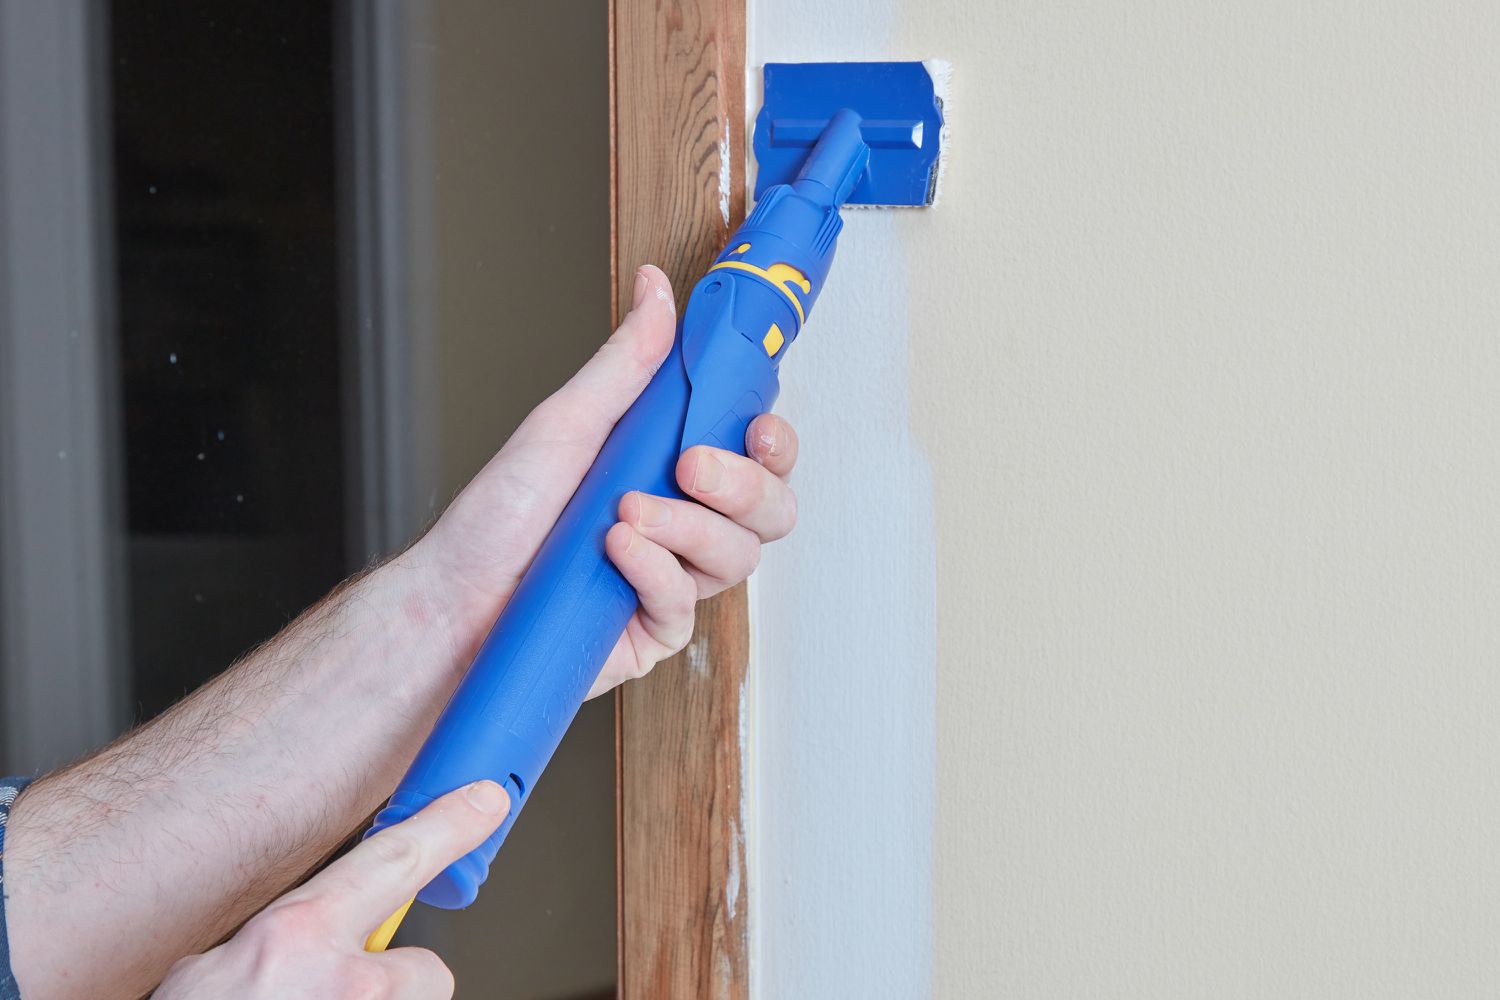
Applying the Paint Edger
Using a paint edger is an effective way to achieve a neat and precise paint job. This tool can be used to create a neat trim around walls, ceilings, and other surfaces, and is an ideal way to avoid the dreaded paint brush strokes. To use a paint edger, start by taping off the area that you want to paint. Then, take the edger and dip the brush into the paint. Start by applying the paint around the edges, taking the time to ensure a neat, even finish. As you paint, ensure that the edger is slightly angled outwards to enable a neat edge. Continue painting until the desired area is covered. Once the area is completely painted, use a damp cloth to clean off any excess paint that may have gone outside of the taped area. With the help of a paint edger, you can take the hassle out of painting and achieve a neat, professional finish.
Cleaning and Maintaining the Paint Edger
When it comes to painting, a paint edger is a must-have tool for achieving a professional finish. But, to keep your paint edger in top condition and get the best results, it’s important to clean and maintain it regularly. Here are some tips to help you keep your paint edger in peak condition:
1. Clean the edger regularly – After each use, make sure you clean the paint edger, including the blade, roller, and any other components that come into contact with paint. Use a mild detergent and warm water to remove any paint residue.
2. Sharpen the edger blade – Use a sharpening stone to keep the blade of your edger sharp and effective. Not only will this help you to achieve a smoother finish, but it will also extend the life of your edger.
3. Lubricate the edger – To keep your edger running smoothly and reduce the risk of damage, it’s important to lubricate the moving parts of the edger. Use a light oil to lubricate the blade, roller, and any other components that move.
4. Store the edger properly – When you’re done using your paint edger, make sure to store it properly. Keep the edger in a cool, dry place and store it away from direct sunlight. This will help to preserve the edger and keep it in good condition for future use.
By following these tips, you can ensure your paint edger is always in top condition and ready to help you achieve the best results. Cleaning, sharpening, and lubricating your edger regularly will also extend its life and help you to get the most out of your investment.
Troubleshooting Common Issues
Painting can be a tricky endeavor, especially when trying to achieve a professional, finished look. One of the most difficult tasks is edging a wall or trim with a brush or roller. Fortunately, the paint edger can help simplify the process, but even the most experienced DIYers can experience issues. In this article, we’ll discuss some of the most common issues faced when using a paint edger and how to troubleshoot them.
The first issue is that the edger can slip and leave marks on the wall. To help prevent this, make sure to press the edger firmly against the wall and keep an even, steady pressure. If the edger does slip, use a damp cloth or sponge to wipe away any marks.
Another common issue is the edger leaving a gap between the paint and trim. To avoid this, make sure to move the edger slowly and evenly. When you get to a corner, press the edger firmly against the wall and then turn it around to finish the job.
Lastly, you may find that the edger is leaving an uneven line or streak. This is usually caused by not pushing the edger flat against the wall or applying too much pressure. To fix this, go back over the area with a brush or roller and lightly feather the edges to achieve a smooth finish.
Using a paint edger can be a great way to achieve a professional finish, but it’s important to be aware of the potential issues that can arise. By understanding the common issues and how to troubleshoot them, you’ll be able to ensure a successful paint job every time.
Alternatives to the Paint Edger
Painting can be a messy job, especially when it comes to the areas around trim and another molding. Luckily, the paint edger is a helpful tool that can make the job easier. But what if you don’t have one? Are there any alternatives to a paint edger? Absolutely!
One of the most common alternatives to a paint edger is a brush. A wide brush can be used to paint walls and ceilings, but it is less effective when painting trim and molding. To get a cleaner, more precise line, you can use a narrower brush or a liner brush. A liner brush is typically used for detail work and is designed to be very precise.
Another alternative is a foam brush. Foam brushes are great for painting trim and molding because they are soft and flexible. They can easily get into tight spaces and leave a smooth, even finish. Plus, they are much easier to clean than a traditional brush.
Finally, you can use masking tape to help you achieve a neat, clean line when painting trim and molding. By “taping off” the area that you don’t want to paint, you can ensure that the paint only goes where you want it to go. This is a great way to get a crisp, professional look without using a paint edger.
No matter what type of job you’re doing, there are always alternatives to the tools you may not have. When it comes to painting trim and molding, you don’t need a paint edger to get a professional finish. With a little creativity and the right tools, you can achieve the same results without the extra expense.
FAQs About the How To Use A Paint Edger
1. What is a Paint Edger?
A Paint Edger is a tool used to quickly and easily paint a straight line along the edge of a wall or ceiling. It is typically used to paint baseboards, ceiling lines, and trim.
2. How do I use a Paint Edger?
To use a Paint Edger, simply insert the guide wheel of the edger into the corner of where you want to paint, then angle the edger towards the wall or ceiling. Make sure the wheel is pressed firmly against the surface, and then roll the edger along the line you want to paint.
3. What types of paint can I use with a Paint Edger?
A Paint Edger can be used with most types of paint, including latex, oil-based, and acrylic paint. Make sure to check the manufacturer’s instructions to confirm the type of paint that is compatible with your specific Paint Edger.
Conclusion
Using a paint edger is a great way to get a professional look when painting. It is easy to use and can save you time and energy in the long run. With a little practice, you can get a smooth line and get the job done quickly. Be sure to practice and read the instructions carefully before using your paint edger so that you get the best results.