What Are The 10 Steps For Organizing Kitchen Cabinets?
Organizing kitchen cabinets can seem like a daunting task, but it doesn’t have to be! With the right steps in place, you can have a clean and organized kitchen in no time. The 10 steps for organizing kitchen cabinets are:
- Take everything out of the cabinets and clean the shelves
- Assess what is needed and what can be donated or thrown away
- Group items together based on their use
- Place items in cabinets based on frequency of use
- Use drawer organizers and dividers to keep items from sliding around
- Utilize the back of cabinet doors to hang items like lids, measuring cups, and other small items
- Add labels to bins and baskets to easily identify what is inside
- Hang pot racks or use pot lid organizers to maximize storage space
- Take advantage of vertical space with stackable containers and shelves
- Finally, enjoy your newly organized kitchen!
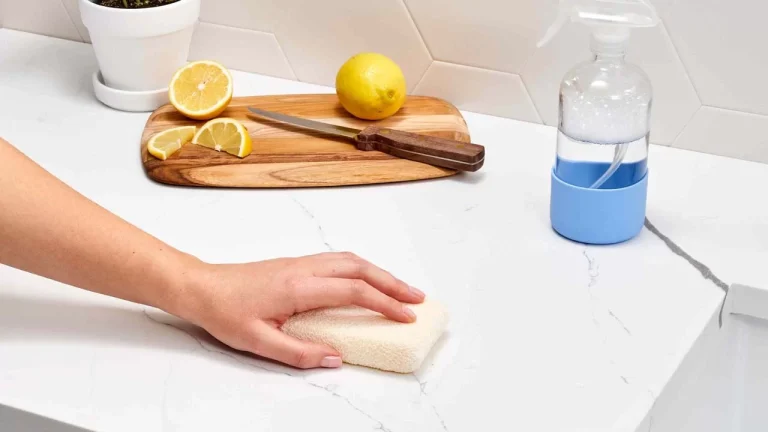
Step 1: Empty Out Kitchen Cabinets
Start your kitchen renovation off right by clearing out your cabinets. Empty out all of your dishes, glasses, and cookware. Don’t forget to take out any spices, oils, and other cooking ingredients. Make sure to take out any cleaning supplies that may have been stored in your kitchen cabinets as well. This is the perfect opportunity to take inventory of what you have and decide what you want to keep and what needs to go. With a clean slate, you can begin to envision your new kitchen setup and plan for the future.
Step 2: Sort Through Kitchen Items
Sort through all the items in your kitchen and decide what to keep and what to get rid of. Make sure you go through everything and consider whether you use it enough to keep it. If you haven’t used it in a few months, it may be time to let it go. Think of it as a kitchen purging ritual. By sorting through all the items, you’ll be able to create more space and give yourself a better workspace. Take the time to make sure you keep only what you need and let go of the rest. You’ll be happy you did.
Step 3: Assess Kitchen Storage Needs
Assessing your kitchen storage needs is an important step in creating an efficient and organized kitchen. Take a look at your current storage situation and think about how you can make it more efficient. Consider the items you use most often and make sure they are easily accessible. Evaluate how much space you have for storage and determine if you need additional shelves, cabinets, or drawers. Consider the size and shape of the items you need to store and how best to store them. Finally, consider your budget for any additional storage solutions you may need. With careful planning and thoughtful consideration, you can create the perfect kitchen storage system for your needs.
Step 4: Find Appropriate Storage Solutions
When it comes to your blog, it’s important to find appropriate storage solutions to ensure that your content is accessible, secure, and easy to locate. Whether you’re storing images and videos, or text documents, you’ll want to find a cloud-based storage system that is reliable and efficient. Additionally, consider how you will back up your content in the event of a power outage, server failure, or other emergency. With the right storage solutions, you can rest assured that your blog content is safe and secure.
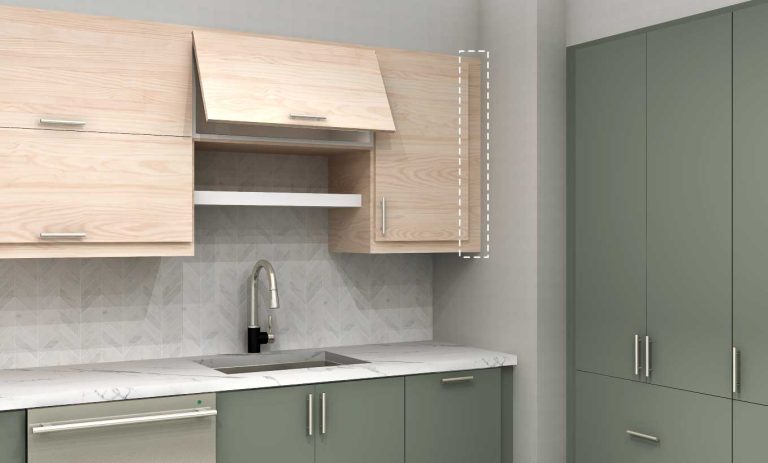
Step 5: Maximize Cabinet Space
Maximizing cabinet space can be a challenge, but it doesn’t have to be. Utilizing the right storage solutions and organization strategies can help you make the most of your existing cabinets. Start by measuring the interior of your cabinets and then look for adjustable shelves, stackable containers, and other creative storage solutions that will help you maximize the space in your cabinets. You can also take advantage of vertical storage to make sure every corner of your cabinets is utilized. Taking the time to properly organize and maximize your cabinet space can make a big difference in the functionality of your kitchen.
Step 6: Designate Cabinet Areas
Designating cabinet areas is an effective way to ensure your kitchen is organized and efficient. By setting up specific places for different items, you can quickly and easily find what you need without having to rummage around. Start by determining which cabinets will hold which items, then label the shelves or drawers accordingly. This will help you keep track of kitchen supplies and make life easier when you need to locate something quickly. Additionally, this step is an important part of creating a neat and tidy kitchen.
Step 7: Measure and mark Locations for Items
If you’re ready to measure and mark the locations for the items in your home, you’ve come to the right place! This step is essential in the home organization process. Here, you’ll be measuring the dimensions of the items you need to store and marking the corresponding locations where they should go. Doing this will ensure that the items are placed in the right spot and that they fit perfectly. With accurate measurements and markings, you’ll make sure that your home is organized in the most efficient and effective way possible. So, grab your measuring tape and get ready to mark your spots!
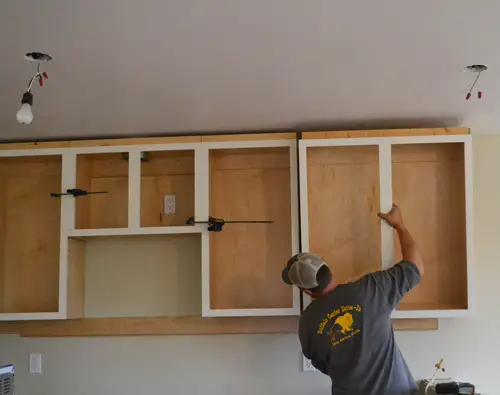
Step 8: Install New Organizers & Racks
Organizing your home can be a daunting task, especially if you’re starting from scratch. Installing organizers and racks is a great way to get started on your journey to a more organized home. Not only do organizers and racks provide a neat and tidy look, but they also provide a space-saving solution that can help maximize the storage potential of your home. From closet organizers and shoe racks to shelves and cabinet organizers, there are plenty of options to choose from to fit your needs and the size of your home. Get ready to take your organizational skills to the next level with the help of organizers and racks.
Step 9: Place Items Back in Cabinets
Cleaning up the kitchen is a task that can feel overwhelming – but it doesn’t have to be! Step 9 of the process is to place items back into cabinets and drawers. Make sure to organize them according to your own preferences and needs. Group items together that are used for the same task, like storing all the baking items together. Put the most used items in the most easily accessible areas and place the less often used items in more difficult-to-reach places. Take the time to tidy up the cabinets and drawers, and you’ll have a clean and organized kitchen in no time!
Step 10: Maintain Organization & Cleanliness
Maintaining organization and cleanliness is essential when running a blog. It can help reduce stress and keep your workflow running smoothly. A well-organized blog will help keep all of your content organized and easy to access. It also helps to keep you on track and focused on your goals. Additionally, a clean and organized blog will make it easier for visitors to find what they’re looking for. This will lead to more website visits and more potential customers. Keeping your blog organized and tidy will keep you organized, focused, and efficient in your blogging endeavors.
FAQs About the What Are The 10 Steps For Organizing Kitchen Cabinets?
What are the first steps for organizing kitchen cabinets?
The first steps for organizing kitchen cabinets are to clear out the cabinets, assess the space, and decide how you want to organize them.
How do I ensure that my kitchen cabinets stay organized?
To ensure that your kitchen cabinets stay organized, you should create a plan for storage, practice regular maintenance, and use labels to easily identify items.
What are some tips for organizing kitchen cabinets?
Some tips for organizing kitchen cabinets include utilizing vertical space, using baskets to store small items, and using dividers and organizers to keep items separated.
Conclusion
Organizing your kitchen cabinets can be a daunting task, but with the proper planning and execution, it can be a rewarding and satisfying experience. By following the 10 steps for organizing kitchen cabinets, you can create a well-organized and efficient kitchen storage system. By starting with a plan, decluttering, sorting, grouping, and labeling items, you can create an organized kitchen that is both functional and aesthetically pleasing. With a bit of effort and patience, you can make a huge difference in the overall look and feel of your kitchen.