A Guide To Replacing Sink Strainers In Kitchen Sinks.
Having a clogged kitchen sink is an inconvenience that no homeowner wants to deal with. Fortunately, replacing sink strainers is a relatively simple task that can easily be completed by most homeowners. This guide will provide step-by-step instructions on how to replace sink strainers in kitchen sinks. From preparing the work area to properly installing the new strainer, this guide will provide all the information necessary to ensure that the job is done correctly and quickly.
Identifying a Need to Replace a Sink Strainer
Whether you’ve noticed a leak around the sink drain or the strainer is looking a bit outdated, replacing a sink strainer is an easy and cost-effective way to give your kitchen a refreshed look. Not only will replacing the sink strainer improve the overall aesthetic of your kitchen, but it can also help to prevent clogs and reduce the risk of future plumbing repairs. To replace a sink strainer, you’ll need to first identify the type of strainer you have and purchase the correct replacement. With a few simple tools and a bit of DIY know-how, you can quickly and easily replace your sink strainer and get your kitchen looking as good as new.
Gathering the Necessary Tools and Materials
Gathering the necessary tools and materials for a project or task is an integral part of the creative process. Whether you are working on a DIY project, crafting a masterpiece, or planning a big event, making sure you have all the right pieces to succeed is key. Taking time to gather the right materials and tools can save you time, money, and frustration in the long run. Having the right tools and resources on hand will also help you to do the best job possible, giving you the confidence to take on bigger and better projects.
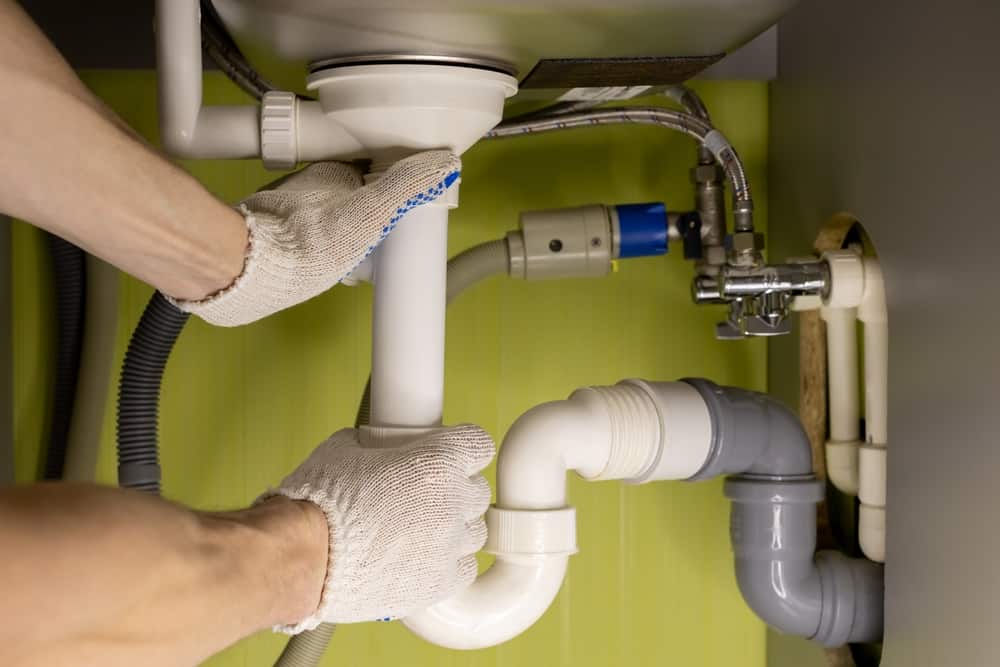
Removing the Old Sink Strainer
Removing an old sink strainer is a job for any do-it-yourselfer. It is a simple task that can be completed in a few easy steps. First, turn off the water supply to the sink. Then, remove the screws that secure the old strainer in place. Carefully remove the strainer and discard it. Next, clean the area around the drain to remove any debris and grime. Finally, install the new strainer and secure it in place. Follow these steps and you’ll have a new sink strainer in no time.
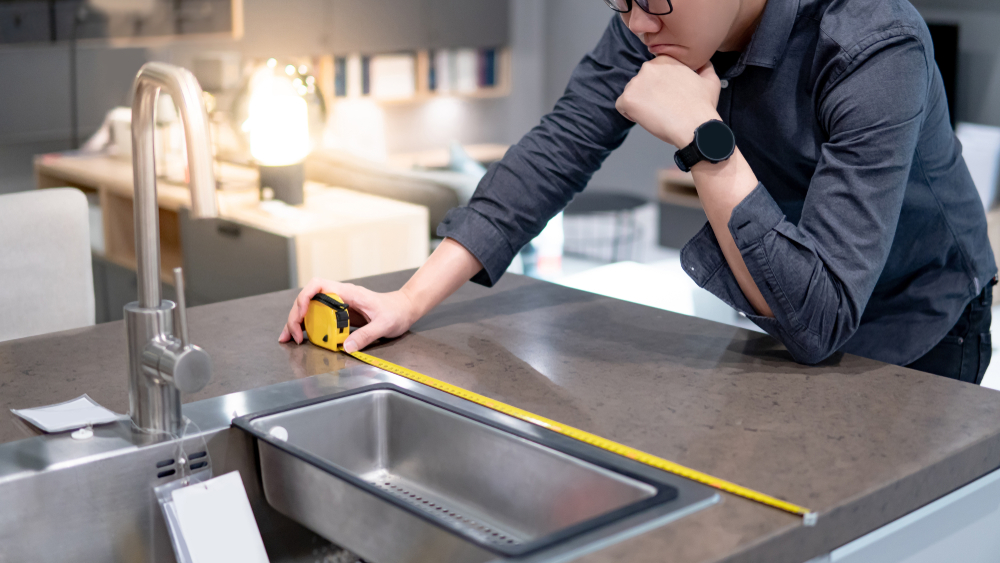
Preparing the Sink for Installation
Installing a sink is a relatively straightforward process, but you should take the time to properly prepare the area in order to ensure a successful outcome. This includes measuring the area to ensure the new sink will fit, ensuring the water lines are properly connected, and removing any fixtures or obstacles that may impede the installation. Additionally, it’s important to check the sink is properly secured before you turn on the water. With a little bit of preparation, your sink installation will be complete in no time!
Selecting and Installing the New Sink Strainer
Installing a new sink strainer can be a daunting task, but with the right preparation and knowledge, it doesn’t have to be. This blog provides step-by-step instructions on selecting and installing the perfect sink strainer for your home. From choosing the right size and material to ensuring a secure fit, this guide is designed to help you tackle this often-overlooked, yet essential, plumbing project with ease. Whether you’re a seasoned DIYer or a novice, this blog provides the information you need to make sure your new sink strainer is installed correctly and securely. With our help, you’ll be able to choose and install the perfect sink strainer for your home and enjoy the peace of mind that comes with knowing you did the job right.
Securing the Sink Strainer in Place
Securing the sink strainer in place is a simple and straightforward task that can be done in minutes with the right tools and materials. It’s important to ensure the strainer is securely fastened to prevent any clogs or backups in the sink. The strainer should be firmly screwed into place using a screwdriver and a few screws. Once the strainer is secure, you’ll be able to enjoy clog-free sinks for years to come! With the peace of mind that comes with a properly installed strainer, you can go about your daily activities without worrying about unexpected plumbing disasters.
Testing and Inspecting the New Sink Strainer
The new sink strainer is a vital component of any kitchen or bathroom sink. To ensure that it functions properly, it is important to test and inspect it regularly. This involves checking for any signs of wear and tear, such as rust, corrosion, or cracks. Additionally, it is recommended that the strainer is cleaned and inspected for any blockages. This can help to prevent any potential issues, such as clogs, that could potentially cost time and money to fix. Ultimately, testing and inspecting the new sink strainer is an important part of maintaining a healthy and functioning sink.
Cleaning Up and Disposing of Debris
The job of cleaning up and disposing of debris is one of the most important tasks to complete after any project, big or small. It is important to take the time to properly clean up and dispose of any debris, as it can be a safety hazard and can also be unsightly. By properly disposing of the debris, you can help keep your workspace or home clean and safe. The first step in cleaning up and disposing of debris is to identify the type of debris that needs to be removed. Once you have identified the type of debris, you can then figure out the best way to dispose of it. Depending on the type of debris, you may need to rent a dumpster, hire a hauling company, or even take it to your local recycling center. After the debris has been properly removed and disposed of, you can then perform a final cleanup of the area. This will ensure that all of the debris has been properly removed and the area is now safe and clean.
Conclusion
Replacing sink strainers in kitchen sinks is a relatively easy task that most homeowners can do on their own. While it is a good idea to have a basic understanding of plumbing, you do not need to be an expert to do this job. With the right tools and a few simple steps, you can replace an old sink strainer in a matter of minutes. Be sure to follow the manufacturer’s instructions and wear protective gear to avoid any accidents. With a little bit of time and effort, you can have a brand-new, functioning sink strainer in your kitchen in no time!