How Do You Put Legs On A Kitchen Island?
Adding legs to a kitchen island is a great way to give it an updated and stylish look. It also has the added benefit of making the island more functional by giving it a raised platform, which makes it easier to reach items stored on top. Additionally, legs can make the island easier to move around the kitchen and make it easier to clean underneath. Installing legs on a kitchen island is not a difficult task and can usually be completed in a few hours.
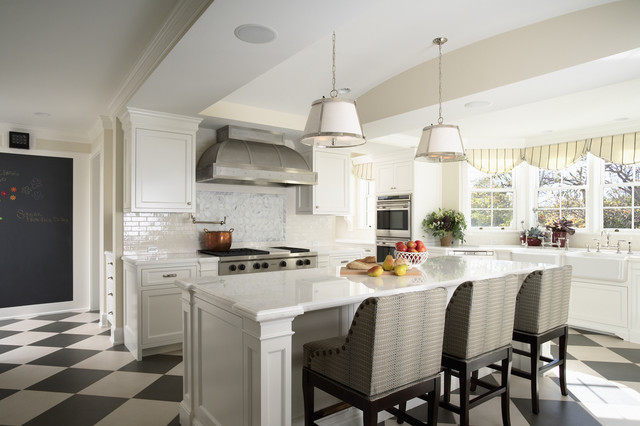
Identifying the Need for Legs on a Kitchen Island
Kitchen islands provide a functional and stylish addition to any home. They are a great way to add extra counter space and storage to a kitchen, while also creating an aesthetically pleasing focal point. However, many homeowners face the issue of how to put legs on a kitchen island. This can be a tricky task, as there are many factors to consider – such as size, weight, and design – before making a decision.
The most important factor to consider when putting legs on a kitchen island is the weight of the island itself. If the island is too heavy, it may not be able to support the weight of the legs. Additionally, the weight of the island must be evenly distributed to ensure that the legs are not too close to each other, which could cause them to become unstable.
Another factor to consider is the design of the kitchen island. Different styles of kitchen islands have different needs when it comes to legs. For example, an island with a curved base may require legs that are more curved to provide additional support and stability. Also, be sure to measure the space around the island to ensure that the legs will fit properly.
Finally, the material of the legs is an important factor to consider. While metal and wood are the most common materials used for kitchen island legs, there are also a variety of other materials that may be suitable. It is important to choose legs that are durable and will be able to withstand the weight of the island.
Putting legs on a kitchen island can be a tricky task, but with the proper research, planning, and measurement, it can be done. By considering the weight, design, and material of the island, homeowners will be able to find the perfect legs to make their kitchen island look and function as desired.
Types of Legs Available
When looking to add legs to a kitchen island, there are several types to choose from. Some of the most common types are metal legs, wood legs, and support posts.
Metal legs are typically made from stainless steel, aluminum, or iron and are available in a variety of shapes and finishes. They are usually very strong and provide a modern, industrial look.
Wood legs come in a variety of woods, such as oak, cherry, and maple, and can be customized to match any décor. They offer a warm and inviting look and can be stained or painted to fit any color scheme.
Support posts provide a more substantial look to an island and are often used to give extra support to a large island or breakfast bar. They come in a variety of styles and materials, including wood, metal, and stone.
No matter which type of legs you choose, they should be securely attached to the island to ensure stability. If you’re unsure how to install them, contact a professional installer who can provide expert advice and assistance.
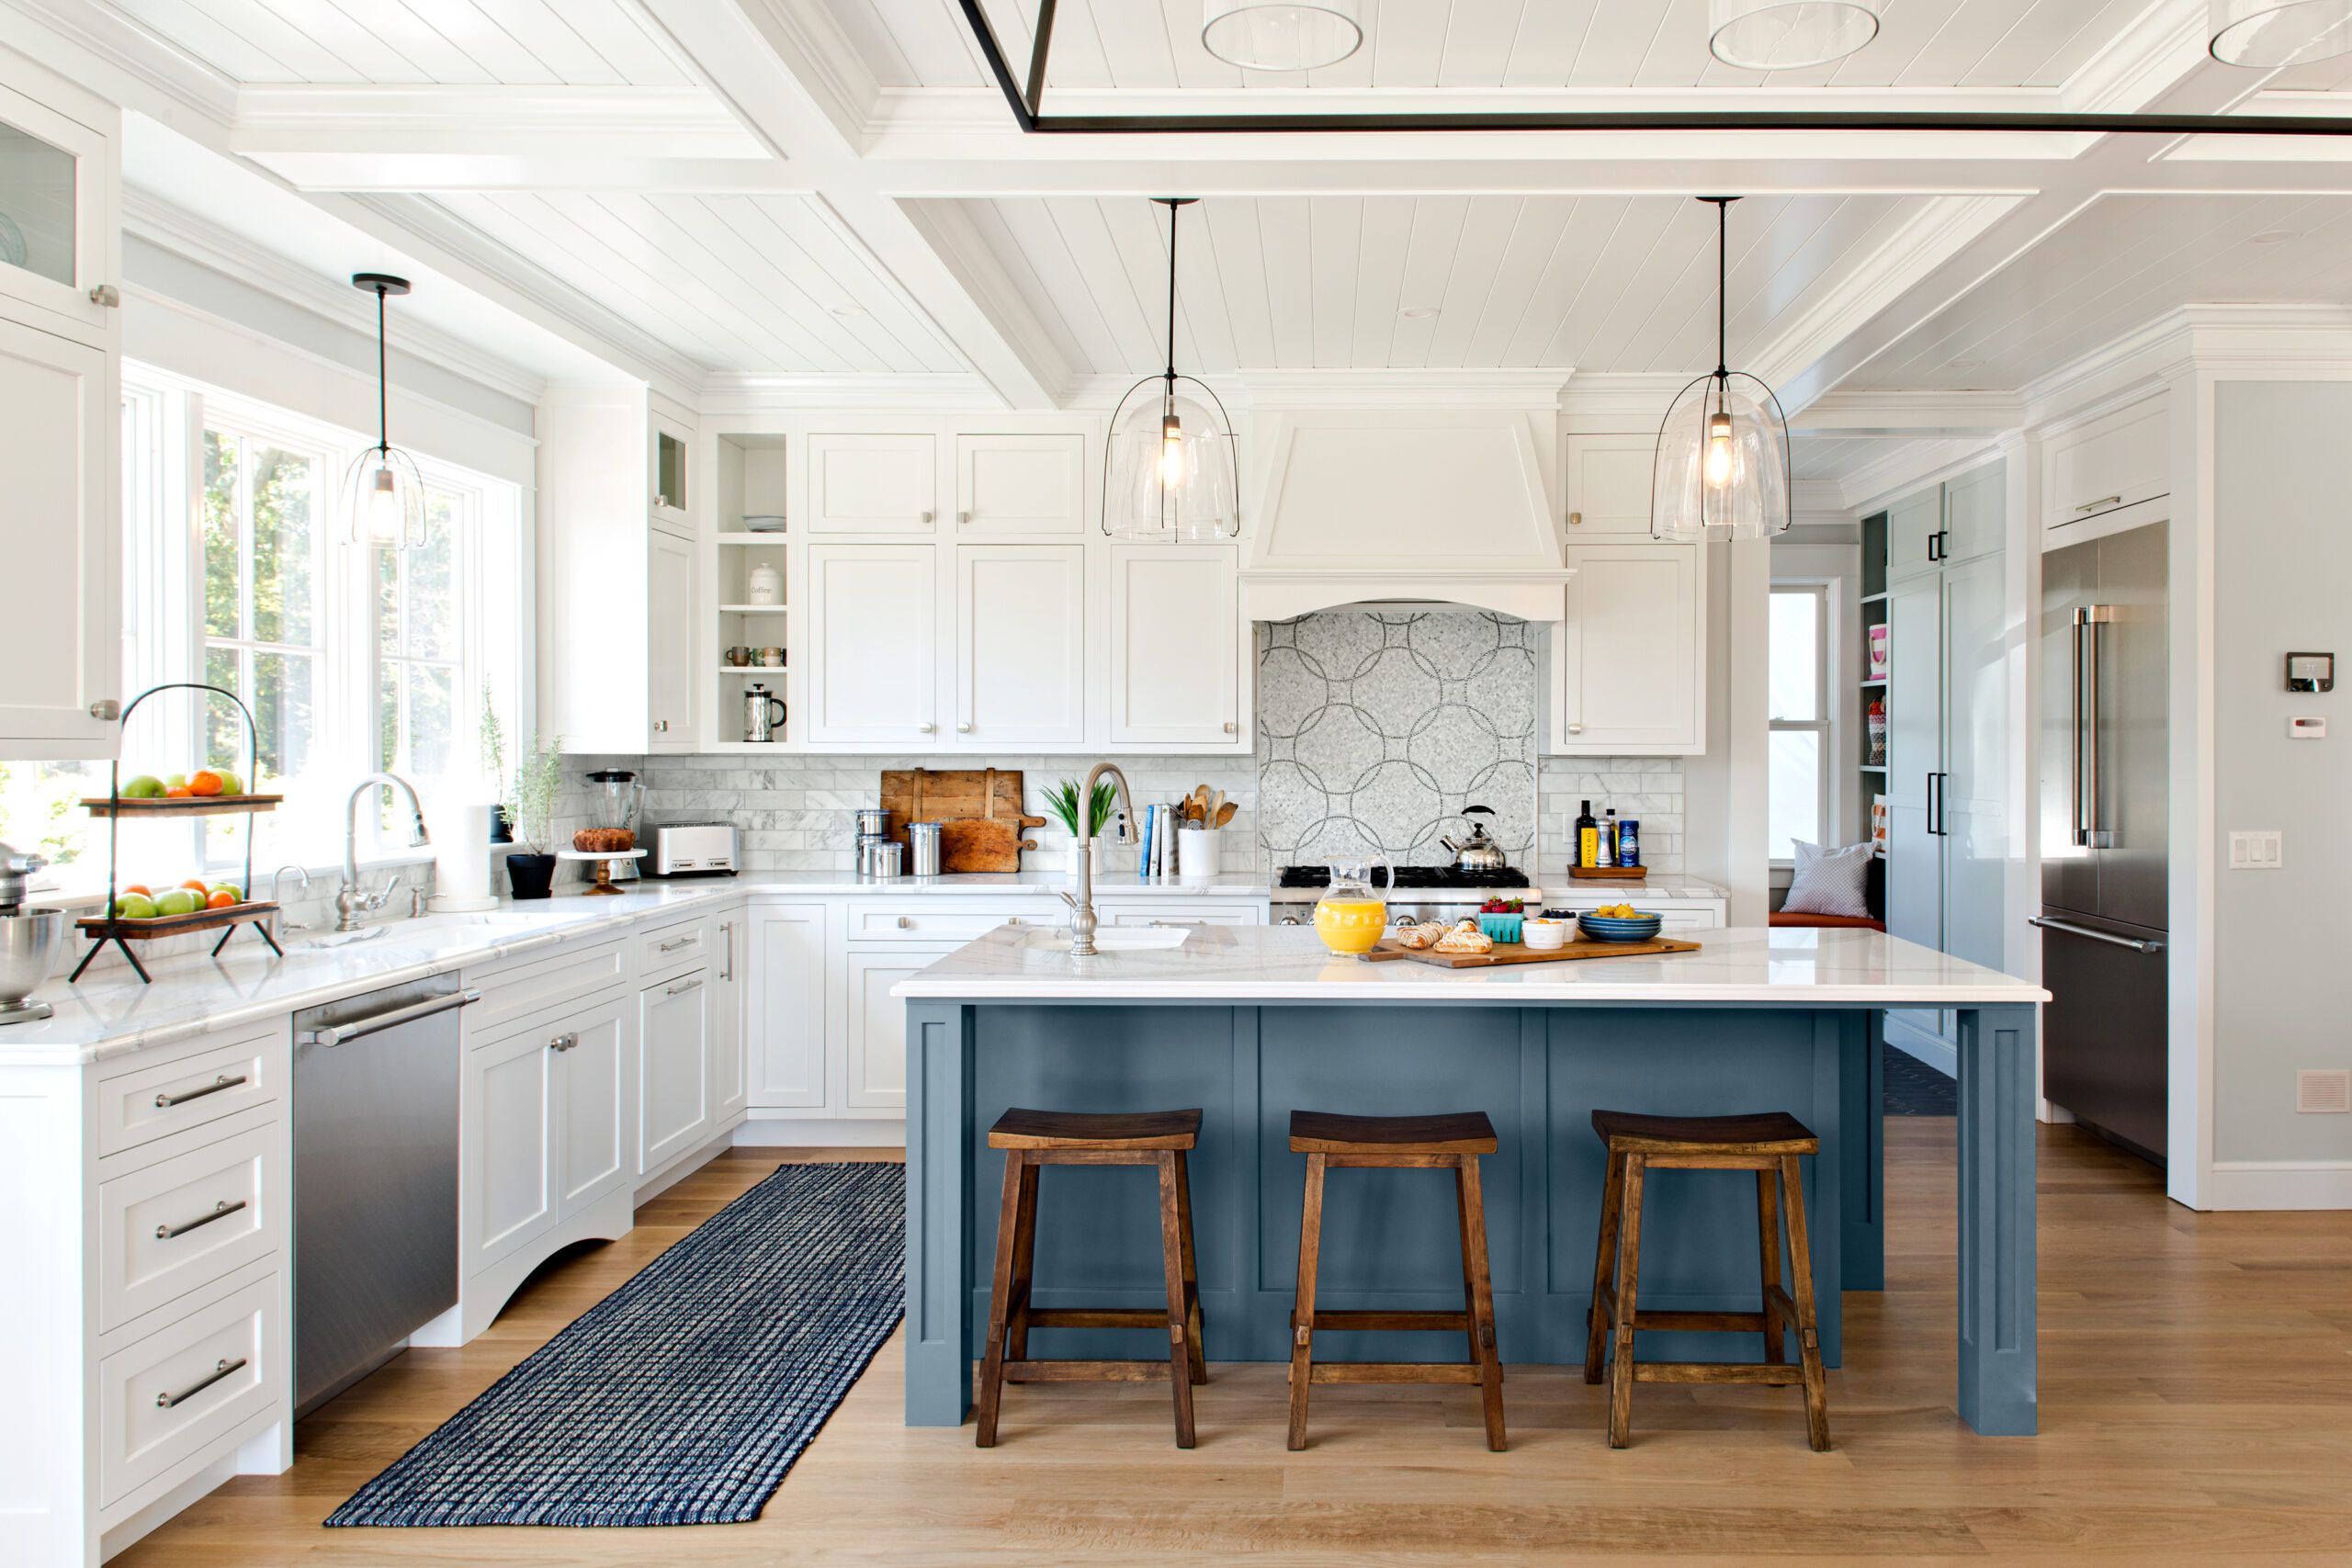
Design Considerations for Kitchen Island Legs
Adding legs to a kitchen island is an excellent way to give it a more substantial and permanent appearance, and can also provide additional storage space. But before you start adding legs to your kitchen island, it is important to take a few design considerations into account. Firstly, the height of the island and the legs should be in proportion to the overall design of the kitchen. The legs should be the same height as the countertop, and they should also be sturdy enough to support the weight of the island. Additionally, the style of the legs should complement the design of the kitchen island, such as for a more traditional look, opt for tapered, turned, or fluted legs. For a modern look, sleek, straight legs are usually the best choice. Other considerations include the material of the legs, as well as the finish. Wood is a popular choice, as it can be stained and painted to match the color scheme of the kitchen. Metal legs can also be used, and they often come in a variety of finishes. Finally, when installing the legs, make sure there is enough clearance for them to fit underneath the island. With some careful consideration and thoughtful design elements, adding legs to your kitchen island can make a big impact and give it a unique, finished look.
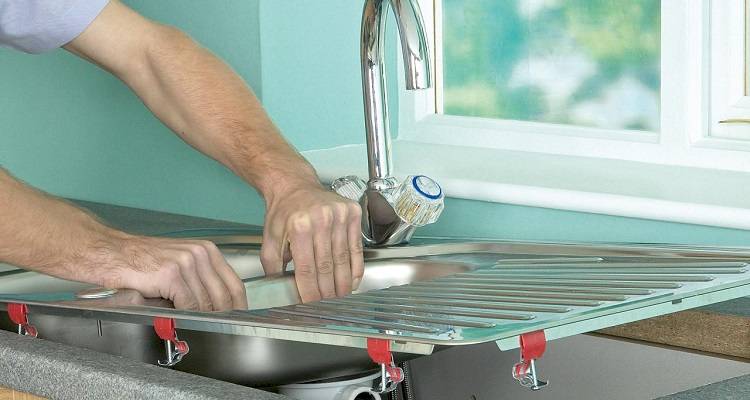
Attaching the Legs to the Kitchen Island
Making your dream kitchen island a reality requires more than just a great vision. A kitchen island can give you additional counter space and storage, but it needs to be properly installed first. Putting legs on a kitchen island is a straightforward process with just a few basic steps.
First, choose legs that are the right type and size for your kitchen island. These can range from chrome-plated metal legs to wooden legs. They should be sturdy enough to support the weight of the island and its contents. Make sure to measure the width and depth of the kitchen island to ensure the legs fit properly.
Next, attach the legs to the island. Most legs have pre-drilled holes on the bottom, which allow them to be easily secured to the island. Use screws to secure the legs to the bottom of the island, making sure to screw them into the island from the underside.
Finally, make sure the legs are stable and sturdy. You may need to add extra support such as wood blocks to the legs if they’re too tall for the island. Once the legs are secure, your kitchen island is ready to be used!
Putting legs on a kitchen island can seem intimidating, but with the right tools and a few simple steps, it can be done quickly and easily. With the right legs, you can add an attractive and stylish feature to your kitchen.
Finishing Touches on the Kitchen Island
When it comes to designing a kitchen, the kitchen island is the showstopper. Not only does it provide additional storage and counter space, but it is also an eye-catching centerpiece of the room. To make your kitchen island stand out, you want to add legs to it. This gives it a more custom, tailored look and adds a unique element to your kitchen. But how exactly do you put legs on a kitchen island?
Putting legs on a kitchen island is not a difficult task. The process is quite straightforward and can be done in a few simple steps. The first step is to measure the kitchen island and decide on the height of the legs. Next, you will need to cut the legs to the correct size and attach them to the kitchen island. Lastly, you will need to finish the legs with paint, stain, or sealant. With the right tools and materials, you can easily give your kitchen island the perfect finishing touch.
Adding legs to a kitchen island is a great way to make a statement in your kitchen. Not only does it give your kitchen a unique look, but it also adds functionality and extra storage. With a few simple steps, you can easily transform your kitchen island into a showstopping piece of furniture.
Tips for Installing Kitchen Island Legs
Adding legs to your kitchen island is a great way to give it a custom, unique look. Whether you’re a DIY enthusiast or a professional contractor, installing legs on your kitchen island is a relatively simple process. Here are a few tips to help you get started:
1. Measure – First, measure the inside of your kitchen island to determine how much space is available for the legs. This will help you determine the size and type of legs you need.
2. Choose – Next, select the type of leg you want to install. Some popular options include wood legs, metal legs, and custom-made legs.
3. Attach – Once you have selected the legs, attach them to the bottom of the island. If you’re using wood or metal legs, use screws or bolts to secure them in place. If you’re using custom-made legs, you may need to use a drill to attach them.
4. Level – Once the legs are securely attached, use a level to make sure the island is even. If the island is not level, you may need to adjust the legs until it is.
5. Finish – Finally, finish the legs with paint or stain to match the rest of your kitchen.
By following these simple steps, you can quickly and easily install legs on your kitchen island. With the right materials and a bit of know-how, you can create a unique, custom look that will last for years to come.
Potential Pitfalls When Installing Kitchen Island Legs
Installing kitchen island legs can seem like a straightforward process, but there are several potential pitfalls that homeowners should be aware of before embarking on this DIY project. With the wrong materials, inadequate measurements, or improper installation, you can end up with a sagging island or worse, an island that is unstable and unsafe. To avoid such issues, it’s important to start with the right measurements and materials. Knowing the size of the area you’re working with and the weight of the countertop are essential in selecting the proper legs and fasteners. It’s also important to use screws, bolts, and appropriate fasteners that will be able to handle the weight of the countertop. You also want to make sure that the legs are properly secured to the base of the island and that the overall structure is stable. If your island is going to have stools or benches, you need to make sure that the legs are wide enough to support the additional weight. Taking the time to measure and install the legs properly will ensure that your kitchen island is stable, secure, and ready to stand the test of time.
Maintenance and Upkeep for Kitchen Island Legs
Putting legs on a kitchen island is much more than a simple DIY project. If you want to ensure that your kitchen island is both aesthetically pleasing and structurally sound, it’s important to properly maintain and upkeep the legs. From regularly checking the screws and bolts to making sure the legs are securely fastened, proper upkeep is essential for a safe and well-functioning kitchen island.
To begin, check the screws and bolts on the legs every few months to ensure that they’re not becoming loose. If you find any loose screws or bolts, tighten them with a screwdriver. Additionally, if you notice any signs of wear on the legs, such as rust or scratches, replace them as soon as possible. It’s also important to make sure the legs are securely fastened to the island. If the legs are not properly fastened, the island can become unstable, which can be dangerous.
To prevent your kitchen island legs from becoming damaged, prevent liquids from getting on them. If you do get liquids on the legs, make sure to wipe them off immediately. It’s also important to keep the legs dry at all times. When cleaning the island, avoid using harsh chemicals or abrasive cleaners, as these can damage the legs.
Overall, putting legs on a kitchen island is a relatively easy process. With proper maintenance and upkeep, your kitchen island will look great and be structurally sound for years to come. Make sure to regularly check the screws and bolts, keep the legs dry, and replace any damaged parts quickly. With these simple tips, your kitchen island will be a safe and stylish addition to your home.
FAQs About the How Do You Put Legs On A Kitchen Island?
1. What type of legs are typically used to put on a kitchen island?
Table legs are typically used for kitchen islands. You can choose from many different styles of legs, such as metal, wood, or even decorative legs.
2. How do you attach the legs to the kitchen island?
The legs can be attached to the kitchen island through screws, bolts, and other hardware. It is important to ensure the legs are securely fastened to the island to ensure stability and safety.
3. Can I use the legs from a table to put on a kitchen island?
Yes, in most cases you can use the legs from a table to put on a kitchen island. However, it is important to make sure the legs fit the kitchen island correctly before attaching them.
Conclusion
Putting legs on a kitchen island is a great way to give it a stylish and unique look. The process is quite easy and it will only take a few minutes. All you need is the correct materials and tools, and you can have a beautiful kitchen island with legs in no time. The legs can be customized to fit the size and shape of your island, and you can even paint them to match your existing decor. With a few simple steps, you can create a kitchen island that is both stylish and functional.