How Do You Seal An Undermount Sink Countertop?
An under-mount sink countertop is a great addition to any kitchen or bathroom. It adds a modern touch to the room while also providing a convenient and functional way to wash dishes or prepare food. However, if not properly sealed, water and other liquids can seep into the countertop and cause damage. To ensure your under-mount sink countertop remains in top condition, it is important to properly seal it. Sealing an under-mount sink countertop involves cleaning the surface, applying a sealant, and testing the seal. With the right materials and a bit of time, you can easily seal your under-mount sink countertop to keep it looking great for years to come.
What is an Undermount Sink?
An under-mount sink is a type of sink that is installed beneath the countertop, giving a sleek, modern look that is both attractive and low maintenance. Unlike traditional drop-in sinks, the edges of an under-mount sink are flush with the countertop, allowing for easy cleaning and a smooth transition from countertop to sink. Undermount sinks also provide more space for storage in the kitchen or bathroom, as they hang underneath the countertop, leaving the countertop free to store items. With a variety of sizes, materials, and designs available, an under-mount sink is a great way to add a modern touch to any kitchen or bathroom.
Preparation of Countertop
A countertop is an important component of any kitchen, and proper preparation is key to ensure it looks great and lasts for years to come. Preparing the countertop before installation is a crucial step in the process, and it can be done quickly and easily with the right tools and techniques. First, the surface must be cleaned and any existing sealant or adhesive removed. Next, any imperfections should be addressed with a patching compound and sanded smooth. Finally, a primer or sealant should be applied to protect the surface from water damage and staining. With these simple steps, your countertop is ready for installation and will look great for years to come.
Applying Adhesive
Adhesives are essential tools in a variety of industries, from the automotive and construction sectors to the medical, electronics, and packaging fields. Applying adhesive is a simple task that can be done quickly and effectively with the right supplies and techniques. Before starting, you’ll need to select the right adhesive for the job and ensure that the surface has been prepared properly. Clean and dry surfaces are key to achieving the desired result. Once the adhesive is ready, you can apply it using a brush, roller, spray, or other method. To ensure the best bond, be sure to apply the adhesive evenly and follow any curing instructions for maximum strength. With the right adhesive and proper application, you can achieve a secure, lasting bond.
Installing the Sink
Installing a sink is a great way to give your bathroom a fresh look. Whether you’re replacing an old sink or installing a brand-new one, the process is relatively straightforward. First, you’ll need to measure the space you have available and make sure you have the right equipment. Next, you’ll need to attach the faucet, drain, and supply lines to ensure a tight seal and prevent leaks. Finally, you’ll need to securely attach the sink to the countertop and finish off the job with some caulking and grouting. With a few simple steps, you can easily transform your bathroom and give it a polished and inviting look.
:max_bytes(150000):strip_icc()/kitchen-sink-159627080-57b602395f9b58ae7f5e9b9c.jpg)
Sealing the Sink
Sealing the Sink is an essential step to keeping your kitchen in top condition. Not only does a properly sealed sink keep water from seeping out and causing damage, but it also helps keep dirt and debris out of the drain. A sealed sink can help prevent unpleasant odors and the growth of mold and mildew. Furthermore, a sealed sink can help extend the life of your sink and make cleaning much easier. With the right materials and a bit of effort, sealing your sink is a simple DIY job that any homeowner can complete.
Removing Excess Caulking
Removing excess caulking is a simple and important task to complete when maintaining your home. It is important to regularly inspect the caulking in your home to ensure it is not cracked, loose, or peeling. If it is, you should remove it and replace it with fresh caulking. The process of removing excess caulking can be done easily with a few simple tools. All you need is a razor blade, a putty knife, and a scraper. Start by scoring the caulking with the razor blade and then gently scrape it away with the putty knife. Finish the job by wiping down the area with the scraper. With these simple steps, you can easily remove excess caulking and ensure your home is looking great.
Finishing Touches
“Finishing Touches” is the blog for the discerning decorator. We focus on the small details that make a big difference when bringing a space to life. From the perfect paint color to the ideal furniture arrangement, we provide insights and advice to help create the look you want. Through our blog, you can learn about the latest trends in home décor, discover unique design ideas, and get inspired to make your home beautiful. Whether you’re looking to spruce up a single room or completely redecorate, our blog is here to guide you every step of the way. With “Finishing Touches,” you’ll never have to worry about your home looking anything but perfect.
Best Practices for Sealing an Undermount Sink Countertop
Undermount sink countertops are a great way to give a kitchen or bathroom an updated look. However, installing and properly sealing this type of sink can be a challenge. To ensure your installation goes smoothly, here are some best practices for sealing an under-mount sink countertop:
- Start by cleaning the countertop and sink to remove any debris and dirt that could interfere with the sealant.
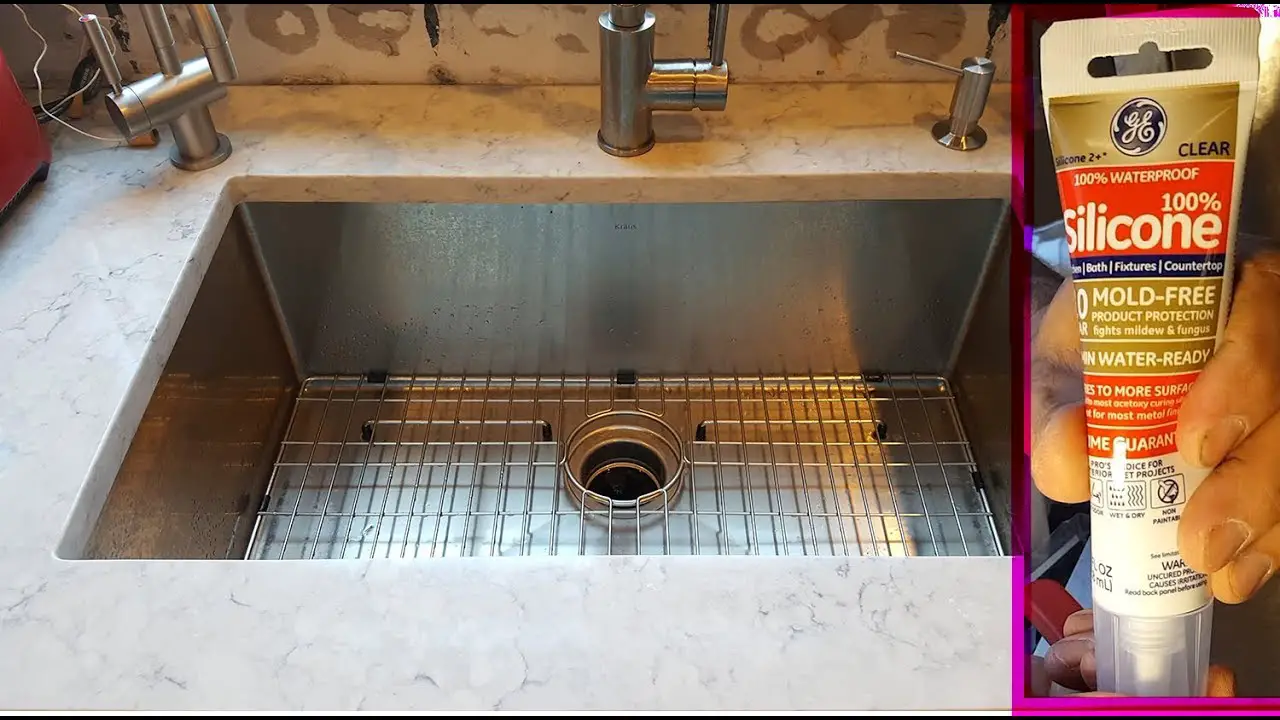
- Apply a layer of silicone caulk along the edges of the sink, making sure to smooth it out and remove any air bubbles.
- Place the sink on the countertop and press down firmly to ensure a tight seal.
- Allow the caulk to dry for 24 hours before using the sink.
- Add a bead of silicone caulk along the back rim of the sink to form a waterproof seal.
Following these steps will ensure your undermount sink installation is secure and leak-free. With the right preparation and care, you can enjoy a stylish and functional under-mount sink countertop for years to come.
Conclusion
Installing an undermount sink countertop requires some degree of skill and patience, but with the right preparation and the right materials, the job can be completed with relative ease. Sealing an under-mount sink countertop is the final step in the installation process and ensures that no water or dirt can find its way into the gap between the countertop and the sink. The best way to seal an under-mount sink countertop is to use a silicone-based sealant, which is easy to apply and provides a waterproof seal. With the right tools and materials, a homeowner can successfully seal an under-mount sink countertop in a short amount of time.