How To Epoxy Basement Floor Diy
Epoxying your basement floor is a great DIY project that can add extra protection and style to your flooring. With an epoxy coating, you can protect your floor from water damage, dirt, and other debris. Additionally, it can make your basement look more attractive and modern. This guide will explain the steps involved in epoxying a basement floor, including the materials needed, proper preparation, and application of the epoxy coating. By following these steps, you can create a long-lasting, attractive, and durable epoxy floor for your basement.
Preparing the Basement Floor
Preparing the basement floor is an important step in creating a functional and attractive living space in the home. It requires careful and thorough preparation to ensure a successful outcome. The first step is to identify any areas where water may be entering the basement and to address any issues with drainage. After this, it is important to clean the floor and remove any dirt, dust, and debris. Once this is done, a sealant should be applied to the floor to protect it from moisture and other contaminants. Finally, the area should be insulated to prevent heat loss and to make it a comfortable space. With these steps completed, you can move on to the exciting task of decorating and furnishing your new basement living area.
Choosing an Epoxy Product
Epoxy is a versatile product that can be used to fix, fill, and protect a wide variety of surfaces. When it comes to choosing an epoxy product for your project, there are several factors to consider, including the type of surface, the environment, and the desired outcome. It’s important to select the right epoxy product to ensure the best results. Factors such as temperature, humidity, and chemical resistance all need to be taken into account when selecting the right epoxy product for the job. Different types of epoxy products also offer different advantages depending on the application. For instance, some epoxy products are better suited for waterproofing, while others are better for adhesion. Choosing the right epoxy product for your specific project is essential to ensure the best results.
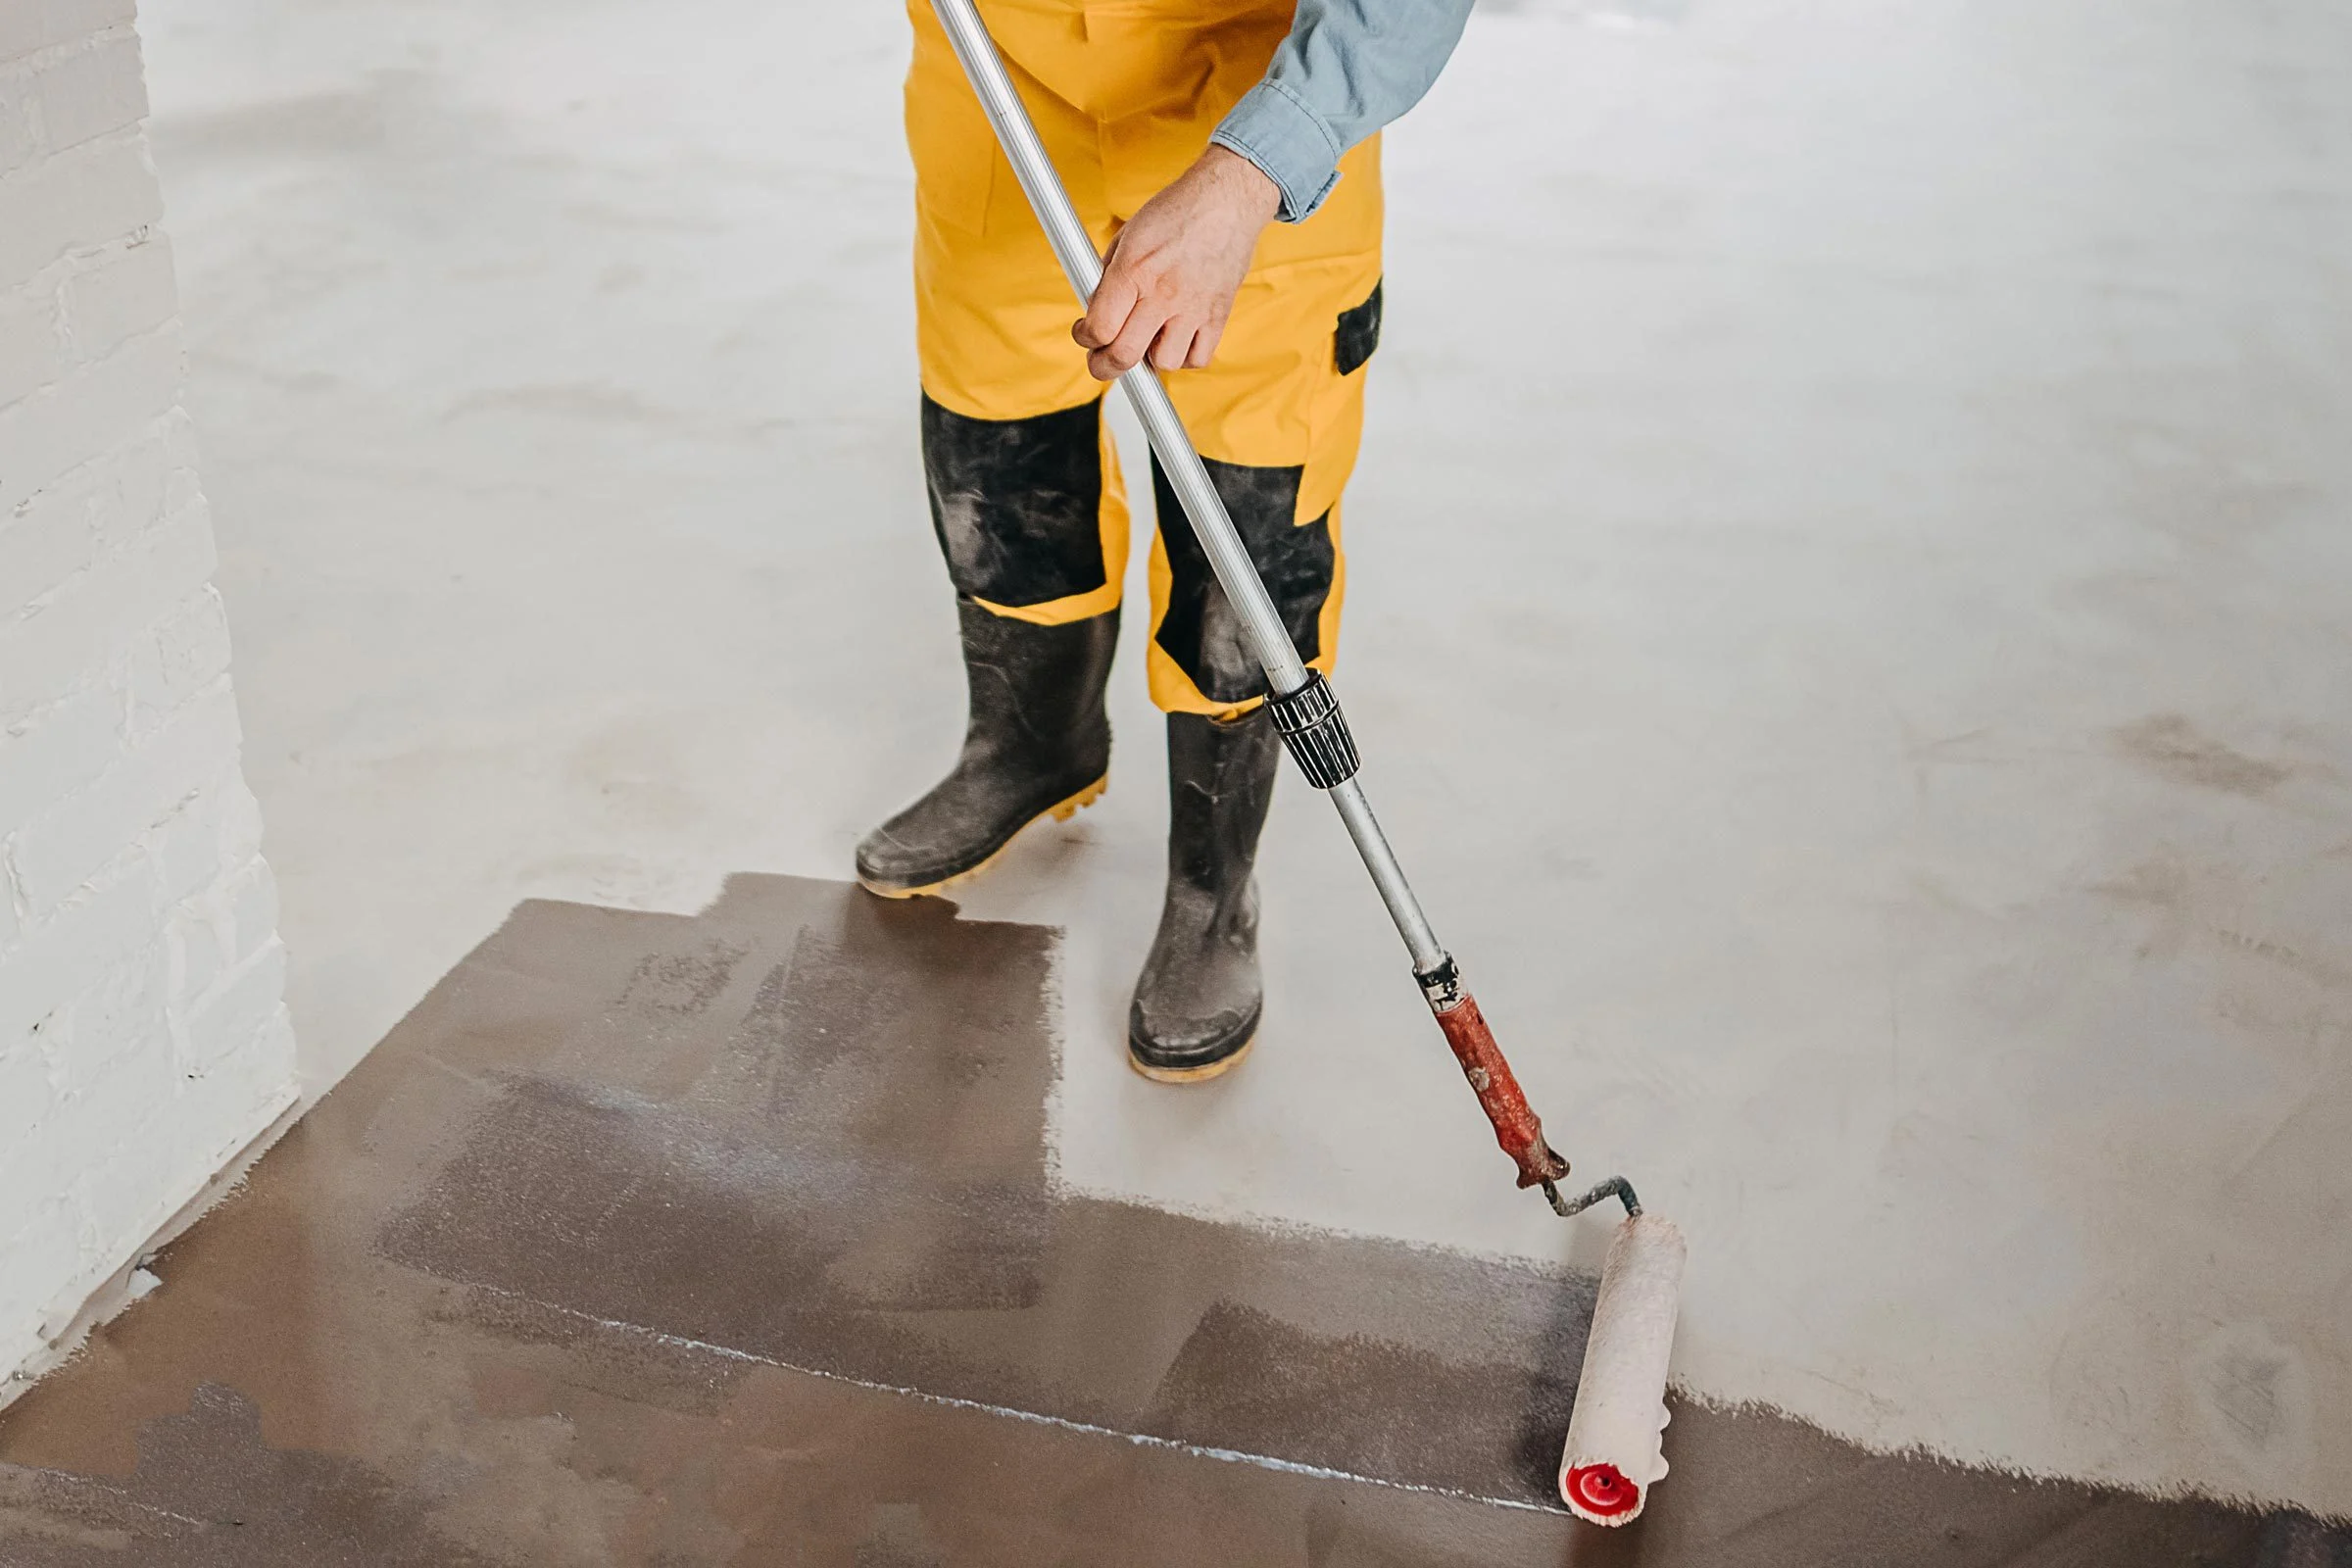
Applying the Epoxy
Epoxy is an incredibly versatile material that can be used for a variety of applications. From sealing countertops and floors to bonding surfaces together, epoxy is an incredibly strong and durable solution for many projects. Applying epoxy is a relatively simple process, but there are some important steps to ensure a successful application. First, surfaces must be properly prepared, meaning they must be clean and free of any contaminants. Next, the epoxy must be mixed and applied to the surface according to the manufacturer’s instructions. Lastly, once the epoxy has been applied, it must be allowed to cure completely before it can be used. Following these steps will ensure the highest quality finished product, enabling you to enjoy the benefits of epoxy for years to come.
Sealing the Epoxy
“Sealing the Epoxy” is a blog dedicated to helping DIYers and professionals alike understand the process of epoxy sealing. We discuss topics from start to finish, such as using the right tools and materials, mixing the epoxy, and the best way to apply and finish the seal. We provide step-by-step instructions, helpful tips and tricks, and plenty of useful advice to help you get the job done right. Whether you’re a beginner or an experienced pro, our blog will help you master the art of epoxy sealing. Join us and learn the secrets of a perfect epoxy seal!
Tools Needed for Installation
When it comes to the installation of a new software or application, the right tools are essential to ensure the process goes off without a hitch. Without the right tools, installation can be a time-consuming and frustrating experience. Having the right tools on hand will save both time and energy, so it is important to know what is needed before starting the installation process. Depending on the software or application, the tools needed for installation will vary. However, some of the most basic tools to have at the ready include a screwdriver, a wrench set, an array of different-sized drill bits, a hammer, measuring tape, a spirit level, and a set of Allen wrenches. With these tools in hand, most installations can be completed with ease.
Finishing Touches
“Finishing Touches” is the last step in any project. It’s the part of the process where you take the time to polish the details, make any necessary adjustments, and ensure everything is perfect before the final presentation. It’s the difference between a good project and a great one. Achieving the perfect balance between quality and efficiency is key when it comes to these final touches. Whether it’s adding a splash of color, refining a design, or changing a word or two, it’s important to take the time to ensure the end product is something you can be proud of. With thoughtful and careful attention to detail, you can make your project stand out from the rest. Finishing Touches is the key to success.
Cleanup and Maintenance
Cleanup and Maintenance are an essential part of any blog. Keeping your blog updated with fresh content, ensuring that your web hosting is up-to-date, and regularly checking for broken links and other technical issues can help to attract and retain visitors. Additionally, optimizing your blog’s code and metadata for search engine indexing can help to increase your visibility in the search engines. A successful blog requires regular attention and maintenance to ensure that it runs smoothly and looks its best.
FAQs About the How To Epoxy Basement Floor Diy
1. What type of epoxy should I use for my basement floor?
Answer: It is best to use a two-part epoxy paint specifically designed for basement floors. This will provide the most durable and waterproof finish.
2. Is it difficult to install epoxy flooring in a basement?
Answer: Installing epoxy flooring in a basement is not difficult, but it does require a bit of time and preparation. Make sure to follow the manufacturer’s instructions carefully for best results.
3. How long does it take to cure the epoxy flooring in my basement?
Answer: Depending on the product used, it can take anywhere from 1-3 days for the epoxy to cure. Make sure to follow the manufacturer’s instructions for the best results.
Conclusion
Epoxy Basement Floor DIY is an economical, efficient, and easy way to add a beautiful, lasting finish to your basement floor. With the right supplies and a few simple steps, you can have a professional-looking basement floor in no time. The epoxy coating will protect the floor from water damage while also creating an easy-to-clean surface. Plus, it adds a touch of style to your basement, making it a great place to entertain guests or just relax. With a little bit of effort, you can have a beautiful basement floor that will last for years to come.