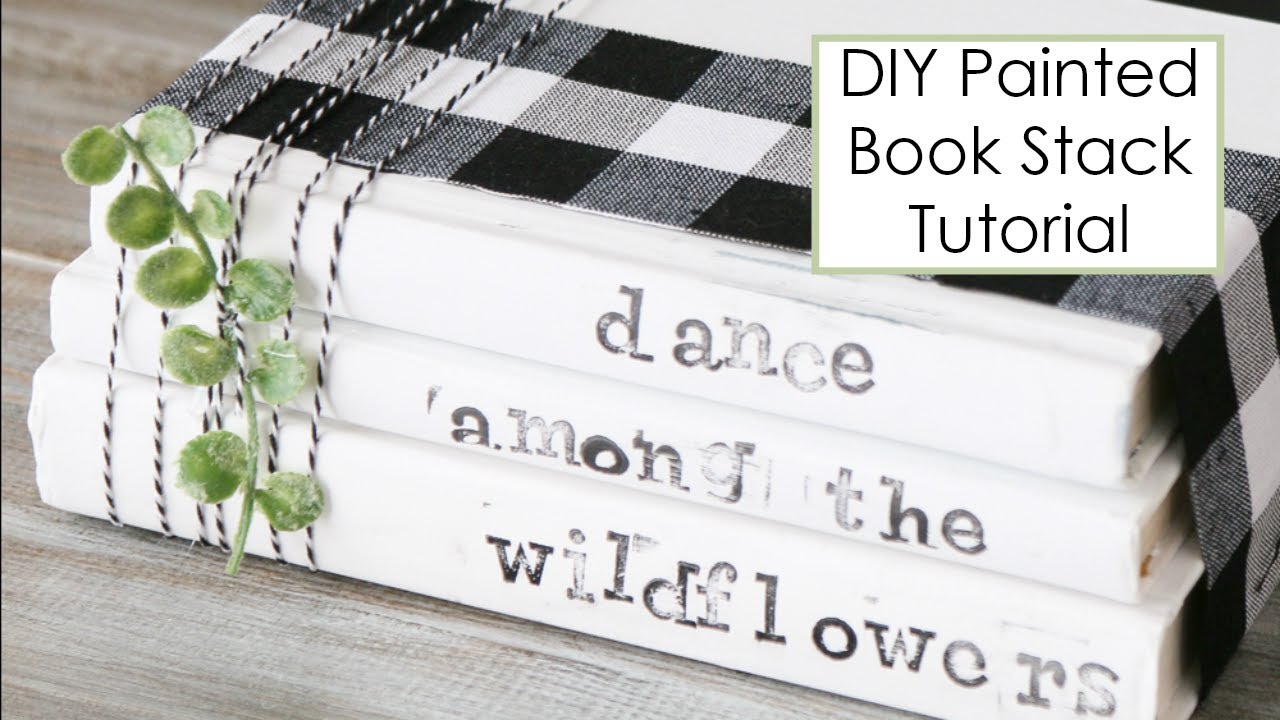
How to Make Decor Books
Making decor books is a simple and fun way to add personal style to your home. All you need is a stack of old magazines, some scissors, and a little bit of time. Here’s how to get started:
Start by flipping through your magazines and tearing out any pages that catch your eye. Look for images that make you happy or inspire you in some way. Once you have a pile of pages, it’s time to start trimming them down to size.
For the cover of your decor book, choose a page that has a bold image or color scheme. You can also use multiple pages taped together if you want something extra-large. For the inside pages, cut out individual images or group them together in collages.
To assemble your book, simply stack the pages together and secure them with tape or staples. Then, get creative with how you display it! You can prop it up on a shelf or coffee table, hang it on the wall, or even use it as a unique centerpiece for your dining room table.
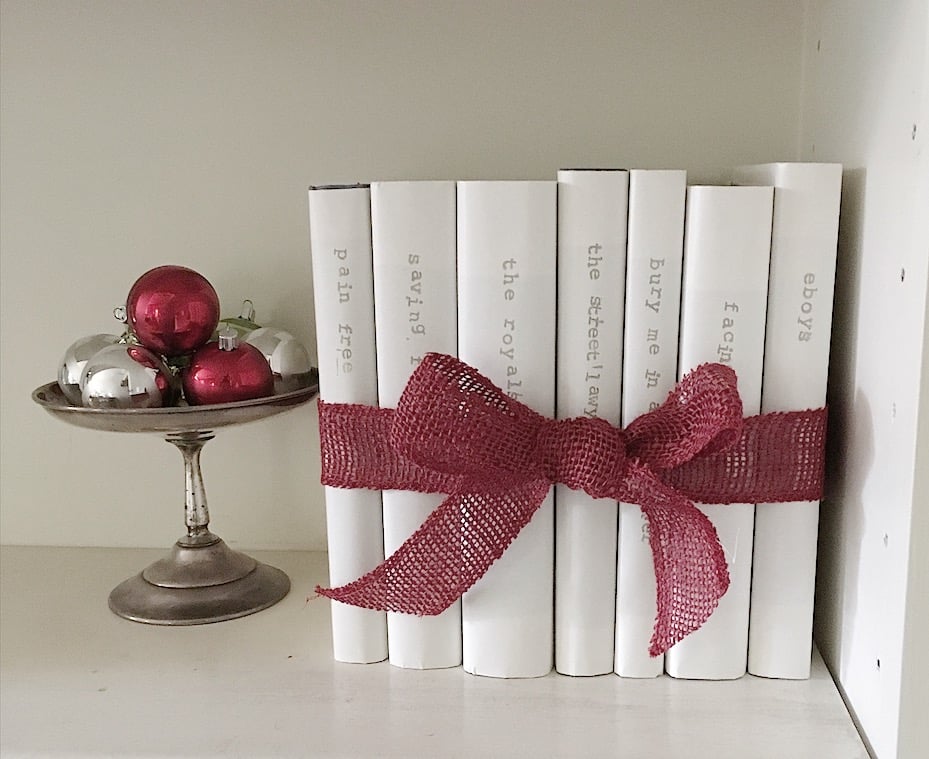
- Gather a selection of different-sized and colored hardcover books
- Choose the colors and sizes that will best complement your room’s décor
- Arrange the books in a pleasing manner on shelves or a coffee table
- Add any final touches, such as placing a bookend on either side of the arrangement
Decor Books Designer
As a homeowner, you want your home to look its best. You may have a specific style in mind, or you may be open to exploring different options. Either way, decor books can be a great resource.
Designer decor books can provide inspiration and guidance as you plan your home’s décor. These books typically feature beautiful photos of well-designed rooms, along with helpful tips and advice from experts. If you’re not sure where to start, consider checking out some of the following popular decor books:
• Better Homes and Gardens Decorating Ideas (Better Homes & Gardens) • The Finishing Touch: Your Guide to Interior Decorating (Angela Free)
Credit: www.youtube.com
How Do You Make a Decorative Book?
When it comes to decorating a book, the sky is the limit in terms of possibilities. Whether you want to add a simple design or go all out with an elaborate one, there are several ways to achieve your desired look. Here are some tips on how to make a decorative book:
- Start by choosing the right book. The type of book you use will largely dictate the overall look of your finished project. For example, if you want a rustic-chic aesthetic, opt for an old hardcover that has seen better days. Conversely, if you’re going for something more polished and modern, select a new hardcover with clean lines. Once you’ve decided on the base book, it’s time to start embellishing!
- Consider using washi tape as decoration. This Japanese paper tape comes in endless colors and patterns, making it perfect for customizing any book cover. Simply measure and cut strips of washi tape to fit around the spine and edges of your book, then adhere them in place. You can create different looks by varying the widths of the strips or overlapping them in interesting ways.
- Apply adhesive decals or stickers. Another easy way to add personality to a book is with decals or stickers – think cute animals, inspiring quotes, or anything else that catches your eye. Be sure to use acid-free options so they won’t damage the pages over time.
- Make use of fabric scraps. If you have any fabric scraps lying around, put them to good use by wrapping them around your book. This technique works especially well for larger books, such as coffee table books. Simply choose a coordinating piece of fabric, cut it into strips, and wrap/tie them around the cover.
- Paint directly onto the cover. If you’re feeling particularly creative, why not paint directly onto the cover of your book? You can freehand designs, shapes, or words; alternatively, use stencils for more precise results. Just be sure to use acrylic paint so it doesn’t bleed through and ruin the pages inside!
How Do You Make Faux Books for Decorating?
If you’re looking for a way to add some personality and flair to your home decor, why not try making your own faux books? Faux books are easy to make and can be customized to match any style or theme. Plus, they make great conversation starters!
Here’s how to make your own faux books: To start, you’ll need some basic supplies including cardboard, paper, scissors, glue, and paint. You can find most of these items at your local craft store.
Once you have your supplies gathered, cut out two pieces of cardboard that are the same size. These will be the covers of your book. Next, cut out several strips of paper that are about 1 inch wide and as long as you want your pages to be.
Fold each strip in half lengthwise and then glue the folded edge to one of the cardboard covers. Continue gluing strips of paper until both covers are covered. Let the glue dry completely before moving on to the next step.
Now it’s time to give your book some personality! Use paint or markers to decorate the cover however you like. You could also use scrapbook paper or wrapping paper for a more unique look.
Once the cover is decorated, flip it over and repeat the process on the other side. Finally, stack all of your pages together (with the glued edges facing in) and slip them between the two covers. Your faux book is now complete!
Place it on a shelf or coffee table for all to admire.
Credit: Amazon.com
How Do You Make a Fake Book?
Assuming you would like a tutorial on how to make a fake book: You will need: -A stack of old newspapers or any light-colored paper
-A hot glue gun and glue sticks -Ruler or measuring tape -Scissors
-Pencil -Heavy book (optional) Instructions:
- Cut your paper into strips that are about ¾” wide and 14” long. If you want your pages to be longer, you can make them longer, but remember that you will need more strips of paper. If you want your pages to be shorter, cut them shorter.
- Make an accordion fold with your first strip of paper. Fold the top down ¾” and then continue folding in an accordion pattern until the whole strip is folded. Once it is all folded, use hot glue to secure the last fold so it doesn’t unfold. Do this with all of your strips of paper.
- Once all of your strips are folded into accordions, it is time to start gluing them together! Take two strips and line up the bottom raw edge with one another and put a generous amount of hot glue on one side. Place another strip on top of the two glued-together strips making sure the bottom raw edge lines up perfectly with the other two strips and press down for about 30 seconds until the glue is dry enough that it won’t move when you pick up your fingers. Continue gluing pairs of strips together until all are glued in one long chain.
- To create a spine for your book, take one strip that is about 1 ½ times as long as the height of all your other strips glued together. Center this strip over the other strips making sure there is an equal amount sticking out on each side then use hot glue to adhere it in place.
- Now measure out ½” from each end of your “book “and mark it with a pencil then cut at these marks. This will allow your book to lay flat when open without seeing any raw edges of the paper.
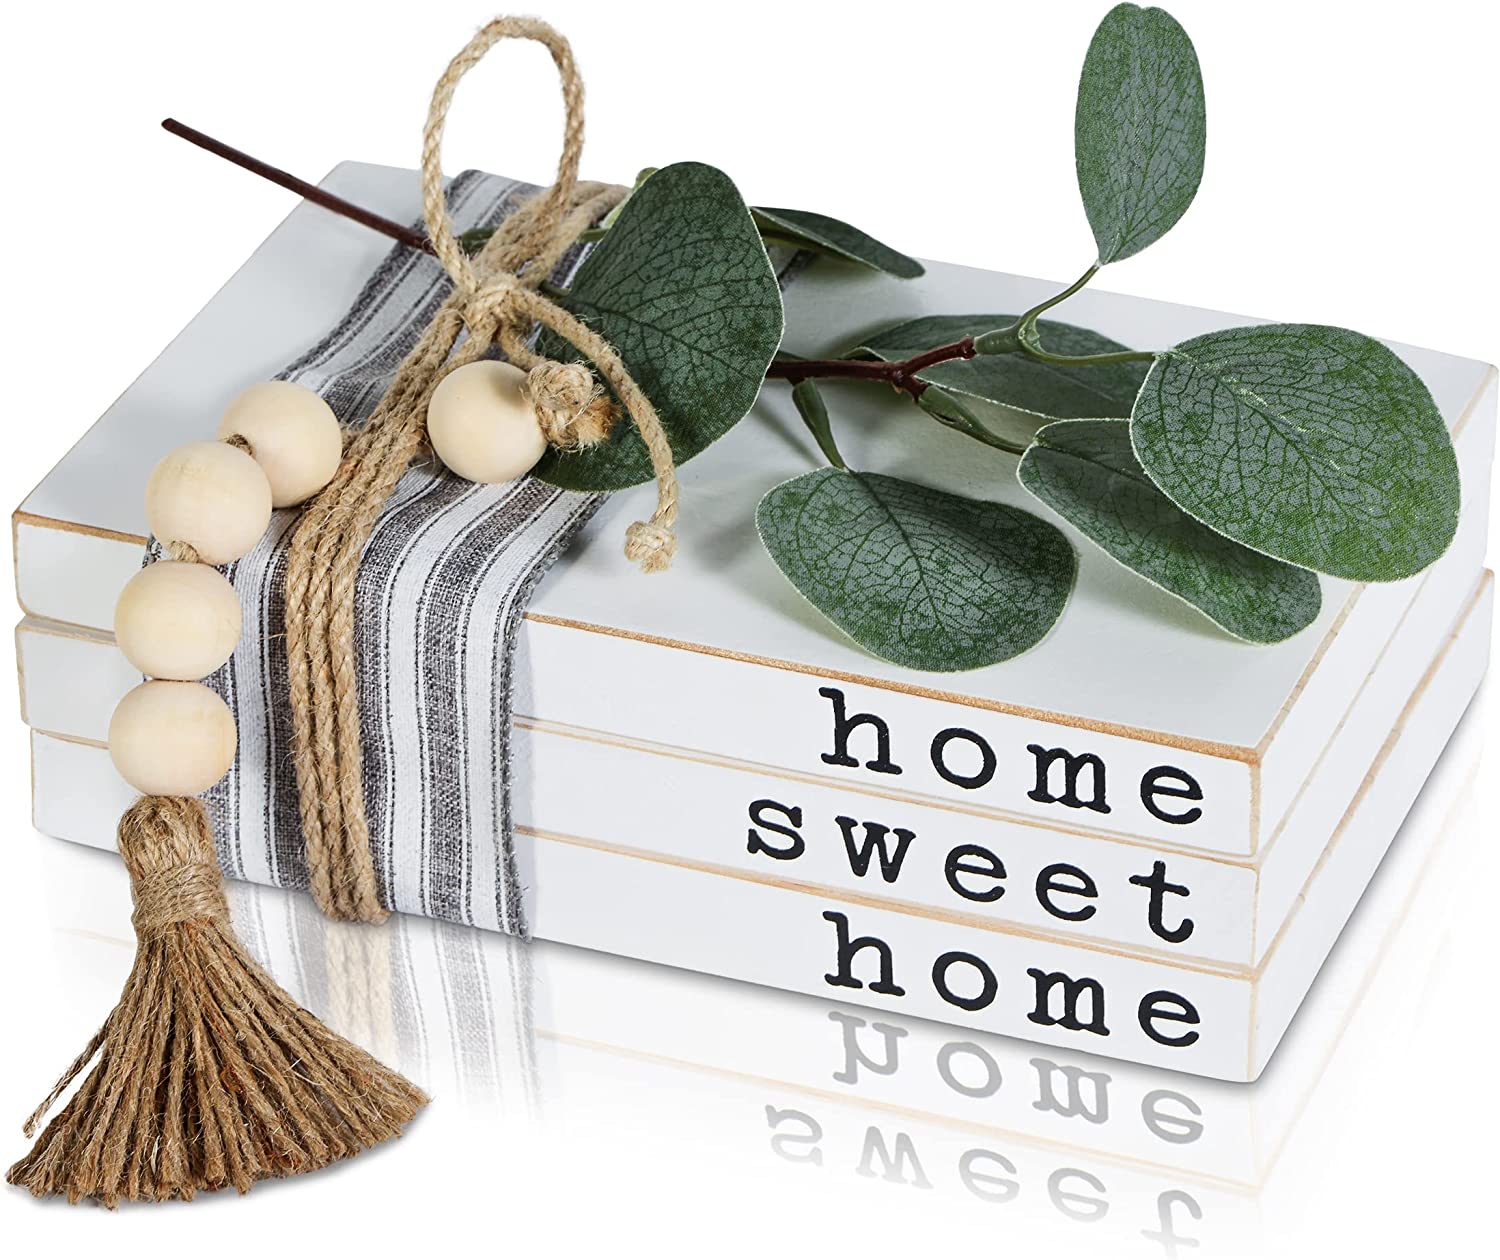
How Can I Decorate the Books On?
If you’re looking to add a personal touch to your bookshelf, there are plenty of ways to decorate the books themselves! Here are a few ideas:
- Use washi tape! This decorative tape comes in all sorts of colors and patterns, so you can really get creative with your book covers. Just be careful not to damage the spine of the book when applying the tape.
- Get some stickers! Again, there are tons of options out there, from simple shapes to intricate designs. You can use them to create patterns or just cover up an unsightly cover.
- Break out the sharpies! If you’re feeling really ambitious, you can draw directly on the book covers themselves. This is a great way to add quotes or other text, as well as unique illustrations. Just be sure not to use permanent markers, as they could damage the book’s surface over time.
- Mod podge it! Another option for adding patterned paper or fabric to your book covers is mod podge. This decoupage glue will hold everything in place without damaging the book itself.
Just be sure to let it dry completely before stacking any books on top of it.
DESIGNER DECOR BOOKS DIY || COFFEE TABLE BOOKS DIY || HOME PROJECTS || SOUTH AFRICAN YOUTUBER
Conclusion
Making decor books is a great way to add personalization and style to your home. There are tons of different ways to make these books, so you can really get creative. You can use old books, magazines, newspapers, or even fabric scraps.
The possibilities are endless! To get started, you will need some basic supplies like scissors, glue, and markers. Once you have gathered your materials, you can start brainstorming ideas for your book.
Do you want it to be a scrapbook? A photo album? A journal?
Get creative and have fun with it! Once you have decided on the type of book you want to make, it’s time to start gathering materials. If you are using old books, carefully tear out the pages that you want to use.
If you are using magazines or newspapers, cut out the images or articles that catch your eye. And if you are using fabric scraps, start piecing them together into interesting patterns. Once you have all of your materials gathered, it’s time to start putting your book together.
Begin by gluing or stitching the pages together (if using fabric). Then start embellishing your book however you like! Add photos, quotes, drawings… anything that reflects your unique style.
When your book is complete, take a step back and admire your handiwork. You now have a one-of-a-kind decor piece that is completely personalized by YOU!