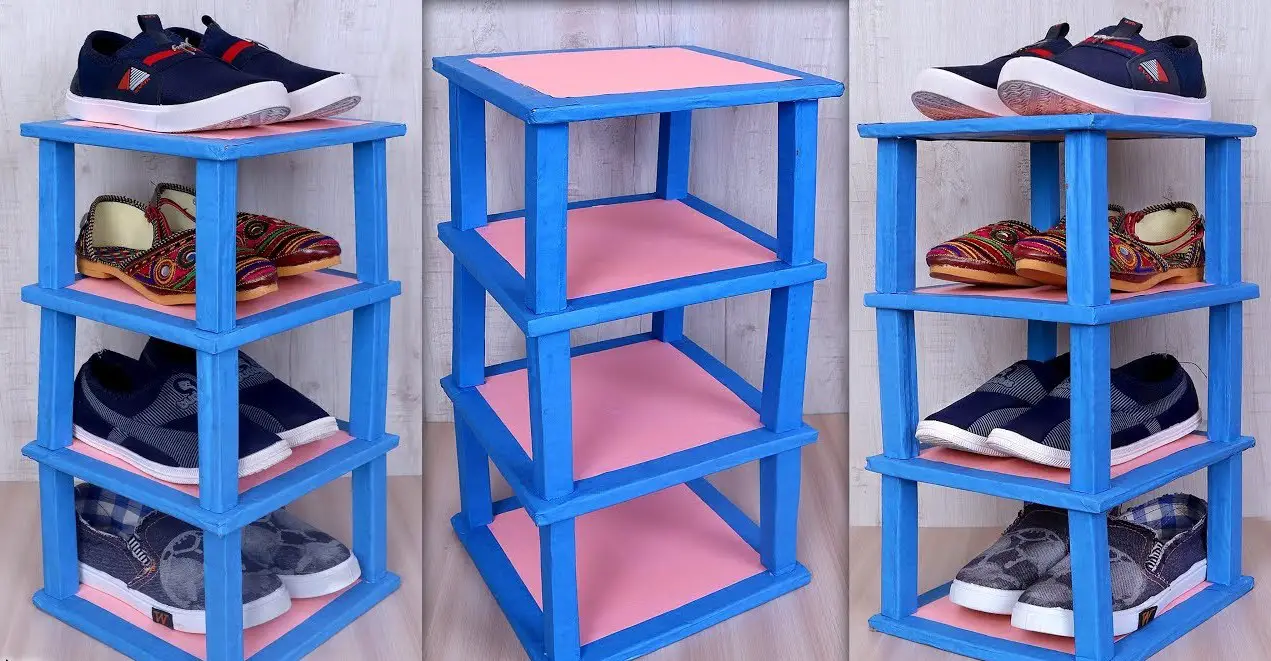
How to Make Shoe Rack at Home With Waste Material
Making a shoe rack at home is a great way to save money and declutter your living space.
- Gather all the materials required for the project
- This includes a piece of wood, some nails, and a hammer
- Cut the wood to size, depending on how many shoes you want to store on the rack
- Nail the pieces of wood together to form a shelf
- Make sure that the nails are evenly spaced out
- Place the shoe rack in your closet or wherever you want to store your shoes
How Do You Make a Homemade Shoe Rack?
Assuming you would like a blog post discussing how to make a homemade shoe rack: One way to make a simple and effective shoe rack is out of PVC pipe. You will need:
-PVC pipe (the length will depend on how many shoes you want to store) -PVC connectors -Pipe cutter or hacksaw
-Ruler or measuring tape -Sandpaper Start by measuring and cutting your PVC pipe into the desired lengths.
Next, use sandpaper to smooth down the edges of the cut pipes. Once all of your pieces are cut and sanded, begin connecting them with the PVC connectors. Make sure that everything is secure and stable before adding your shoes!
This type of shoe rack is lightweight, easy to move, and can be customized to any size or shape.
Credit: www.diyncrafts.com
How Do You Make a PVC Shoe Rack?
If you’re looking for a quick and easy way to organize your shoes, look no further than a PVC shoe rack! This type of shoe rack is inexpensive and easy to make, and it can be customized to fit any space. Here’s how to make your own PVC shoe rack:
- Start by measuring the space where you’ll be placing your PVC shoe rack. Cut two pieces of PVC pipe to this size, using a hacksaw.
- Next, cut four or five shorter pieces of PVC pipe, depending on how many shelves you want in your shoe rack. These pieces will serve as the supports for the shelves.
- Place the two longer pieces of PVC pipe parallel to each other on a flat surface. Space the shorter support pieces evenly along these pipes, and then glue them in place with PVC cement. Let the glue dry for at least an hour before proceeding.
- Once the glue is dry, turn the entire assembly upside down so that the short support pieces are pointing upwards. Cut another piece of PVC pipe into lengths that will serve as crossbars between the uprights (again, four or five should suffice). Glue these in place with more PVC cement and let dry completely.
- Your basic frame is now complete! To finish off your PVC shoe rack, simply cut sheets of Plexiglas or similar material to fit over each shelf level (you may need to trim these slightly once they’re in place).
Which Material is Good for Shoe Rack?
There are a few things to consider when choosing a material for your shoe rack. First, think about the weight of the shoes you’ll be storing. If you have heavy boots, you’ll want a sturdier material that can support their weight.
Second, consider how easy the rack will be to clean. You don’t want a material that will absorb dirt and grime from your shoes and be difficult to wipe down. Third, take into account the overall aesthetic you’re going for in your home.
A metal or plastic rack may not fit in with your decorating scheme. Wood is a popular choice for shoe racks because it is sturdy and looks nice in most homes. You can find wood racks in a variety of finishes to match your other furniture pieces.
Metal racks are also quite popular because they offer good support for heavier shoes and are easy to clean with just a damp cloth. Plastic shoe racks are less expensive than wood or metal options, but they aren’t as sturdy and may not look as nice in your home.
What Can I Use If I Don’t Have a Shoe Rack?
If you don’t have a shoe rack, there are plenty of other ways to store your shoes. You can use a shoe box, a laundry basket, or even line them up against the wall. Whatever method you choose, just make sure that your shoes are stored in a way that they won’t get damaged or dirty.
How to Make Shoe Rack at Home With Cardboard
A shoe rack is a great way to organize your shoes and keep them from getting scuffed up. You can buy a ready-made shoe rack, but they can be expensive. A much more budget-friendly option is to make your own out of cardboard.
Here’s how:
- Cut two pieces of cardboard to the desired height and width of your shoe rack. If you want it to be able to hold multiple pairs of shoes, make sure the width is at least 12 inches.
- Place the pieces of cardboard on top of each other and use duct tape or hot glue to attach them together along the edges.
- Once the two pieces are securely attached, begin cutting slits into the top piece of cardboard. Make sure the slits are spaced evenly apart and are wide enough to fit the width of your shoes. We recommend making them about 3 inches wide.
- Once all the slits are cut, insert the bottom edges of your shoes into them so that they’re standing upright on the Rack. That’s it!
Your new DIY shoe rack is complete!11 Shoe Stand Ideas From Waste Cardboard !!! DIY Shoe Rack… Organization Ideas
Conclusion
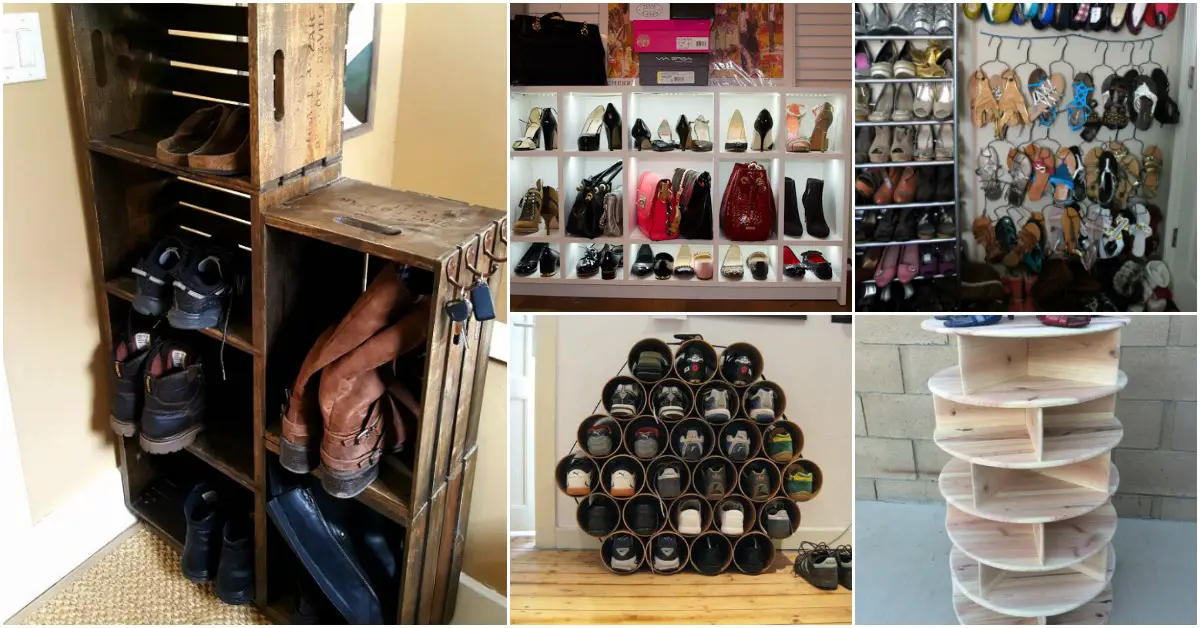
Making a shoe rack at home is a great way to organize your shoes and save space. You can make a shoe rack out of many different materials, but using waste material is a great way to recycle and upcycle. You can use old furniture, cardboard boxes, or even clothes hangers to make a shoe rack.
Whatever material you choose, making a shoe rack is a simple project that anyone can do.