How to Modify Wall Oven Cabinet
Homeowners who want to update their kitchen often start with the cabinets. Replacing old, outdated cabinets can give your kitchen an entirely new look. If you have a wall oven, the process of replacing the cabinets is a little different.
Here’s how to modify a wall oven cabinet for a new look: Start by removing the doors from the cabinet. Then, remove the hinges and any other hardware that’s attached to the door.
Next, use a power drill to remove the screws that are holding the cabinet in place. Once the screws are removed, carefully take out the cabinet and set it aside. Now you’re ready to install your new cabinets!
- Remove the door from the cabinet by unscrewing the hinges
- Cut a piece of plywood to fit inside the opening where the door was
- Attach the plywood to the cabinet with screws or nails
- Hang a new door on the opening using new hinges, or reattach the old door using new hinges
How Do I Retrofit My Wall Oven?
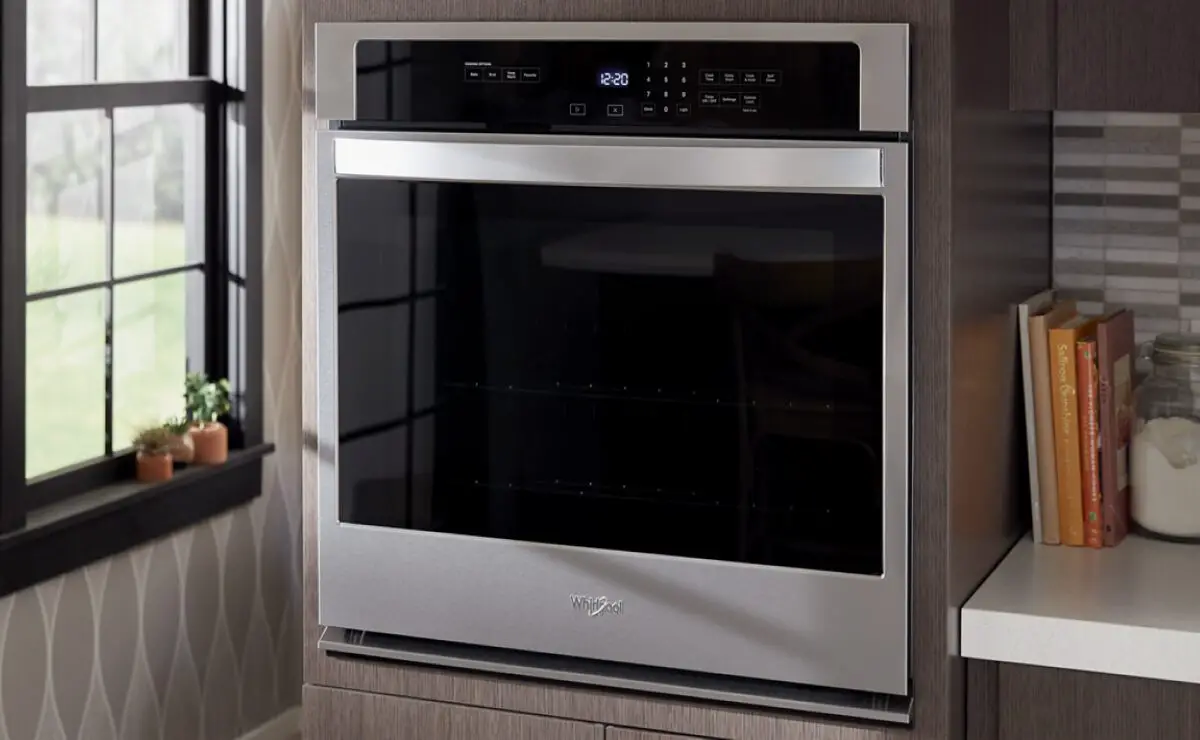
If you’re considering retrofitting your wall oven, there are a few things to keep in mind. First, you’ll need to make sure that the new oven is the same size as the old one. Otherwise, you’ll need to do some serious remodeling to make it fit.
Second, you should check with an electrician to see if your home’s electrical system can handle the power requirements of a new oven. Finally, you’ll need to determine how you’re going to vent the new oven. If your old oven was vented through the roof, you may need to have a professional install a new vent hood.
Assuming that your home can accommodate a new wall oven and that you’ve sorted out the ventilation issue, retrofitting is actually fairly straightforward. Start by disconnecting the power supply to your old oven. Next, remove the trim around the perimeter of the opening and set it aside (you may be able to reuse it with your new oven).
Using a screwdriver or drill, remove any screws or fasteners holding the old oven in place. Carefully pull the oven out of its opening and disconnect any wiring harnesses or gas lines attached to it. With your old oven removed, clean up any debris in the opening and then carefully position your new oven in place.
Connect any wiring harnesses or gas lines and then secure it in place with screws or fasteners. Replace any trim around the perimeter of the opening and then restore power to your home’s electrical system. Test out your new walloven by preheating it according to manufacturer’s instructions!
Credit: www.whirlpool.com
How Do You Modify Existing Kitchen Cabinets?
There are a few ways that you can modify your existing kitchen cabinets. One way is to simply add new hardware. This can give your cabinets an entirely new look without having to do any major construction.
Another way to modify cabinets is to add trim or molding. This can also give your cabinets a fresh new look. If you want to make more significant changes, you can reface your cabinets or even replace them entirely.
Do You Need a Special Cabinet for a Wall Oven?
When it comes to wall ovens, one of the most frequently asked questions is whether or not you need a special cabinet. The answer is usually no, but there are a few exceptions. First, let’s start with the basics.
A wall oven is simply an oven that’s been designed to be installed in a wall instead of on the floor like a traditional range oven. They come in a variety of sizes and styles to fit your needs and kitchen layout. Now that we’ve got that out of the way, let’s talk about cabinets.
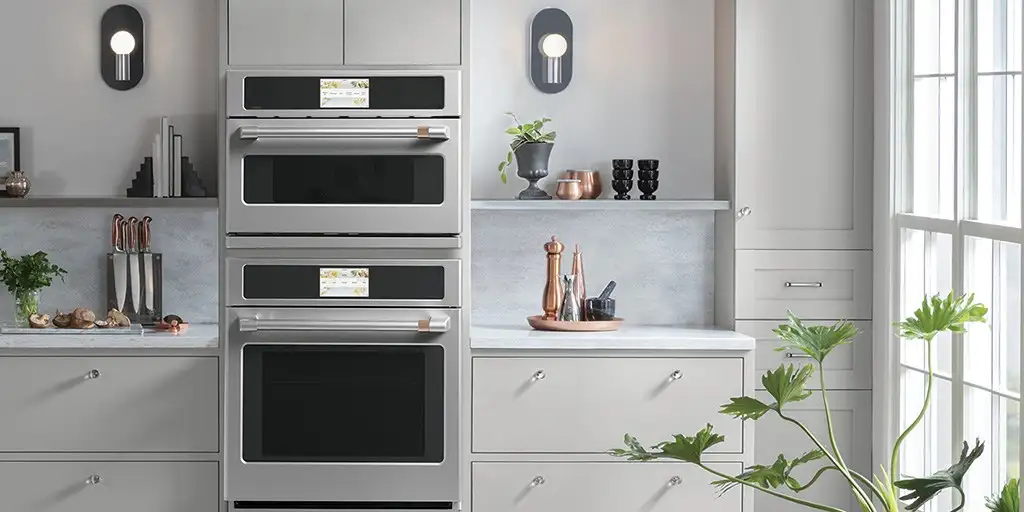
In most cases, you can install a wall oven in any type of cabinetry as long as it’s structurally sound and can support the weight of the appliance. That said, there are three main types of cabinets specifically designed for use with wall ovens: single, double, and built-in models. Single Wall Oven Cabinets: These are standalone cabinets that are meant to hold just one wall oven.
They’re often used in smaller kitchens where space is limited or if you only need one oven (for example, if you have a separate cooktop). Because they’re sold separately from the actual appliance, you’ll need to make sure that the cabinet is deep enough and has the correct opening size for your particular model. Double Wall Oven Cabinets: As you might’ve guessed from the name, these cabinets are designed to house two wall ovens side-by-side – perfect for larger families or those who love to entertain!
Like single units, double cabinets must be purchased separately from appliances and should be checked for proper sizing before making your purchase. Built-In Wall Oven Cabinets: These are complete kitchen units that come with everything needed for installation – including the cabinet(s), countertops, appliances, plumbing/electrical hookups, etc.. If you’re starting from scratch or doing a major kitchen remodel , opting for a built-in system may be your best bet since it takes care of everything in one fell swoop!
However keep in mind that these will also be among the most expensive option . All things considered , unless you have specific requirements (like needing extra depth for storage purposes), any type of cabinetry can be used for installing a wall oven . Just remember to take measurements , check weight limits , and make sure all openings will line up before making your final decision !
Credit: www.cliqstudios.com
How Do I Fill the Gap under My Oven?
Most people don’t realize that there’s actually a very easy way to fill the gap under their oven. All you need is some sort of sealant or caulk and a putty knife. Simply apply the sealant or caulk to the gap using the putty knife and then smooth it out so that it’s level with the rest of your oven.
That’s all there is to it!
Wall Oven Cutout Too Small
If you’re planning to install a new wall oven in your kitchen, be sure to check the cutout dimensions before making your purchase. The last thing you want is to get your new oven home only to find out that it doesn’t fit in the space! Most wall ovens have a standard cutout size of 24″ wide x 22″ high.
However, there are some models that may require a slightly larger or smaller opening. Be sure to check the manufacturer’s specifications before ordering. If you’re not sure how to measure for a proper fit, here’s a quick tutorial:
First, measure the width of the opening at the widest point. Then, measure the height from the top of the opening to the bottom (including any trim). Finally, double-check these measurements against the manufacturer’s specs to be certain.
Once you’ve confirmed that your new oven will fit in the space, it’s time to start shopping! There are many great options on the market, so take your time and find one that meets all of your needs.
Conclusion
If you’re looking to modify your wall oven cabinet, here are a few things to keep in mind. First, make sure the new cabinet is the same width as the old one. Second, ensure that the new cabinet is deep enough to accommodate the oven.
Third, make sure the new cabinet has an opening for the power cord. Fourth, use shims to level out the new cabinet. Finally, screw the new cabinet into place and voila!
You’ve successfully modified your wall oven cabinet.