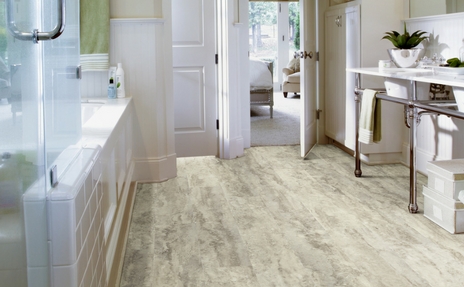
Remove Scratches From Vinyl Plank Flooring
Vinyl plank flooring is a popular and affordable choice for many homeowners. However, over time, scratches can occur, making your floor look dull and unattractive. The good news is, it is possible to remove scratches from vinyl plank flooring. There are a variety of methods that can be used, depending on the severity of the scratch. This includes rubbing the scratch with a cloth and a mild cleaner, using a paste wax, or sanding and polishing the floor. With the right techniques and materials, you can restore your vinyl plank flooring to its original beauty.

How to Identify Scratches on Vinyl Plank Flooring
Vinyl plank flooring is a popular choice for its unique style and durability. However, scratches can occur, leaving your floor looking dull and damaged. To keep your vinyl plank flooring looking its best, it is important to identify scratches and take the necessary steps to repair them.
Before you can begin to repair scratches, you must first identify them. Scratches on vinyl plank flooring are usually small, and shallow, and can be identified by looking closely at the surface. You may see a slight discoloration, a line, or a shallow groove that indicates a scratch. It is important to inspect the entire floor to ensure all scratches are identified and can be repaired.
Once the scratches have been identified, you can begin to repair them. Depending on the severity of the scratch, you may be able to use a repair kit to fill in and cover the area. If the scratch is deeper, you may need to replace the entire plank. This is especially true for deep gouges or cuts that cannot be repaired.
By following these steps, you can identify scratches on vinyl plank flooring and take the necessary steps to repair them. This will help keep your floor looking beautiful and in great condition for years to come.
Preparing the Area for Scratch Removal
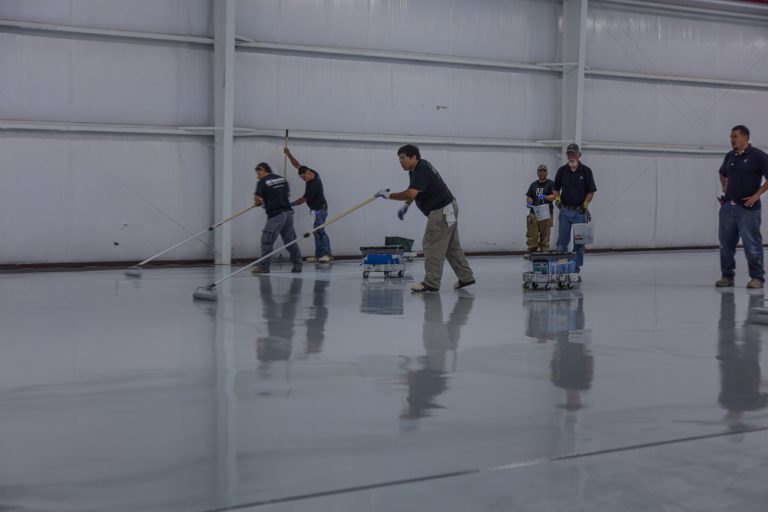
Removing scratches from vinyl plank flooring requires careful preparation of the area before the actual scratch-removal process. The most important things to do before starting are to clear the area of all furniture and debris, vacuum up any dirt or dust, and make sure the surface is clean and dry. Once the area is clear and clean, the next step is to assess the scratch and determine the best way to remove it. Depending on the type of scratch and the severity, there are several options for eliminating it. If the scratch is shallow and superficial, it can often be removed with a mild detergent and a soft cloth. If the scratch is deeper, floor polish or wax may be necessary to fill it in and help it blend in with the surrounding area. Finally, for deep, stubborn scratches, sandpaper may be required to buff out the mark. With these steps, most scratches can be successfully removed from vinyl plank flooring.
DIY Solutions for Removing Scratches
Scratches on vinyl plank flooring can be a nuisance and detract from the overall aesthetic of your home. Fortunately, there are a few DIY solutions available to help you remove them. With a few simple tools and materials, you can easily fix and restore the appearance of your vinyl plank flooring.
Sandpaper is a great tool for removing scratches and restoring the shine of your flooring. Start by using medium-grit sandpaper to remove any superficial scratches. Then, switch to fine-grit sandpaper and go over the area again to achieve a smooth finish. After sanding, use a damp cloth to wipe away any dust.
Another DIY solution is to use a scratch-removal pen. These pens are specially designed to fill in scratches and blend in with the surrounding flooring. All you need to do is apply a thin layer of the pen onto the scratched area and let it dry.
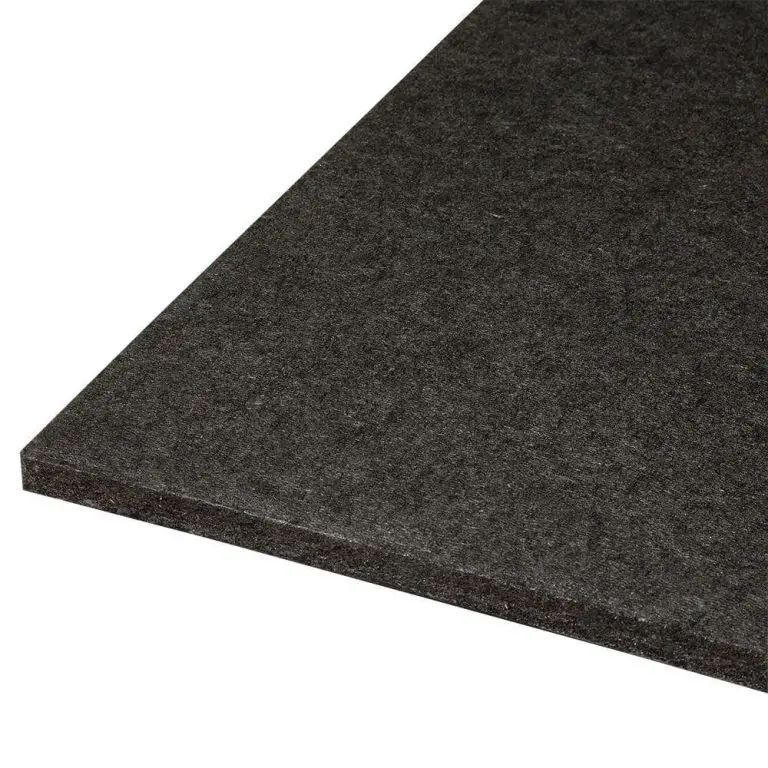
If you have more serious damage such as deep gouges, you can use wood putty. Simply fill in the gouge with the putty and let it dry. Then, use fine-grit sandpaper to smooth out the area. Once you’re done, you can use a damp cloth to clean up any dust.
These DIY solutions are great for removing scratches from vinyl plank flooring. With a few simple materials and tools, you can restore the appearance of your flooring and make it look as good as new.
Professional Solutions for Removing Scratches
Vinyl plank flooring is an attractive, durable, and practical flooring option for many homeowners. However, despite its long-lasting qualities, scratches can still occur. Fortunately, there are a few different solutions that can help you successfully remove scratches from vinyl plank flooring.
One method is to use a vinyl floor polish. This type of polish is formulated to reduce the appearance of scuffs, scratches, and blemishes, while also restoring luster and shine. It not only helps remove scratches, but it also helps protect the vinyl from further damage.
Another solution is to use a paste wax. This type of wax is ideal for filling in any scratches that are too deep for a floor polish to cover. Simply apply the wax to the scratched area and buff it out to reduce the appearance of the scratch.
Finally, you can use a vinyl cleaner and scouring pad. This method is best used on shallow scratches that are not too deep. Use a dampened scouring pad to gently buff out the scratch. Make sure to use a circular motion and avoid using too much pressure.
Removing scratches from vinyl plank flooring doesn’t have to be a daunting task. With a little bit of work and the right tools, you can easily restore your flooring to its original beauty.
Long-term Solutions for Protecting Vinyl Plank Flooring
The beauty of vinyl plank flooring is that it offers the same elegant look as hardwood flooring without the expense, hassle, and maintenance. But even the toughest vinyl plank flooring can succumb to scratches and gouges if not properly cared for. To keep your vinyl plank flooring looking its best, you need to take steps to protect it from damage.
The most important step in protecting your vinyl plank flooring is to keep it clean. Regularly sweeping and vacuuming your flooring helps to prevent dirt and grime from building up, which can cause scratches and gouges to form. You can also use a damp mop for deeper cleaning and to help prevent dirt and debris from accumulating.
In addition to keeping your vinyl plank flooring clean, you should also avoid sliding furniture and other heavy items on it. Place felt pads on the bottom of furniture legs and other frequently moved items to prevent scratches. You can also use rugs and mats in high-traffic areas to protect the flooring from wear and tear.
Finally, if your vinyl plank flooring does become scratched and gouged, you can use a touch-up kit to repair the damage. These kits come with a special filler that you can use to fill in any scratches and gouges. Once you’ve filled in the damage, you can use a cloth to buff the area and restore the floor’s original look.
By taking these steps, you can ensure that your vinyl plank flooring remains in tip-top shape for years to come. With proper cleaning, furniture protection, and repair, you can keep your floor looking its best and protect it from scratches and gouges.
Cleaning Tips for Maintaining Vinyl Plank Flooring
Vinyl plank flooring is a great choice for both residential and commercial spaces, as it is durable, easy to maintain, and offers a modern look. That said, it still requires some attention from time to time to keep it looking bright and beautiful. One of the most common issues faced with vinyl plank flooring is scratches that can be caused by a variety of things, from pets to high heels. Fortunately, there are some simple steps you can take to remove scratches from your vinyl plank flooring and keep it looking its best.
The first step is to assess the damage and determine whether the scratch is surface level or has gone through to the substrate. If the scratch is minor and only on the surface, you can try using a magic eraser to buff it out. For deeper scratches, you may need to use a wood refinishing kit to fill the gouge. Once the scratch is filled, sand the area to level it out and apply a finish to protect it.
In addition to removing scratches, there are some simple steps you can take to keep your vinyl plank flooring looking its best. Regular sweeping and mopping with a damp mop will help keep dirt and debris from building up and scratching the surface. You should also avoid using harsh chemicals on your flooring, as these can damage the finish. Lastly, be sure to use felt furniture pads or floor protectors on your furniture to help prevent scratches.
By following these simple steps, you can easily remove scratches from your vinyl plank flooring and ensure it stays looking its best.
Troubleshooting Common Issues with Vinyl Plank Flooring
Vinyl plank flooring is a popular choice for many homeowners, as it is cost-effective, durable, and low maintenance. However, like all flooring materials, it is not impervious to scratches and scuffs. While it is possible to remove scratches and scuffs from vinyl plank flooring, it is important to understand the common issues associated with this material. In this article, we’ll explore the common issues associated with vinyl plank flooring and discuss the best ways to troubleshoot them.
The most common issue with vinyl plank flooring is that it can be prone to scratches and scuffs. These marks can be unsightly and make your floor look dull and aged. Fortunately, it is usually possible to remove these scratches and scuffs with a few simple steps. The first step is to assess the severity of the scratch or scuff and determine the best course of action. If the scratch is shallow and not too deep, then you can usually buff it out with a soft cloth and some floor polish. For deeper scratches, you may need to sand the area and then buff it out.
Another common issue with vinyl plank flooring is discoloration. This can occur due to age or exposure to sunlight or other environmental elements. To fix this issue, you may need to refinish the floor or apply a new coat of sealant. Additionally, it is important to regularly clean your vinyl plank flooring to prevent dirt and debris from accumulating and causing discoloration.
Finally, it is important to note that vinyl plank flooring can be prone to water damage. This is because the material is not waterproof and can be easily damaged by water. To prevent this issue, it is important to make sure to use a suitable sealant when installing the flooring and to ensure that the area is properly ventilated. Additionally, it is important to immediately mop up any water spills to prevent water damage.
Overall, vinyl plank flooring is a popular choice for many homeowners, but it is important to understand the common issues associated with this material. By troubleshooting these common issues, you can help ensure that your vinyl plank flooring remains in good condition for years to come.
FAQs About the Remove Scratches From Vinyl Plank Flooring
How do I remove scratches from my vinyl plank flooring?
To remove scratches from vinyl plank flooring, you can use a combination of sandpaper and a floor cleaner specifically designed for vinyl floors. Start by lightly sanding the scratched area with a piece of sandpaper, then apply a vinyl floor cleaner to the area. Wipe away any excess cleaner with a damp cloth and then buff the area with a dry cloth.
Can I use wax to fill in scratches in my vinyl plank flooring?
No, wax is not a suitable solution for filling in scratches in vinyl plank flooring. While wax can help to reduce the appearance of minor scratches and scuffs, it is not able to fill in deep scratches or gouges in the flooring.
Is it possible to repair deep scratches in vinyl plank flooring?
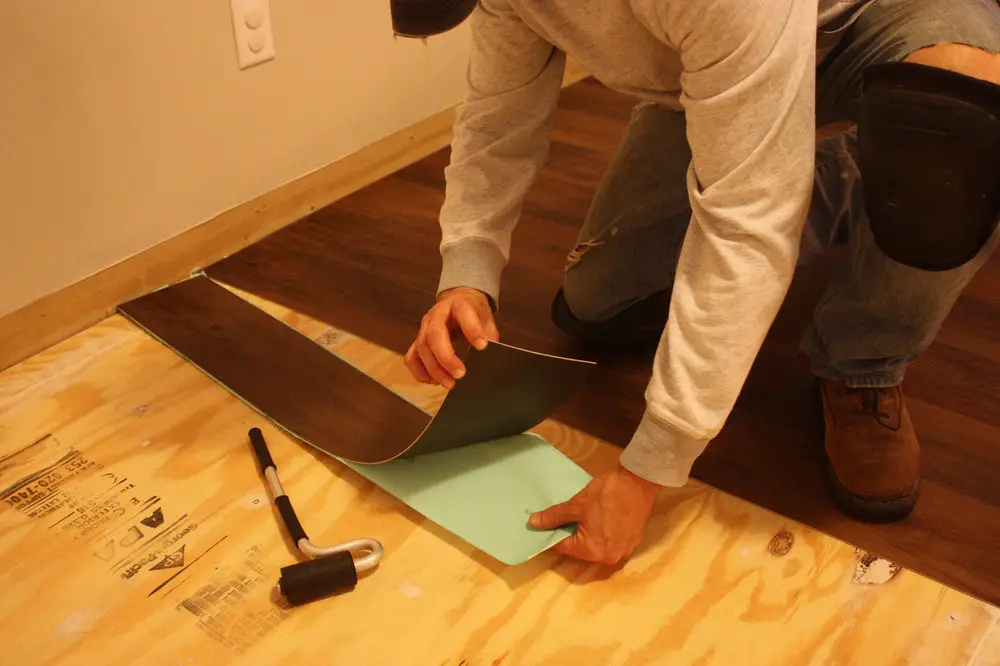
Yes, deep scratches in vinyl plank flooring can be repaired. To do this, you will need to fill in the scratch with a vinyl floor filler, which can be purchased at most home improvement stores. After the filler is applied, use a piece of sandpaper to sand it down until the surface is even with the rest of the floor.
Conclusion
Removing scratches from vinyl plank flooring can be a tricky job, but it is possible. With the right tools and techniques, you can restore the natural beauty of your flooring and make it look as good as new. If you’re careful and take your time, you should be able to make your vinyl plank flooring look new again.