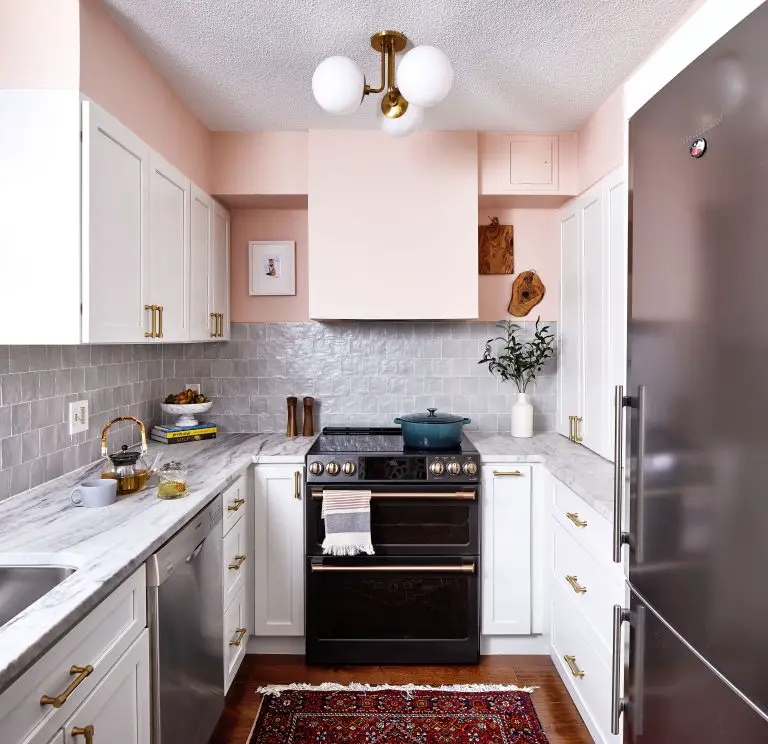
What Are The 9 Steps In Organizing Kitchen Cabinets?
Having an organized kitchen is key to helping you stay on top of your cooking game. With all of your ingredients, utensils, and equipment in their proper place, you’ll be able to whip up a delicious meal in no time. But where do you start when it comes to organizing kitchen cabinets? Follow these nine steps for a kitchen that’s neat and tidy.

Step 1: Take Stock of What You Have
Taking stock of what you have is an important first step when it comes to blogging. It’s important to consider what topics you can write about and what resources you have available to you. Think about what kind of unique perspective you can bring to the table. What topics do you have knowledge and experience in? Which topics are you passionate about? What tools do you have at your disposal, such as an email list, social media accounts, or a website? Taking stock of what you have will help you create a blog that is both professional and unique.
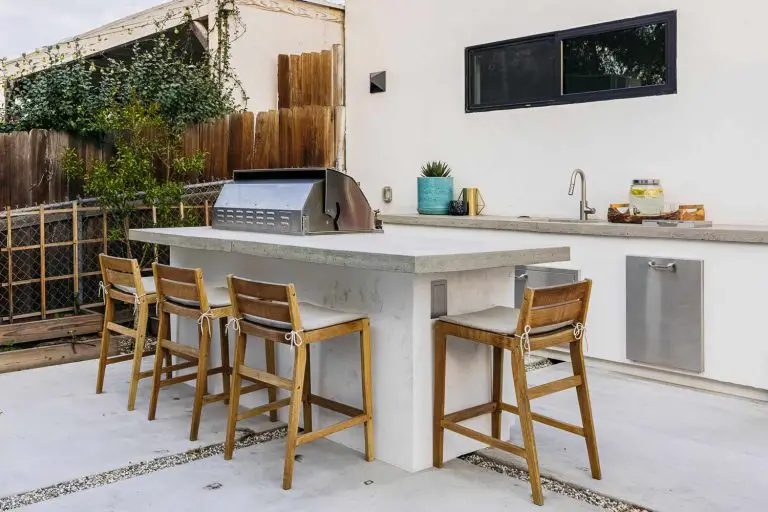
Step 2: Evaluate Your Space
“Evaluating your space is the next step to creating a dream blog. Once you have your vision, you need to consider the space you have to work with. Take measurements, look at how the room flows, and think of potential obstacles that could prevent your blog from becoming a reality. When evaluating your space, be sure to consider the resources available to you and how you can best utilize them. With a well-thought-out plan, you can create a space that reflects your vision and suits your needs.”
Step 3: Determine Your Needs
The third step in starting a blog is to determine your needs. This includes deciding what kind of content you will be producing, what topics you will write about, and how often you will be posting. It’s also important to consider the platform you’ll be using, as well as your budget and any other technical requirements you may have. It’s important to make sure that your blog is tailored to your specific needs and goals so that you can get the most out of your blog and maximize its potential. Taking the time to determine your needs in advance will help you create a successful blog that you can enjoy for years to come.
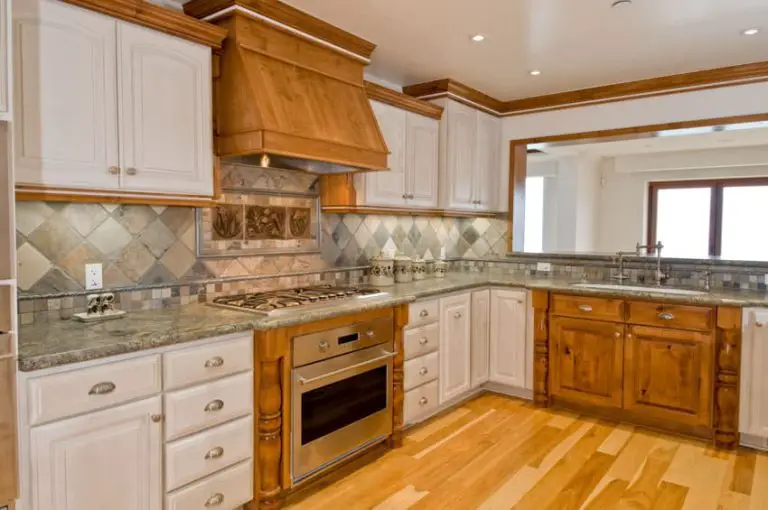
Step 4: Clear Out the Cabinets
Clearing out your cabinets is a great way to get organized and get rid of any clutter. It can be a daunting task, but it’s a necessary evil if you want to declutter and make the most of your space. Start by taking everything out of the cabinets and sorting through each item. Throw away anything that’s broken, no longer needed, or out of date. Donate items in good condition that you no longer use or want. Once you’ve sorted through everything, put the items you need back in the cabinets, and use labels or baskets to organize them. Now you have a clean, organized, and clutter-free space!
Step 5: Designate Storage Zones
Designating storage zones is a great way to organize and maximize the use of space in your home. It involves creating areas in your home that are dedicated to specific items. For instance, you may designate a corner of your living room to store all of your books or a closet for all of your clothing. This way, you’ll know exactly where to find what you need, and you won’t have to search through piles of items to find it. Designating storage zones is a great way to keep your home clutter-free and ensure that all of your belongings are well organized.
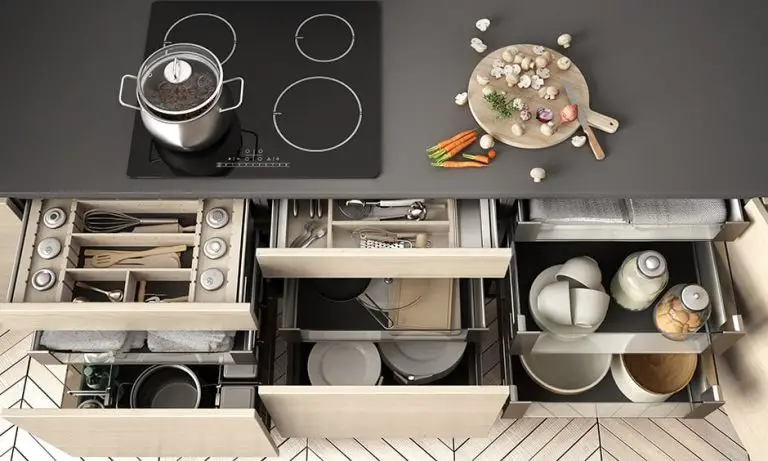
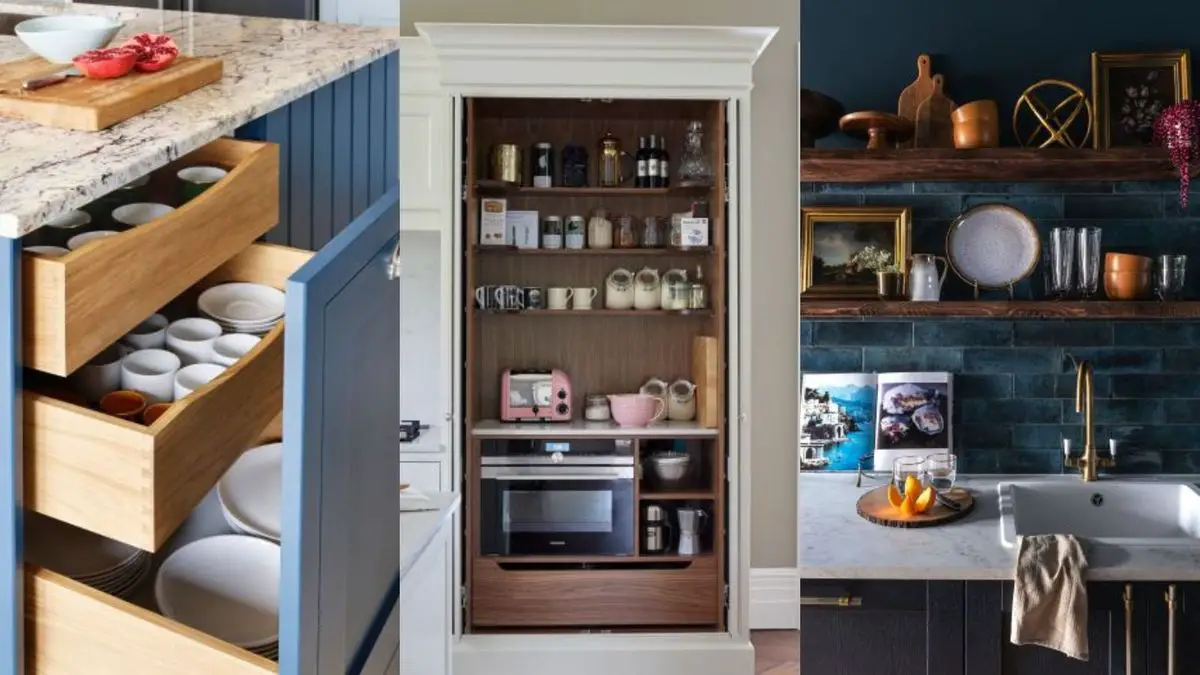
Step 6: Choose the Right Storage Solutions
Often, the most overlooked part of any organizational project is the storage solutions. Without the right storage solutions, your space can quickly become cluttered and disorganized. That’s why it’s important to take the time to select the right storage solutions for your project. Consider the size, shape, and style of the storage solution, as well as the items you’ll be storing. It’s important to choose pieces that will fit your space and your items. For example, if you’ve already allocated a specific area for your items, you’ll want to make sure that the storage solution fits that space. With the right storage solutions in place, your organizational project will be a success.
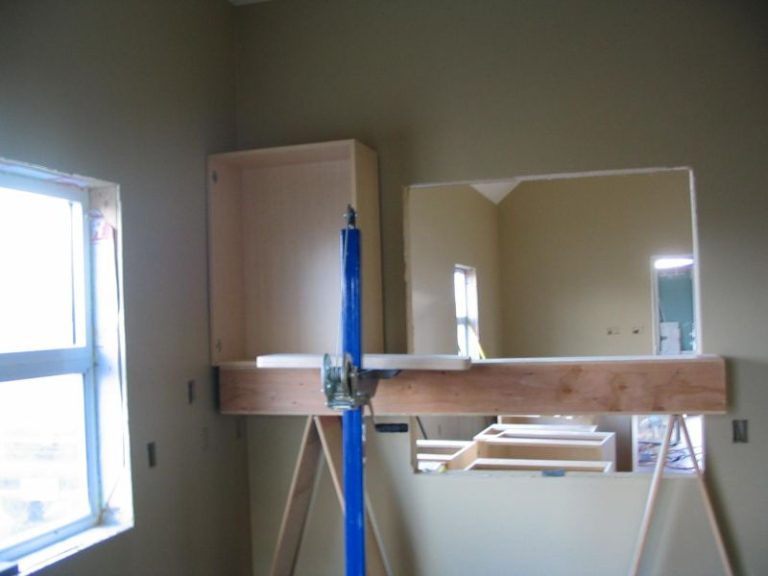
Step 7: Put Items Back in the Cabinets
When it comes to cleaning your kitchen, Step 7 is a crucial one. Put all the items back in the cabinets and drawers once you’ve finished cleaning them. This will ensure everything is back in its rightful place and you’ll be able to easily locate what you need when you need it. Put items back in the same cabinets and drawers you took them out of so that nothing gets misplaced or lost in the shuffle. Taking the time to put items back in their rightful place will save you in the long run.
Step 8: Label Everything
Labeling everything can be a tedious task, but it is essential for staying organized and staying on top of your projects. Labeling everything helps you quickly identify what is what, and can help you find what you need faster, saving you time and energy. It can help you keep track of changes and progress, and even help you remember where something is or was stored. Labeling everything also allows you to easily share information with other team members as well as set up systems and processes that can help keep everyone organized. Ultimately, labeling everything can help you save time, money, and energy in the long run.
Step 9: Keep Up With Routine Maintenance
Routine maintenance is essential for keeping your blog running smoothly and efficiently. It may not always be the most exciting task, but it’s important to ensure your blog is always up-to-date and running properly. From updating content to checking for broken links, these routine maintenance duties will help keep your blog in tip-top shape. Keeping up with routine maintenance also allows you to monitor the performance of your blog and make sure it is meeting your goals. Regular maintenance can help you identify any problems, such as security or performance issues, and address them quickly. So, stay on top of things and make sure to keep up with your blog’s routine maintenance!
FAQs About the What Are The 9 Steps In Organizing Kitchen Cabinets?
1. What Is The First Step In Organizing Kitchen Cabinets?
The first step in organizing kitchen cabinets is to take everything out and give the cabinets a thorough cleaning, both inside and out. This will help create a clean slate for organizing the items.
2. What Are Some Tips For Organizing Kitchen Cabinets?
Some tips for organizing kitchen cabinets include grouping like items together, adding organizational accessories such as drawers and dividers, and labeling items for easy identification.
3. How Often Should Kitchen Cabinets Be Organized?
Kitchen cabinets should be organized at least once a year to ensure that everything is in its proper place. This will also help you keep an eye out for expired items or items that need to be replaced.
Conclusion
Organizing kitchen cabinets can be a daunting task, but by following the nine simple steps outlined in this article, it can be done efficiently and effectively. Start by purging items you don’t need, then sort items into categories and decide where they should go. Once you’ve created a plan, you can begin to store items in a logical and organized manner, using containers and baskets to maximize space. Label all items and clean the cabinets regularly. Finally, take a few minutes to review your progress and make any necessary adjustments. By following these nine steps, you can ensure that your kitchen cabinets stay organized and tidy.