How Do You Install A Kitchen Sink On A Countertop?
Installing a kitchen sink on a countertop is a relatively straightforward task that can be done by most DIYers with some basic tools. It is important to make sure the sink is properly secured to the countertop to ensure that it is safe and secure. This guide will provide step-by-step instructions on how to install a kitchen sink on a countertop. It will cover everything from measuring and marking the countertop to connecting the plumbing and caulking the edges. With a little bit of time and patience, anyone can install a kitchen sink on their countertop.
Supplies Needed for Installation
Installing your new product can be a daunting task, but with the right supplies, it can be a breeze. We have put together a list of supplies that will be needed for your installation, to ensure that you have everything you need for a successful installation. This includes screws, anchors, wall plugs, level, drill, drill bits, tape measure, wire cutters, and other tools. With these supplies, you’ll be able to get the installation done quickly and easily. So don’t worry, we’ve got you covered when it comes to installation supplies. Get ready to install your new product with confidence and ease!
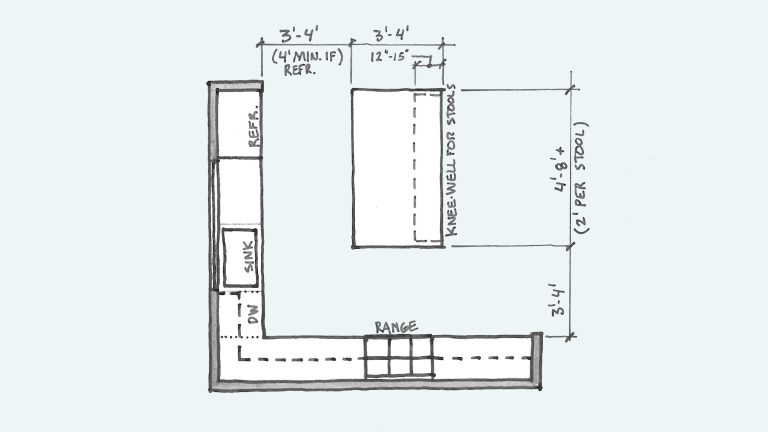
Preparing the Countertop
Countertops are an integral part of any kitchen remodel, and the right countertop can set the tone for the entire space. When it comes to preparing the countertop for installation, there are several steps that must be taken. First, the countertop must be measured and cut to fit the area. Once the measurements have been taken, the countertop should be laid out and leveled. Then, the countertop should be sealed with a waterproof sealant to help protect against water damage. Finally, the countertop should be installed securely in place with the appropriate hardware. With the proper preparation, your countertop will look great and last for years to come.

Preparing the Sink
Preparing the Sink is a blog aimed at helping people make the most out of their kitchen space. We provide tips and tricks on how to best organize, clean, and maintain a kitchen sink area. From choosing the right materials to creating the perfect layout, we cover everything you need to know to make the most out of your kitchen sink. We also provide product reviews and helpful advice to help you make informed decisions when it comes to buying sink-related products and accessories. With Preparing the Sink, you can make sure your kitchen sink area is always looking its best.
Installing the Sink Brackets
Installing sink brackets can be a daunting task, but with the right tools and a bit of know-how, you can do it quickly and easily. We’ve created this blog post to provide you with a step-by-step guide to installing your sink brackets, so you can have your sink securely mounted in no time. From the proper measurements to the right hardware, you’ll find all the information you need to complete this project with confidence. So get ready, grab your tools, and let’s get started installing your sink brackets!
Connecting the Hot and Cold Water Lines
Connecting the hot and cold water lines is a plumbing task that can seem daunting but is easy when broken down into a few simple steps. First, shut off the water supply to the area you will be working on, then install the shut-off valves for the hot and cold water lines. Next, attach the pipes to the shut-off valves, ensuring that the hot and cold water lines are connected on the proper side. Finally, test the connections to make sure there are no leaks. With these easy steps, connecting the hot and cold water lines can be handled with no sweat!
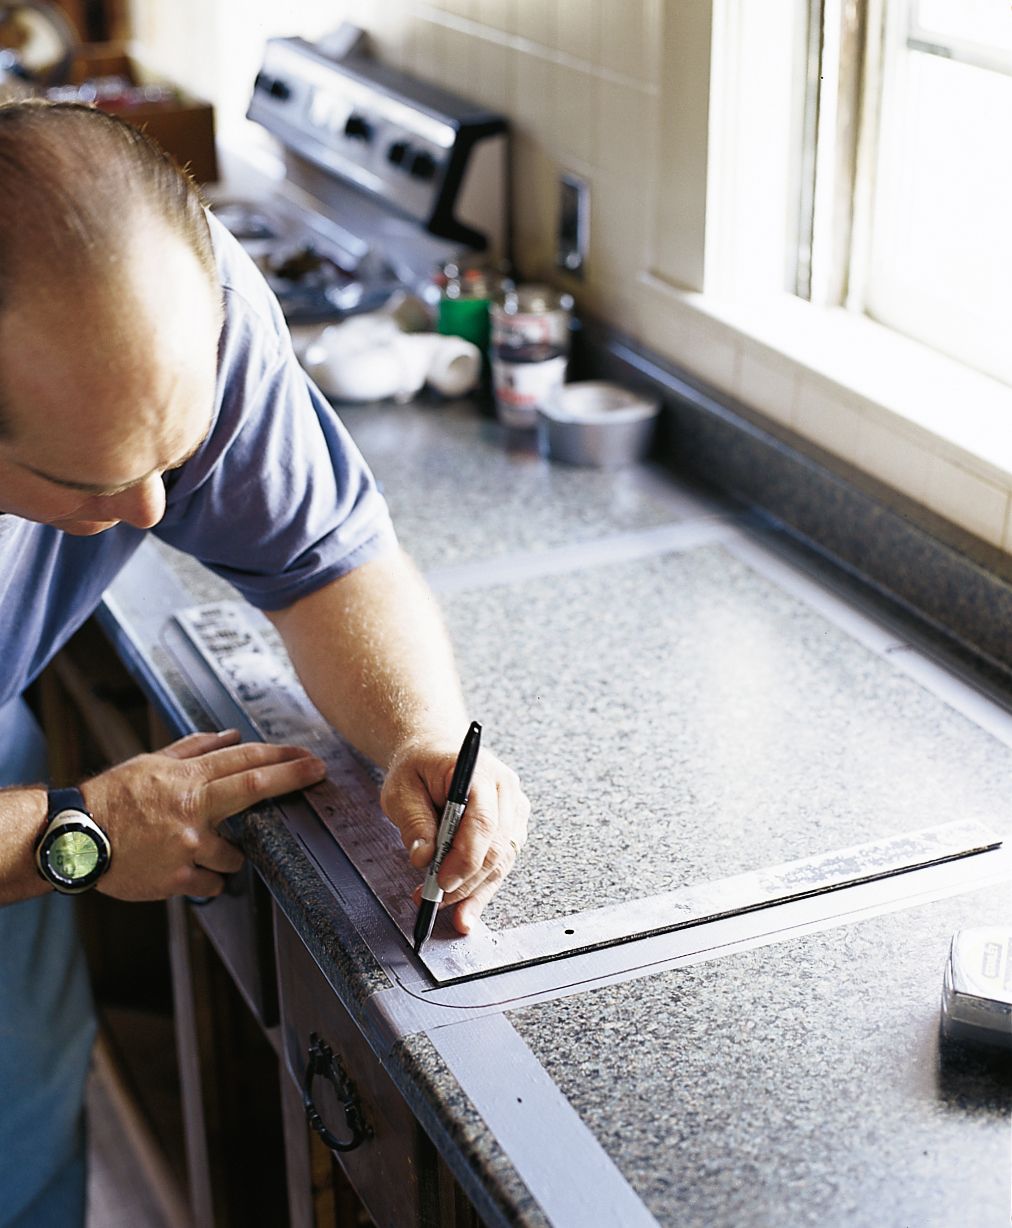
Securing the Sink to the Countertop
Securing the sink to the countertop is an important step in any successful kitchen renovation. This task requires precision and a keen eye for detail, as the sink must be secured tightly to the counter to ensure it is properly sealed and will not leak. Fortunately, the installation process is relatively straightforward and can be completed in just a few simple steps. First, carefully measure the area where the sink will sit and mark the area for cutting. Next, use a jigsaw to cut the countertop to the appropriate size. Finally, use a silicone sealer to fill any gaps between the sink and the countertop, then secure the sink to the countertop with screws. With these steps completed, your sink will be firmly and securely attached to the countertop, giving you peace of mind and a beautiful new look.
Connecting the Drain Assembly
Connecting a drain assembly is an important part of plumbing maintenance and repair. It requires careful attention and precision to ensure that the drain is connected correctly and securely. It is essential to follow the manufacturer’s instructions for proper installation. Gather the necessary items before beginning the assembly. These may include a drain pipe, drain trap, slip joint pliers, a screwdriver, and a wrench. Make sure the drain pipe is properly aligned with the sink before beginning the assembly process. Slowly tighten the nuts and bolts with the wrench and screwdriver. Once the drain assembly is installed, test it by running water to make sure it is sealed correctly. Connecting the drain assembly is a simple process that requires some patience and attention, but it can be done with ease.
Finishing Touches
“Finishing Touches” is your go-to blog for all things related to the home. Whether you’re looking for styling tips, interior design advice, or inspiration for your next DIY project, our blog will help you transform your home into a stylish and functional space. We’ll provide you with the best tips and tricks to make your space look and feel amazing, from selecting the perfect accessories to adding a finishing touch to any room. With our help, your home will be transformed into a beautiful and welcoming space that you and your family can enjoy for years to come!
FAQs About the How Do You Install A Kitchen Sink On A Countertop?
Q1. What type of sink do I need to install?
A1. The type of sink you need to install depends on the type of countertop you have. If you have a granite countertop, you will need to choose a granite sink. If you have a laminate countertop, you will need to select a stainless steel or cast iron sink.
Q2. Do I need any special tools to install a kitchen sink?
A2. Yes, you will need some basic tools such as a wrench, screwdriver, pliers, putty knife, and caulk gun. You may also need a power drill and jigsaw depending on the type of sink you are installing.
Q3. How long does it take to install a kitchen sink?
A3. The time it takes to install a kitchen sink depends on your experience level and the type of sink you are installing. Generally, it takes about 2-3 hours to install a kitchen sink.
Conclusion
Installing a kitchen sink on a countertop is a relatively straightforward process. With the right tools, you can complete the job in a few simple steps. First, you will need to measure and cut a hole in the countertop to fit your sink. Next, you will need to attach the sink to the countertop, making sure to use the appropriate sealant to prevent leaks. Finally, you will need to connect the water supply and drain pipes, and you will be ready to enjoy your new kitchen sink.