How Do You Reseal An Undermount Kitchen Sink?
Undermount kitchen sinks are a popular choice for modern kitchens due to their seamless design and easy cleaning capabilities. However, they can become prone to leaking if not properly sealed. A leaking sink can cause water damage and lead to costly repairs. Fortunately, resealing an under-mount kitchen sink is an easy and inexpensive task that can be completed in just a few steps. In this guide, we will provide you with the steps and materials needed to reseal your under-mount kitchen sink, ensuring it remains leak-free for years to come.
Types of Undermount Kitchen Sinks
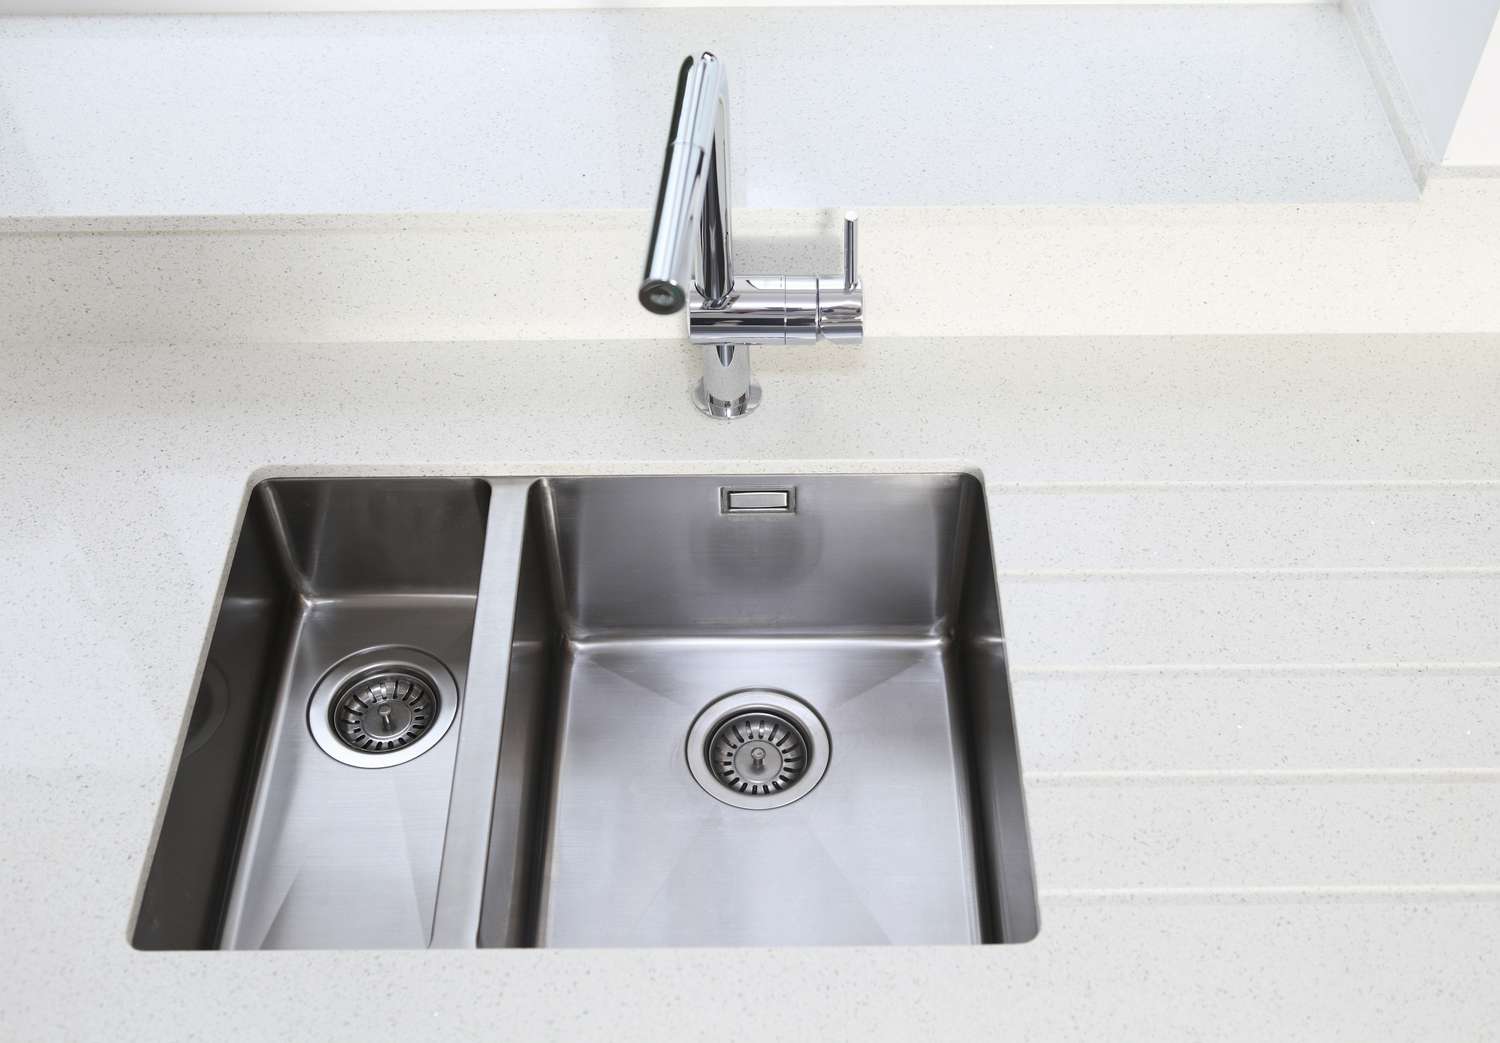
Undermount kitchen sinks provide a sleek, modern look to any kitchen. They are designed to be installed beneath the countertop, allowing for a continuous flow between the counter and the sink with no lip or edge. They come in a variety of materials, shapes, sizes, and designs, making them a great choice for any kitchen. Popular types of undermount kitchen sinks include stainless steel, porcelain, quartz composite, and granite. Stainless steel under-mount kitchen sinks are an affordable and durable option. Porcelain undermount kitchen sinks are easy to clean and come in a variety of colors. Quartz composite and granite undermount kitchen sinks offer a more luxurious look and feel. All types of undermount kitchen sinks are easy to install and maintain, making them a popular choice for today’s modern kitchen.
Preparing the Sink for Resealing
“Are you ready to reseal your sink? Stop right there! Before you start that project, it’s important to prepare the sink properly. This involves cleaning the sink thoroughly, removing any existing sealant, and sanding down the surface before applying any new sealant. With a few simple steps, you can ensure that your resealing project is successful and your sink is ready to go! Preparing the sink for resealing may seem like a daunting task, but with the right tools and techniques, it can be done quickly and easily. Don’t forget to take the time to properly prepare your sink before beginning your project, and you’ll be sure to enjoy a successful resealing experience!”
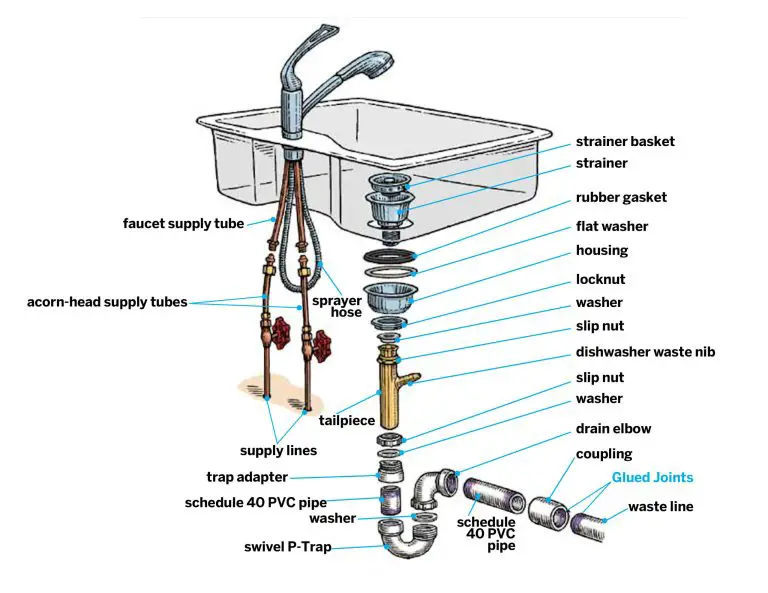
Materials Needed for Resealing
Resealing is a great way to make sure that your home is properly sealed and airtight. Resealing is a relatively simple process that requires a few materials and tools to get the job done. To successfully reseal your windows, doors, and other openings, you’ll need a few essential materials, such as caulk, a caulk gun, painter’s tape, a putty knife, a damp rag, and a utility knife. Caulk provides a secure and airtight seal, while painter’s tape helps ensure a neat and even line. A putty knife is used to smooth out any excess caulk, and a utility knife is used to cut away any old, peeling caulk. Finally, a damp rag is used to clean up any remaining residue. With these materials and tools, you’ll be able to reseal your home in no time.
Steps to Reseal the Sink
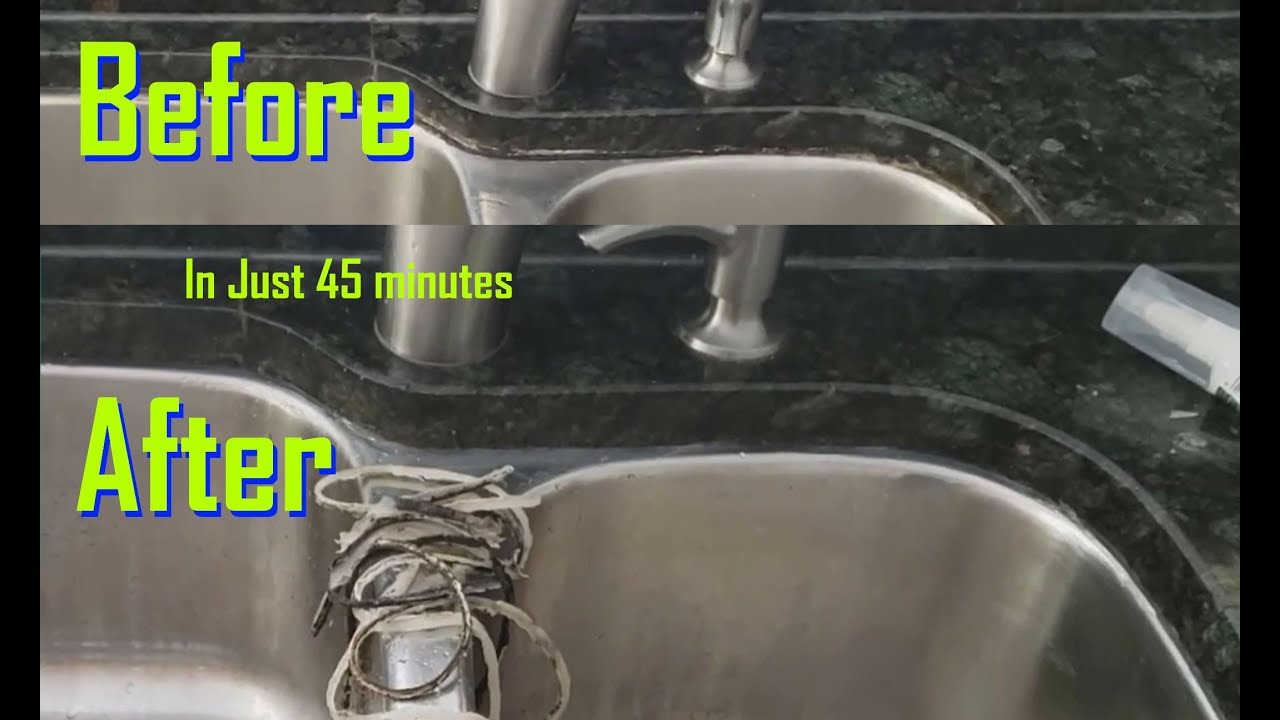
Having a leaky sink can be a real pain, but luckily resealing it can save you time, money, and a lot of frustration. Here are the steps to reseal the sink:
- Start by turning off the water supply and draining the sink.
- Thoroughly clean the sink and surrounding area to ensure a clean seal.
- Apply the plumber’s putty around the edges of the sink.
- Carefully press the sink back into the countertop.
- Use a damp cloth to wipe away any excess putty.
- Turn the water supply back on and check for any leaks.
Resealing the sink is a simple, cost-effective way to prevent or fix leaks. With just a few easy steps, you can save yourself the headache of a leaky sink and get back to enjoying your kitchen.
Tips for Achieving a Clean Seal
Achieving a clean seal is an important part of many projects, but it can be difficult to get it right. Here are some tips to help you get a clean seal:
- Measure twice, cut once – This age-old adage is a great reminder to be precise and accurate when measuring and cutting your material. Taking the time to measure and cut accurately will help ensure that your seal is clean and fits perfectly.
- Don’t rush – Take your time when creating your seal. Rushing the process can cause imperfections, which can affect the quality of your seal.
- Use quality tools – Investing in quality tools will help ensure that your seal is clean and precise.
- Use high-grade materials – High-grade materials like silicone will give you a better quality seal that will look great and last longer.
- Test your seal – Test your seal before you install it to make sure it fits correctly and looks great.
By following these tips, you can achieve a clean seal that will stand the test of time. Investing in quality tools and materials and taking your time will give you a professional-looking seal that will make your project look great.
Troubleshooting Common Issues
Troubleshooting Common Issues is a blog section dedicated to helping users identify, troubleshoot, and resolve common issues they may encounter while using their product or service. Our blog covers a wide range of topics, from solving technical problems to making simple and effective changes to your workflow. We provide step-by-step instructions and helpful tips to help you get the most out of your purchase. Whether you’re a beginner or a pro, our blog is here to help you get the job done right.
Maintaining the Sink After Resealing
Maintaining a sink after resealing is a necessary step to ensure the sealant does its job and lasts a long time. The key is to give the sealant time to cure and then follow a few simple steps to keep the sink looking and functioning at its best. Begin by regularly cleaning the sink with warm water and mild detergent to remove any dirt and debris. To prevent water spots or discoloration, wipe the sink down with a cloth or paper towel. Additionally, make sure to use a non-abrasive cleaner and sponge when cleaning the sink to prevent scratching the sealant. Lastly, pay attention to any signs of wear and tear, and reseal the sink as needed. Following these steps will help maintain the sealant and keep your sink looking great for years to come.
Alternatives to Resealing the Sink
Resealing a sink is a common and necessary home maintenance task. But why put yourself through the hassle when there are alternatives? Depending on the severity of the issue, you may be able to fix the problem with a quality bathroom caulk or sealant. For sinks with advanced problems, you may be able to use epoxy adhesive to fill in cracks and holes. In addition, you could consider using a thin layer of silicone to cover the entire surface for a waterproof seal. Whatever your solution, make sure to use a product specifically designed for use in a bathroom environment. With a few simple steps, you can find an alternative to resealing your sink that will keep it looking great and working properly for years to come.
Conclusion
Re-sealing an under-mount kitchen sink can be a simple and easy task with the right supplies and a few helpful tips. With the right sealant, a few tools, and a little patience, you can easily reseal your sink to ensure it remains leak-free and in good condition. Taking the time to reseal your sink every few years will help extend its lifespan and keep your kitchen looking its best.